Smooth and crisp and even.

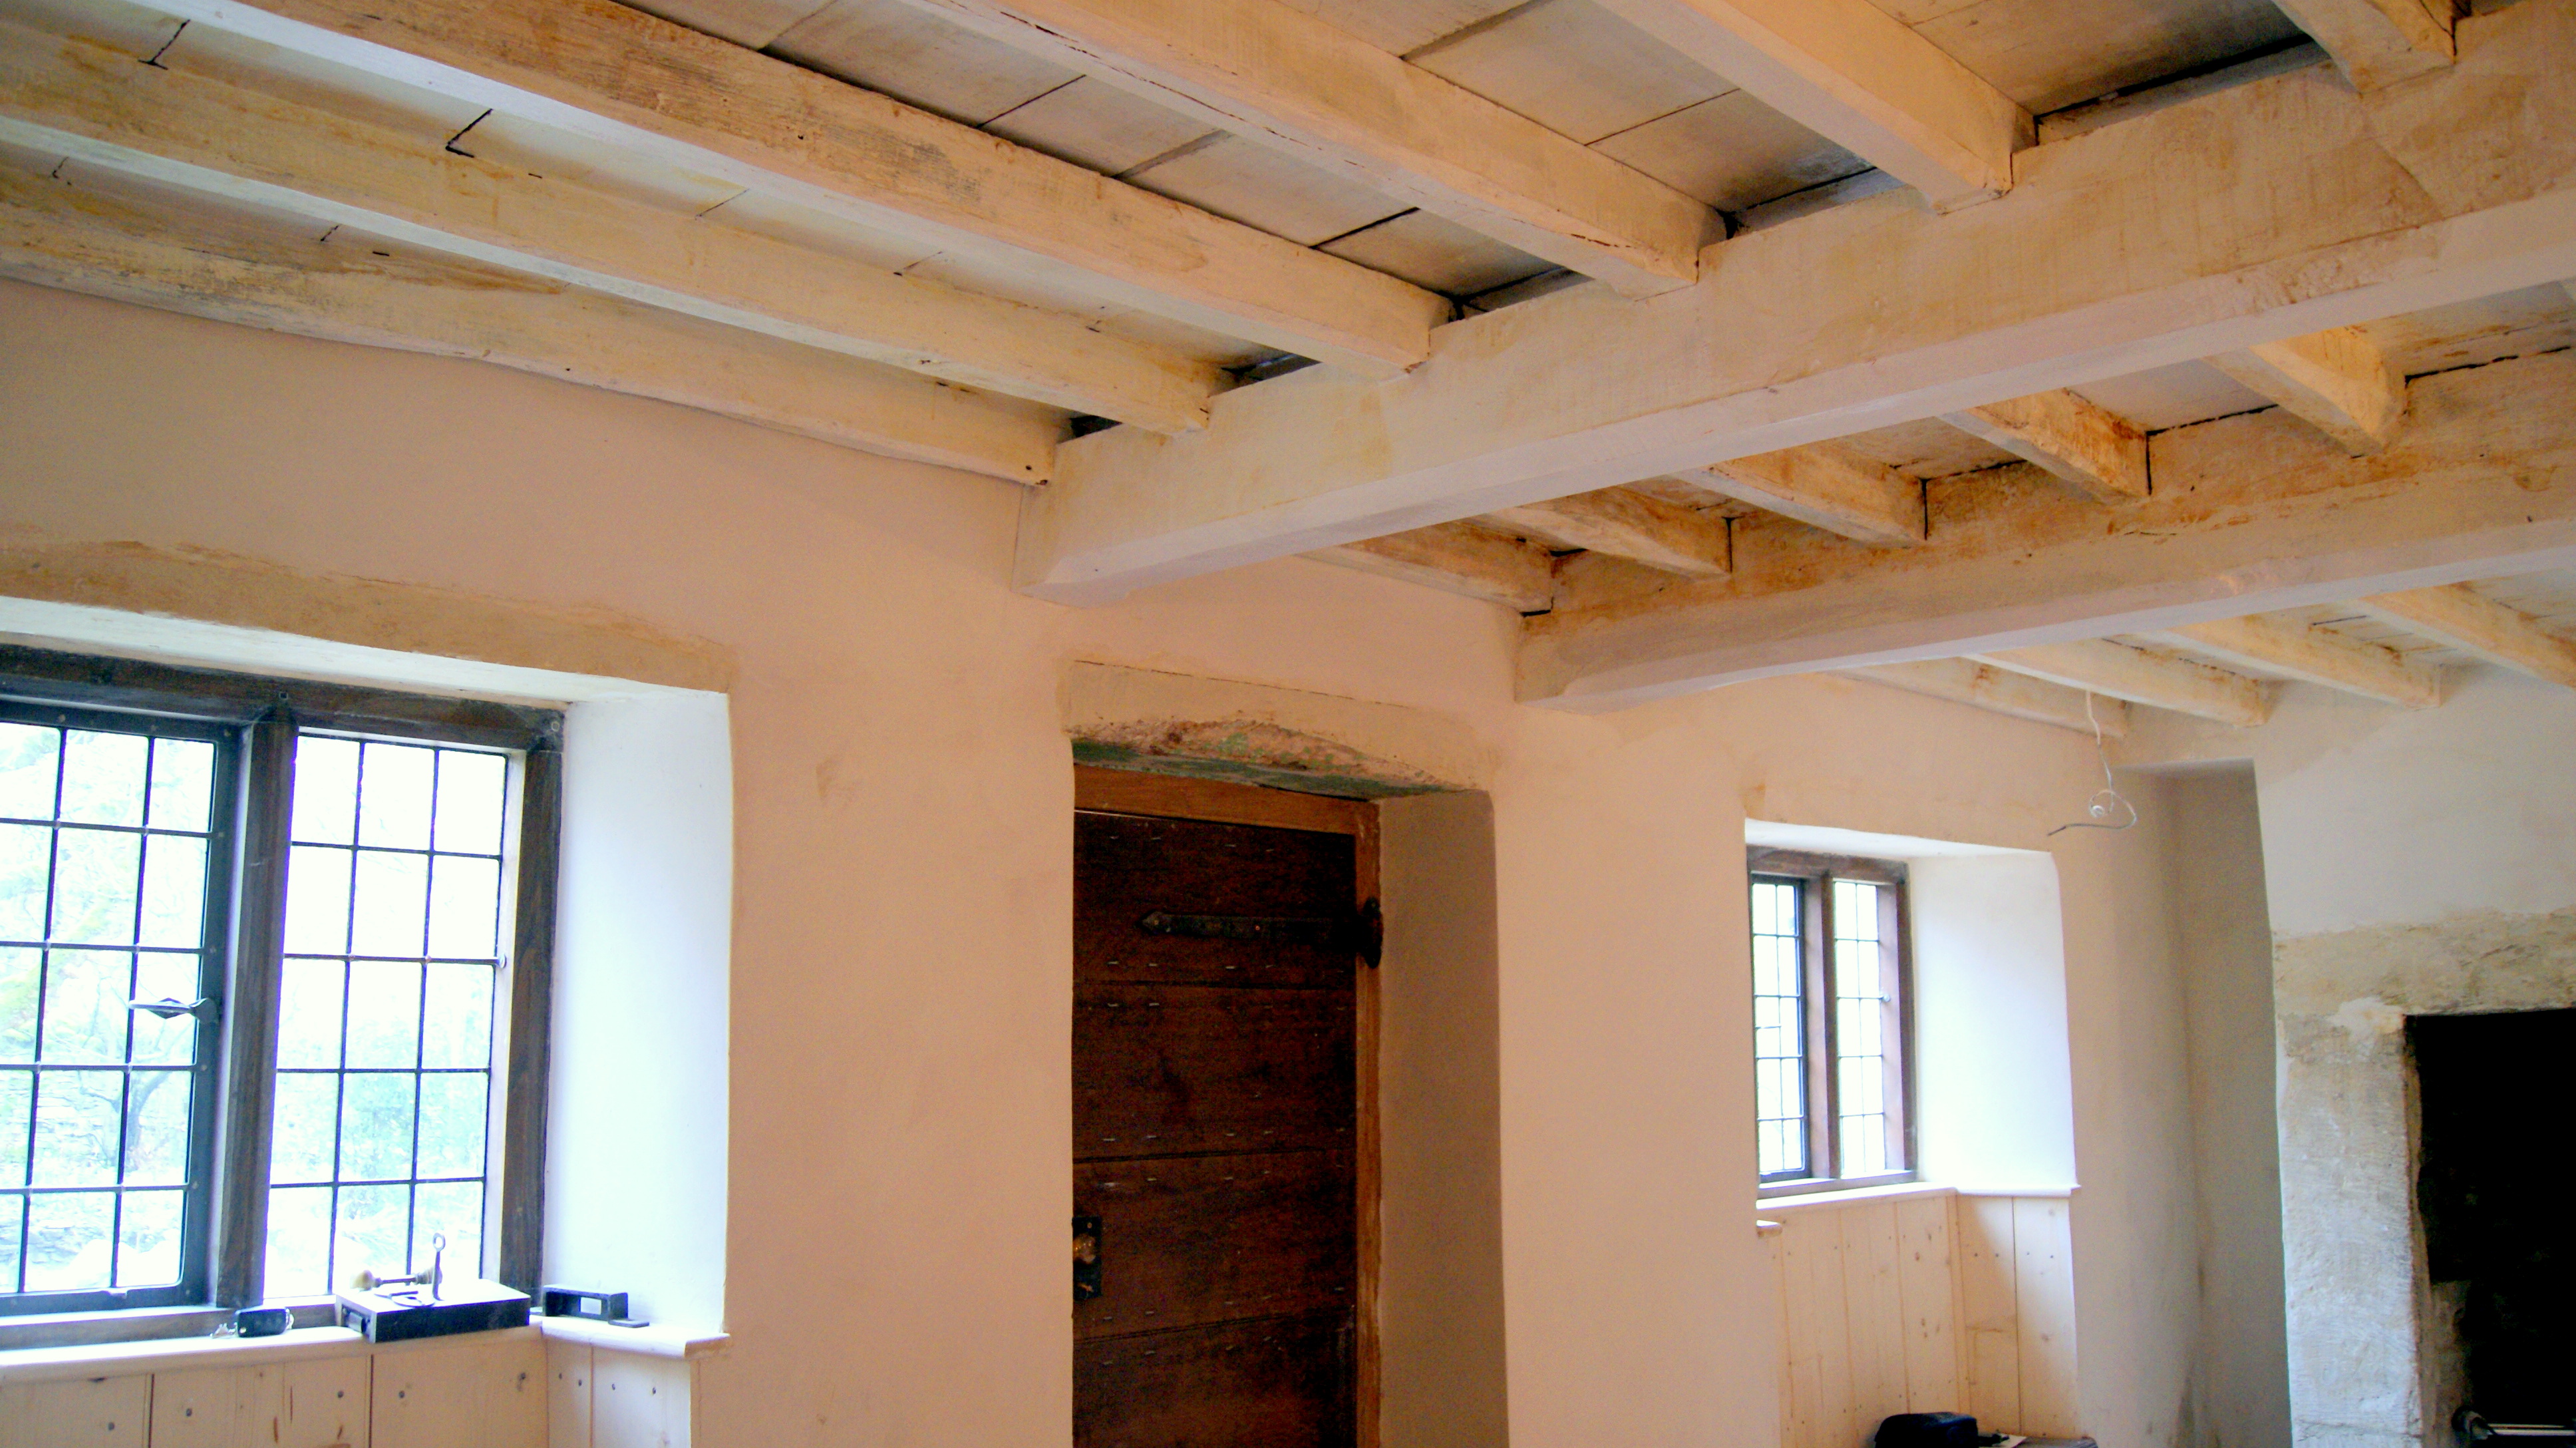
There is this house and the owners had done a considerable amount of the work themselves, and very good it is too. However they did need some help with the plastering.

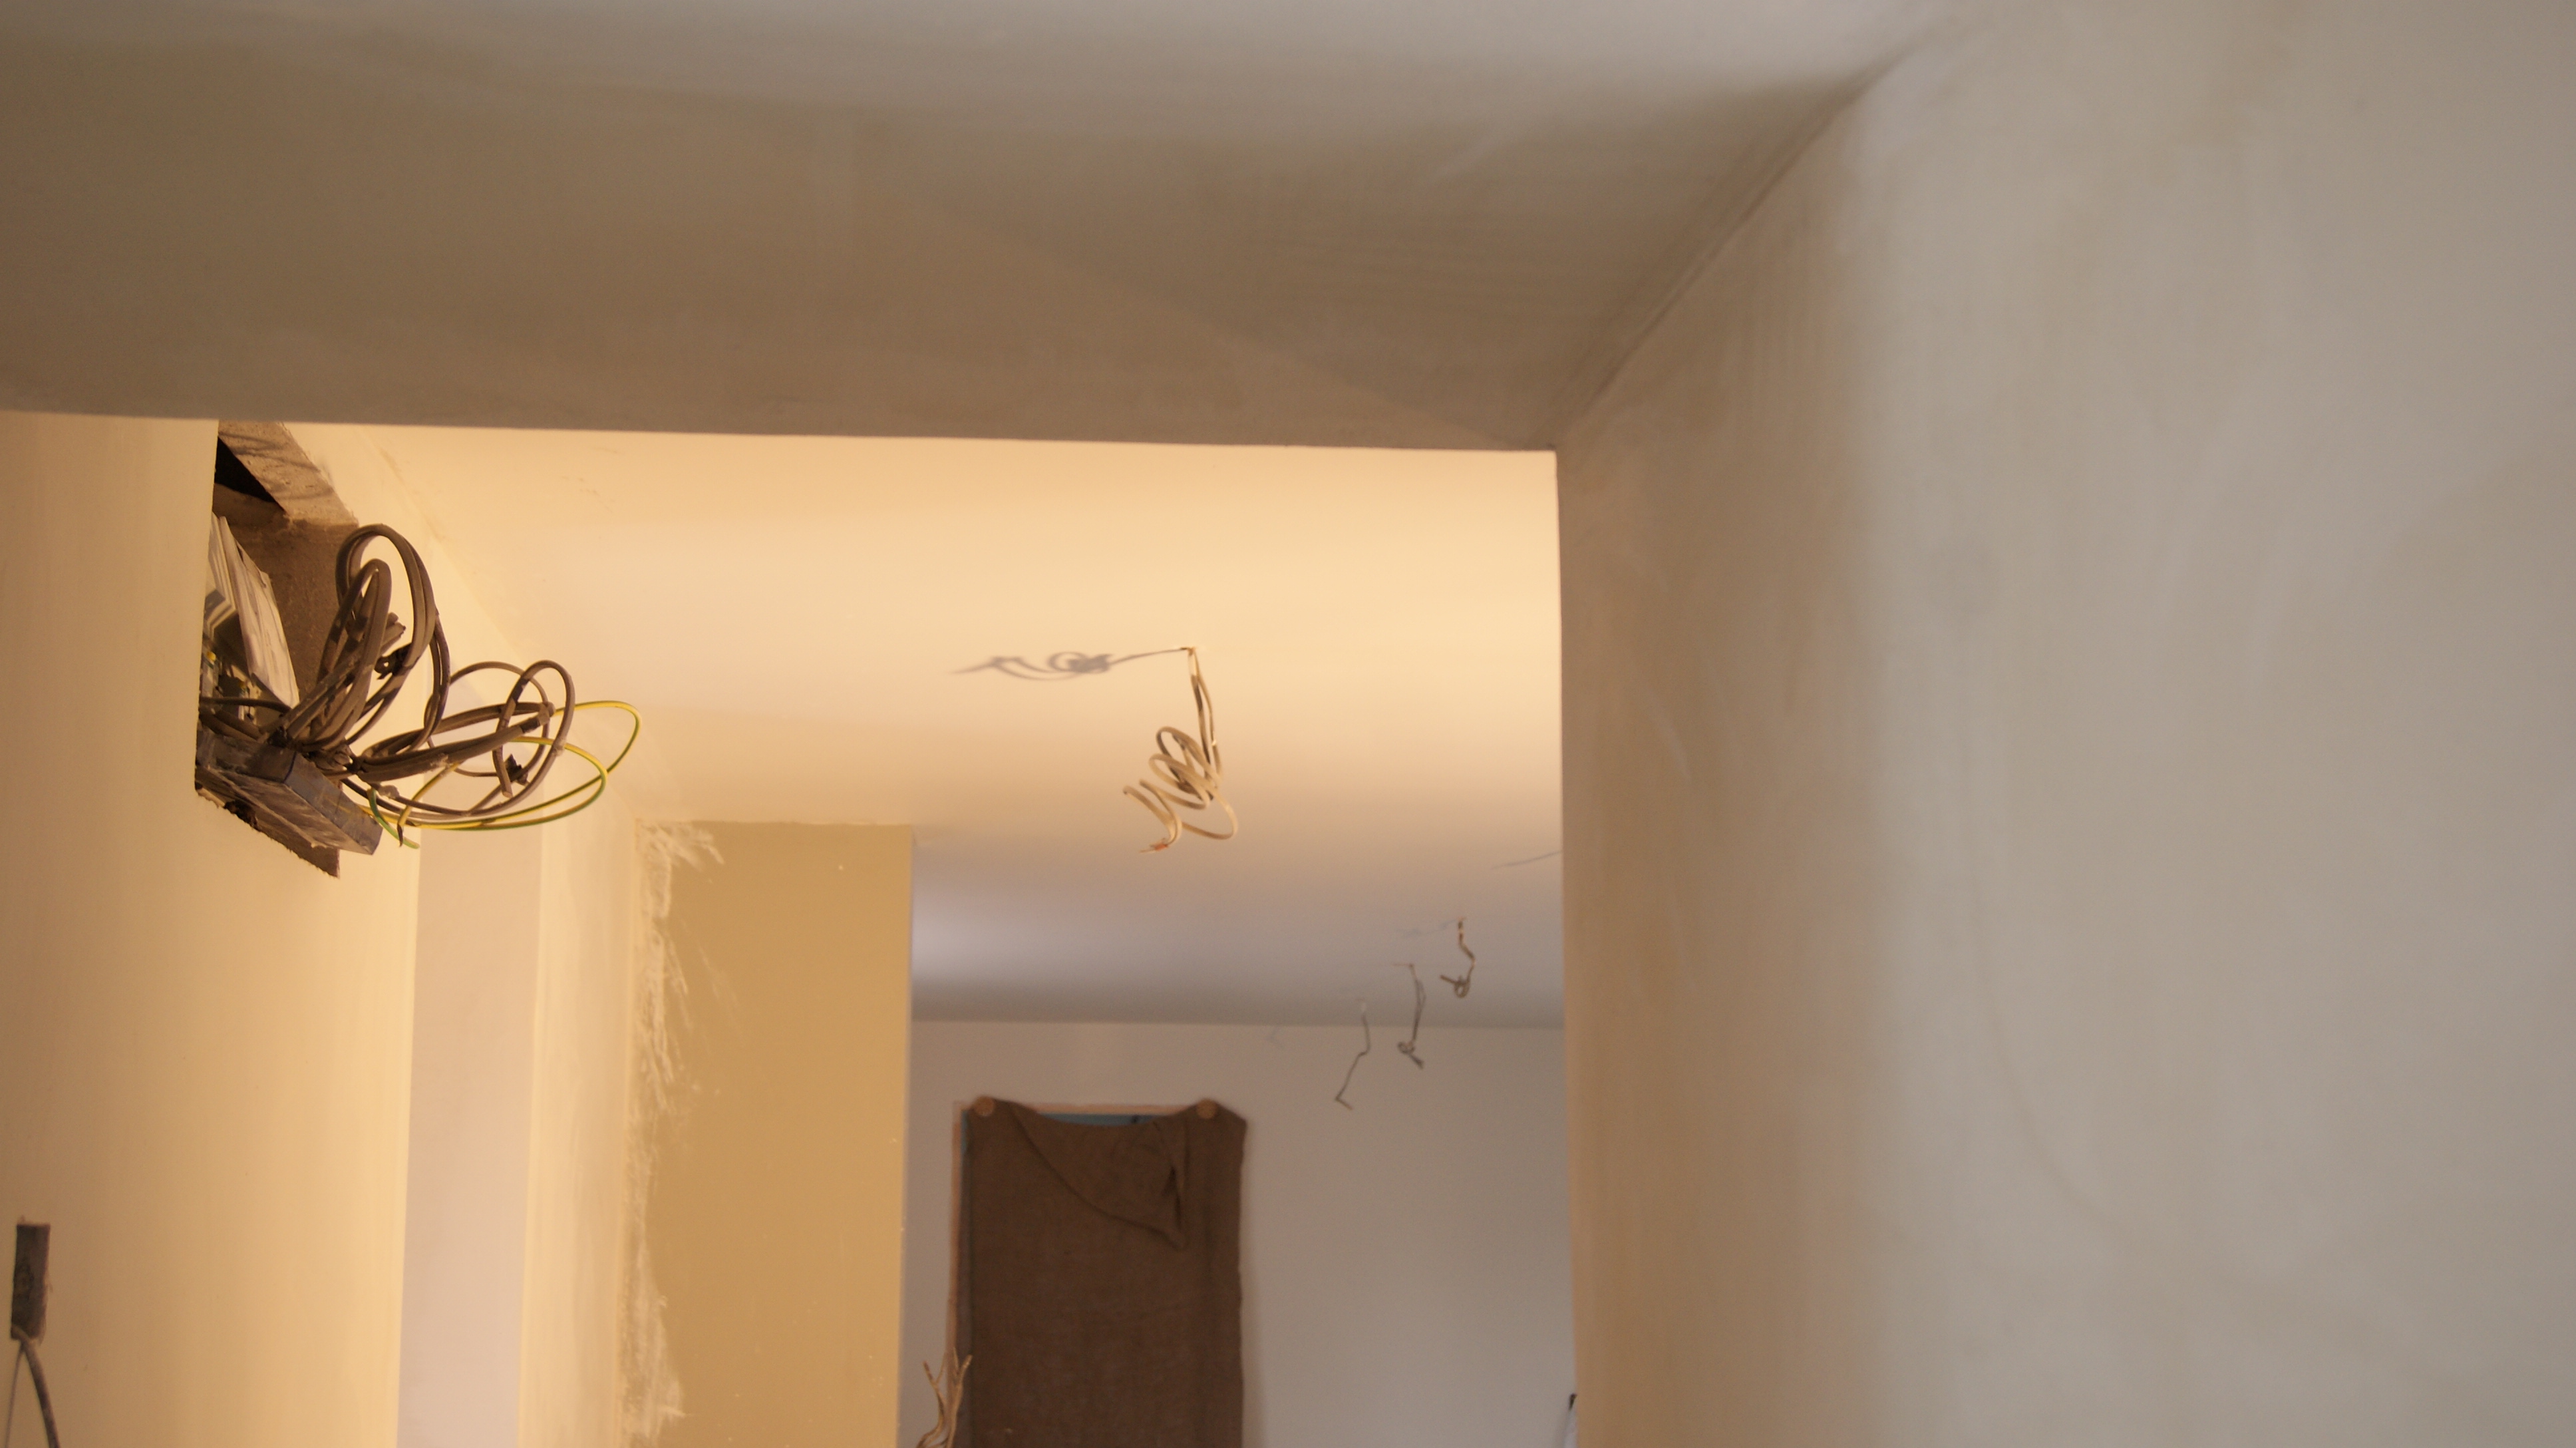
They had already got a first coat of hemplime on the walls and there was a host of other surfaces for us to plaster as well : woodwool board, Cork, Calsitherm sheets, bricks, stone ain addition to their first coat of hand applied hemplime.

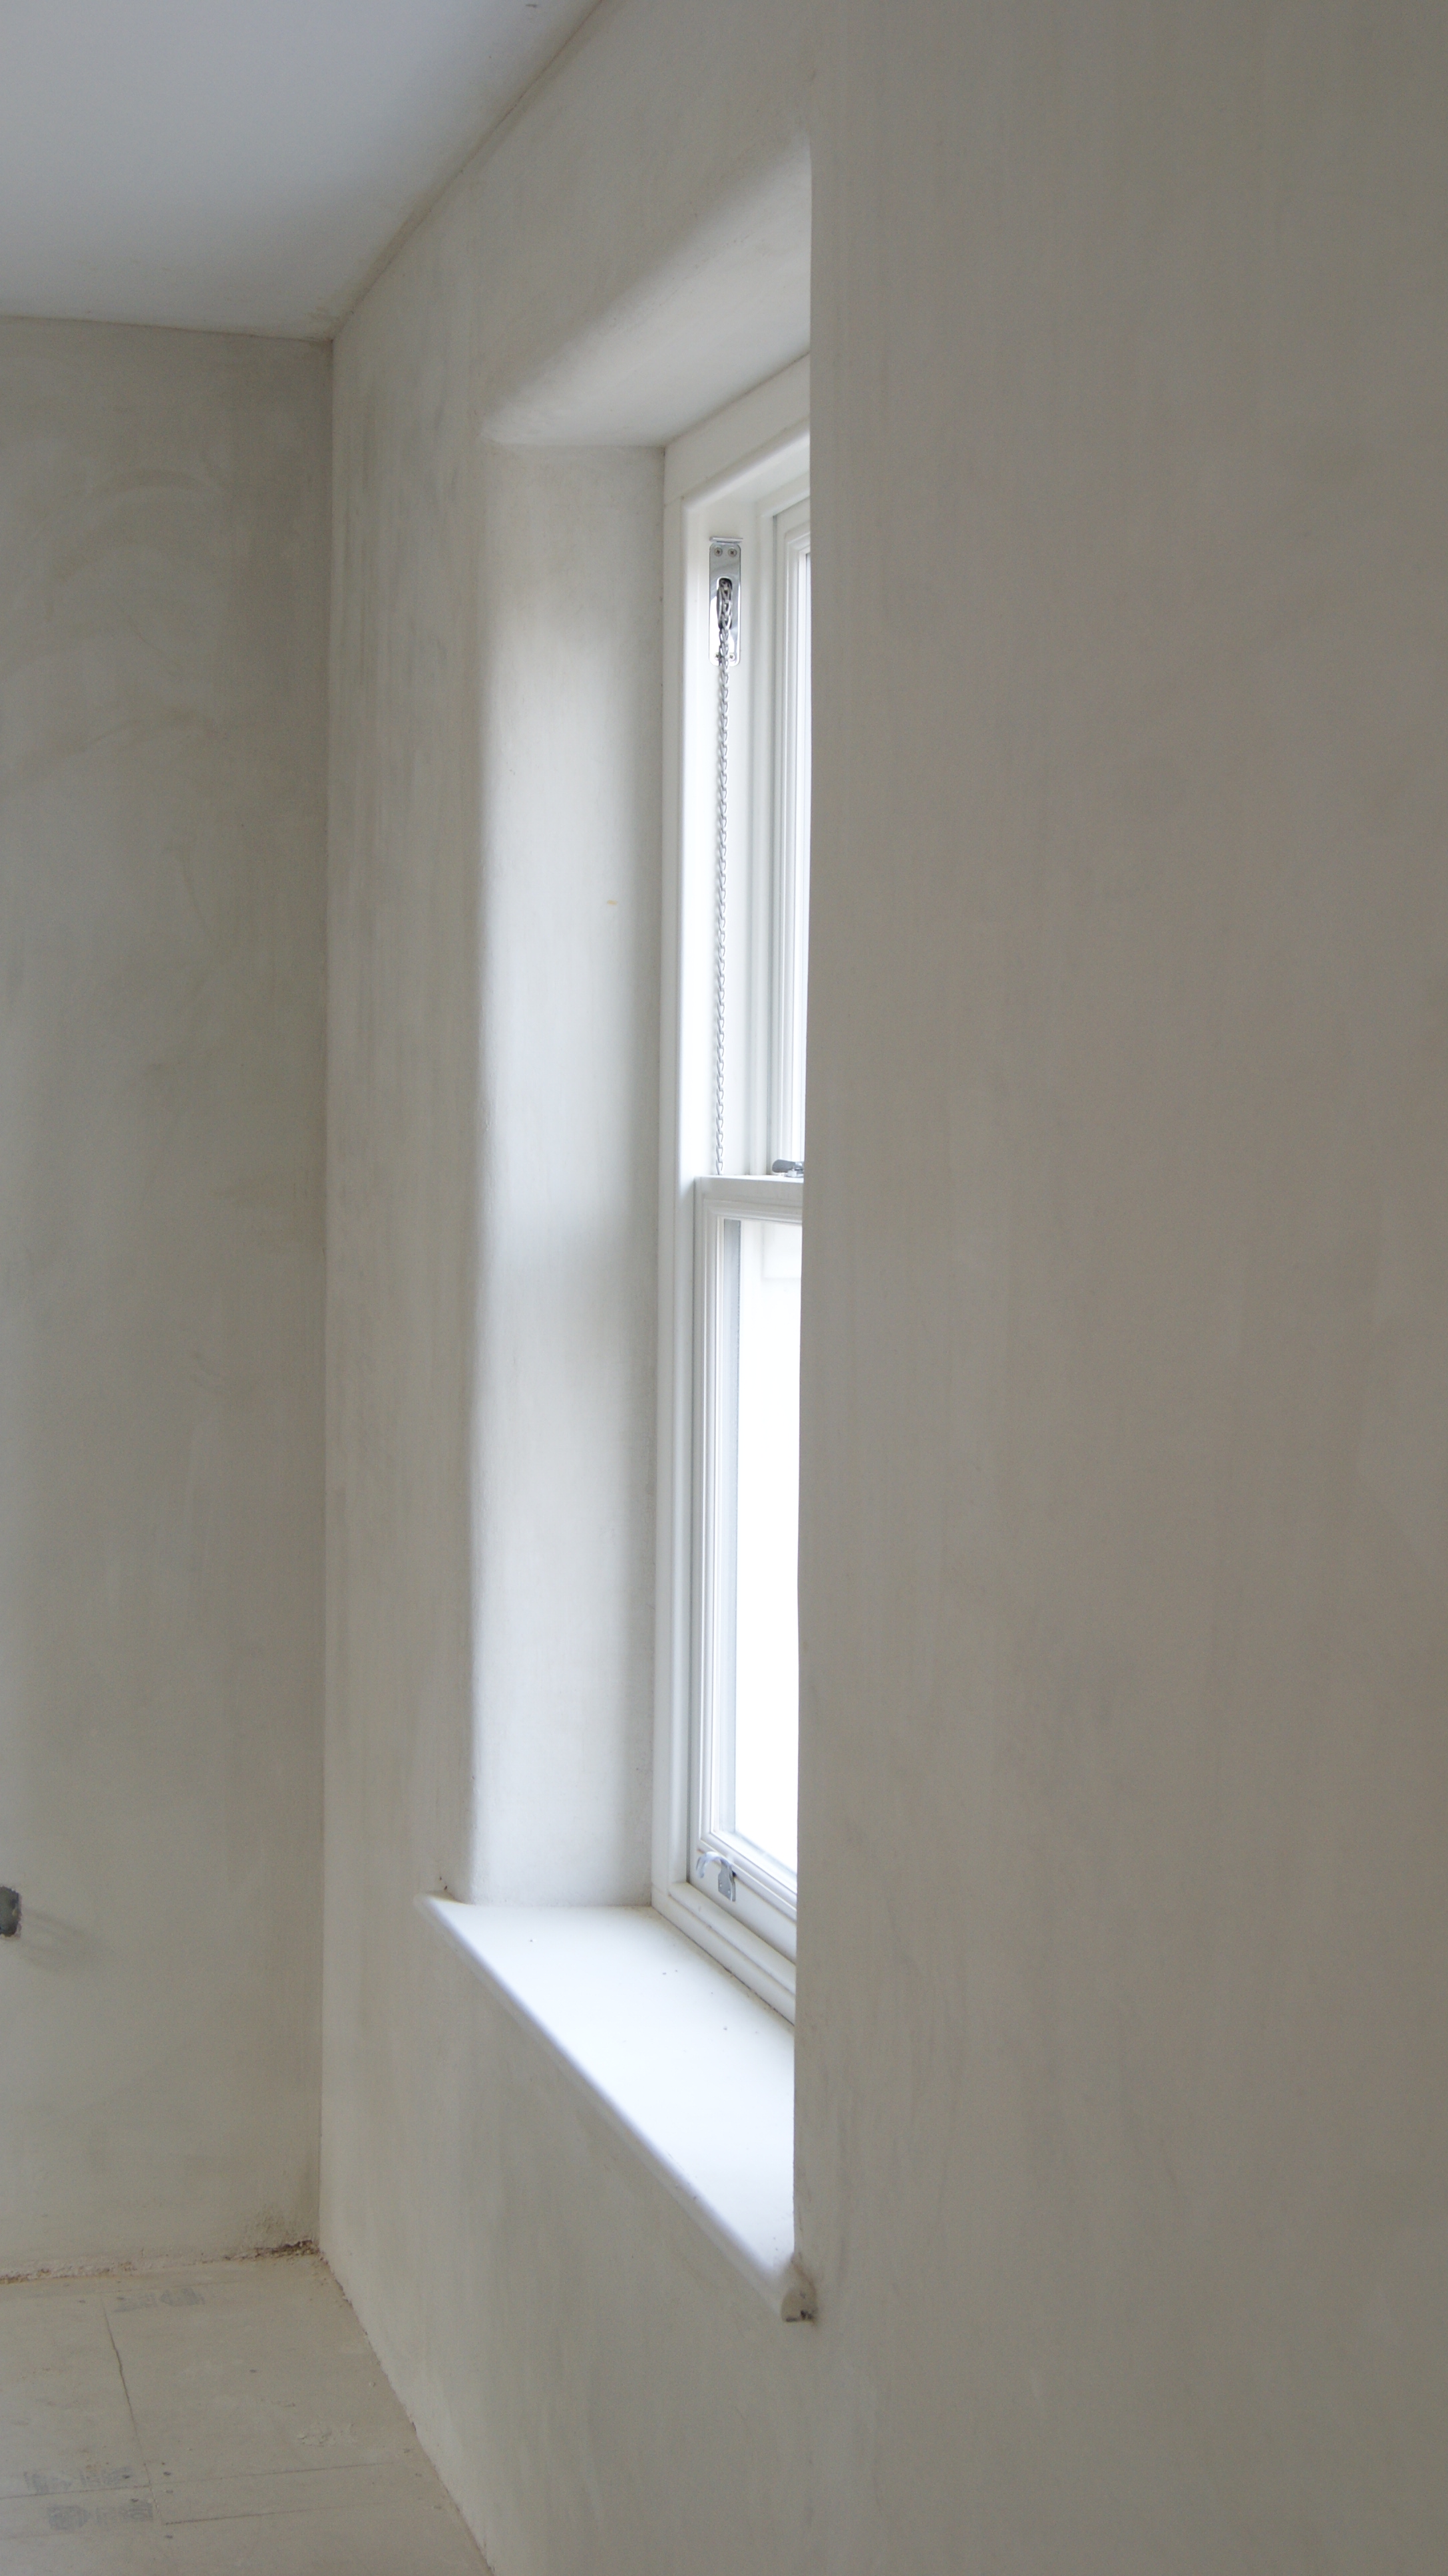
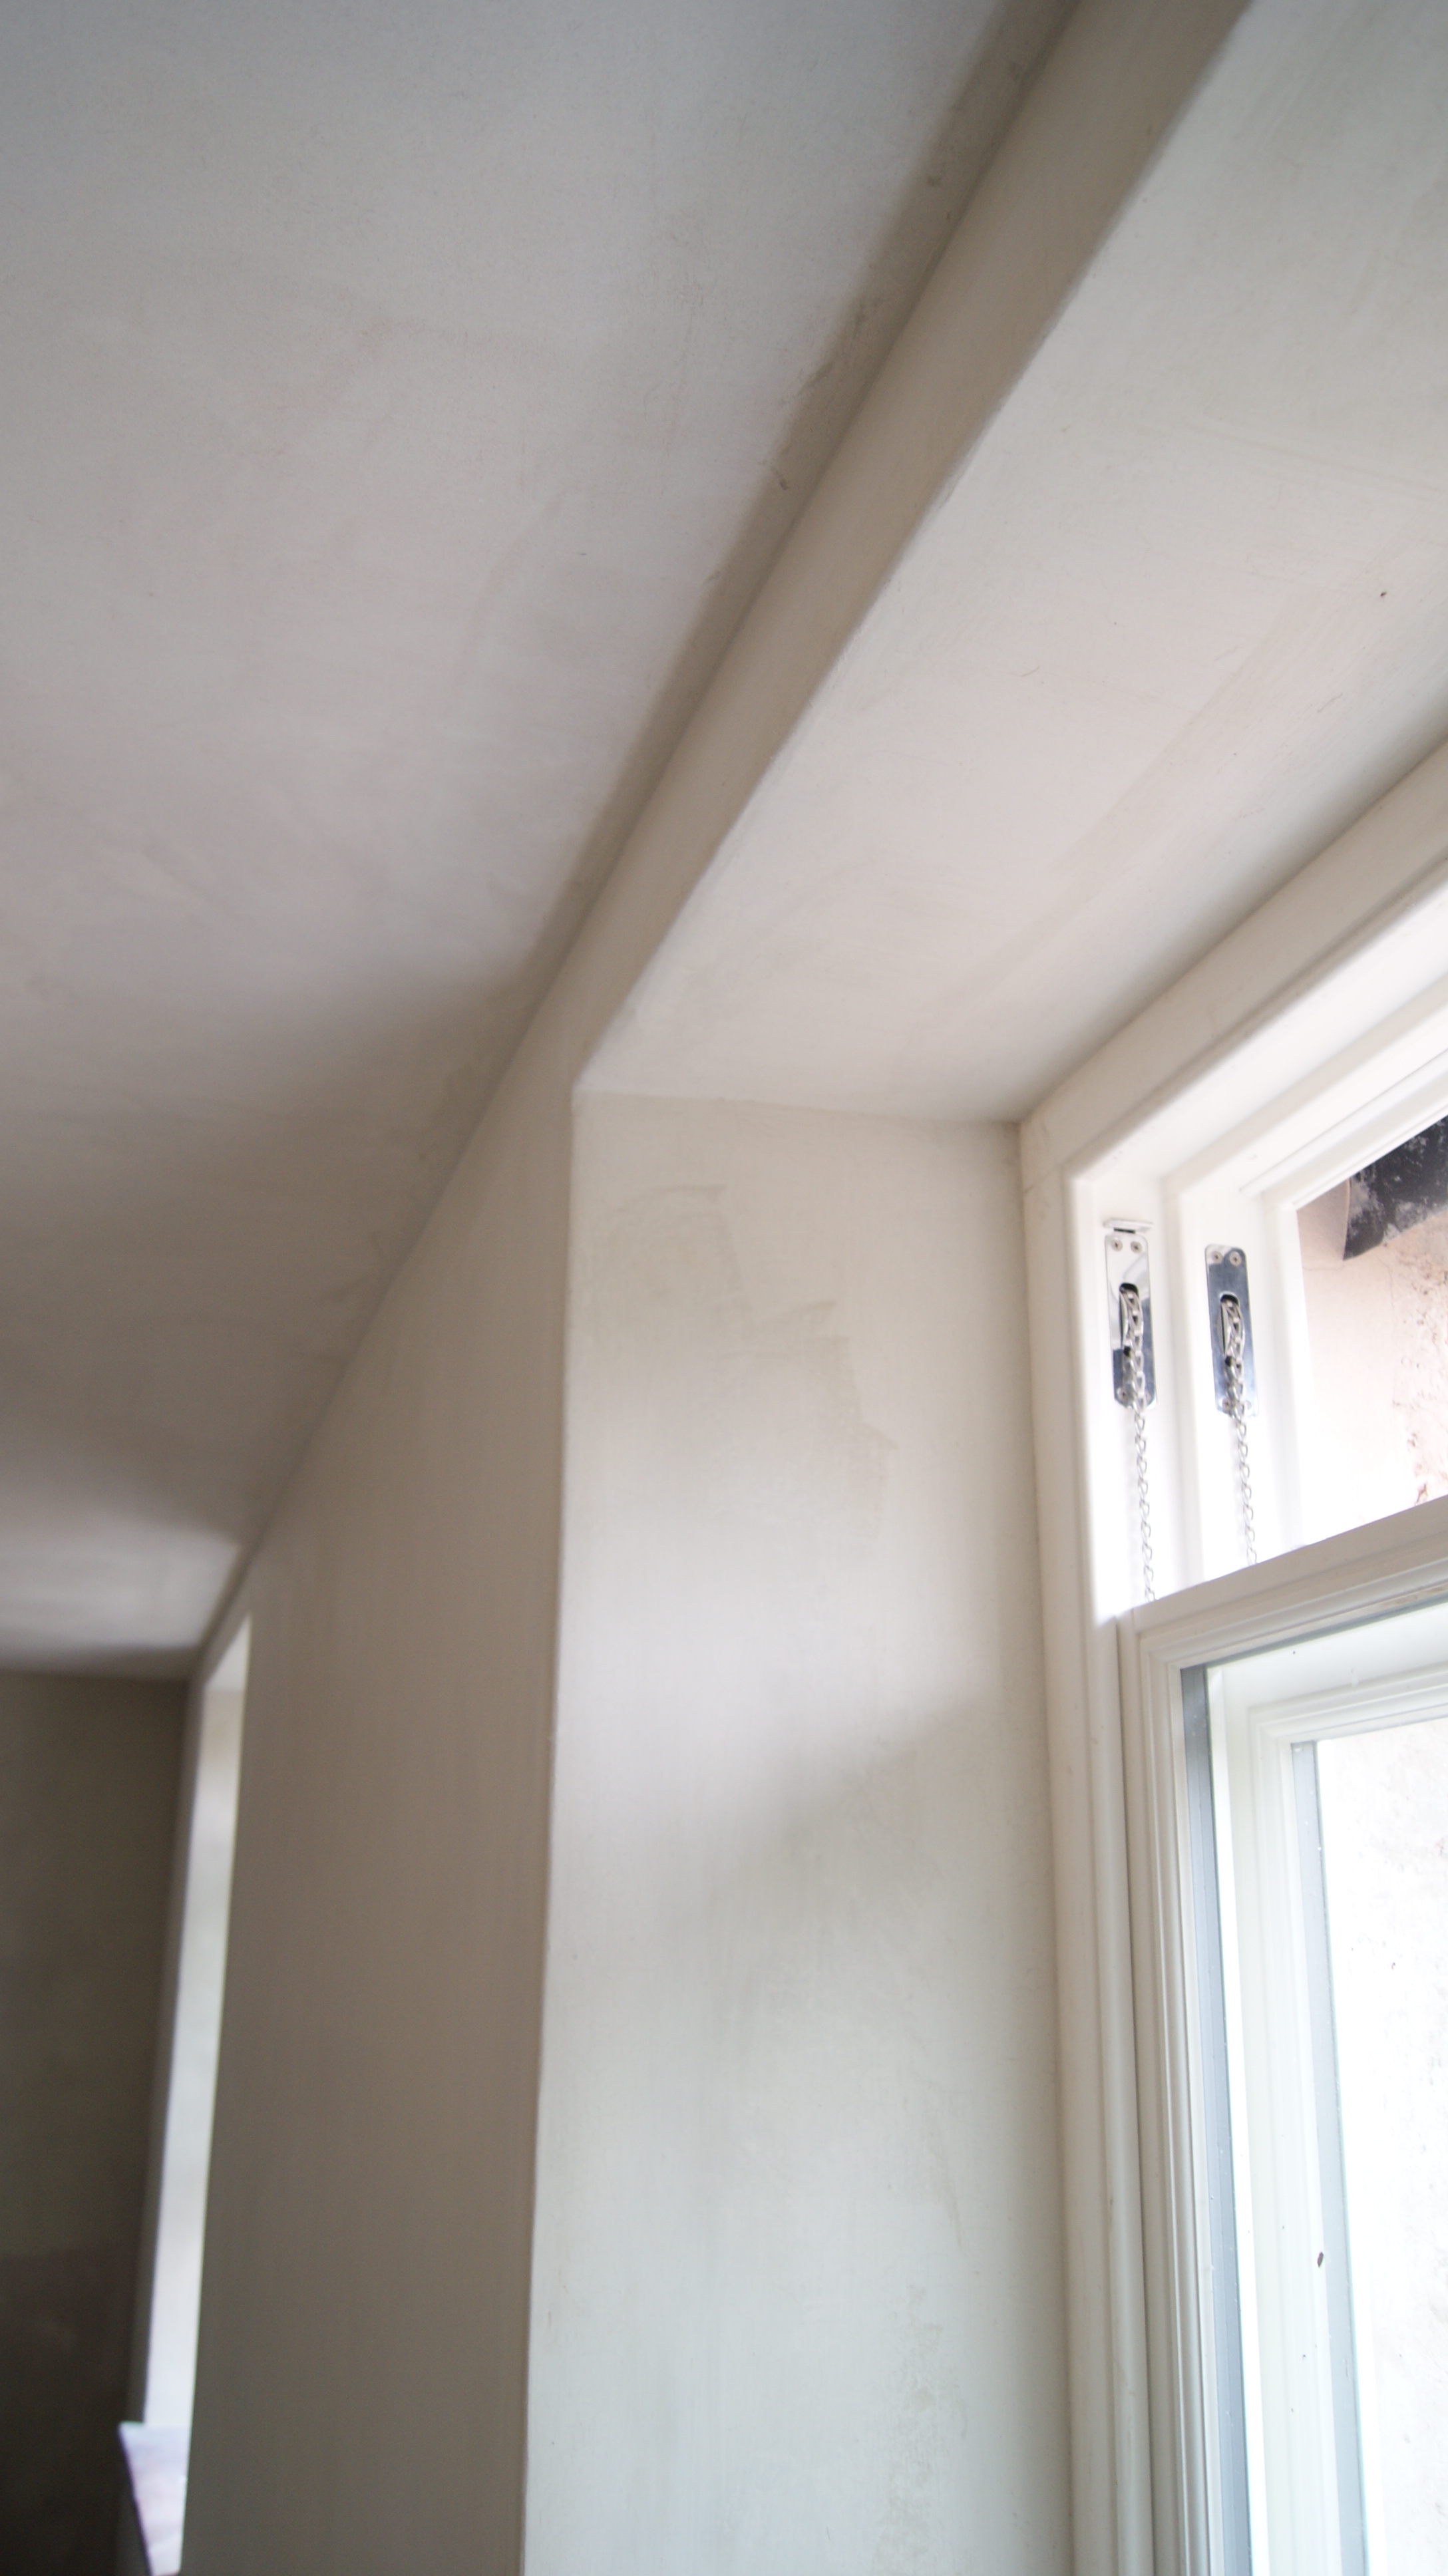
Half the house is newly built so we wanted the limeplastering to be as regular as the multi finished walls.

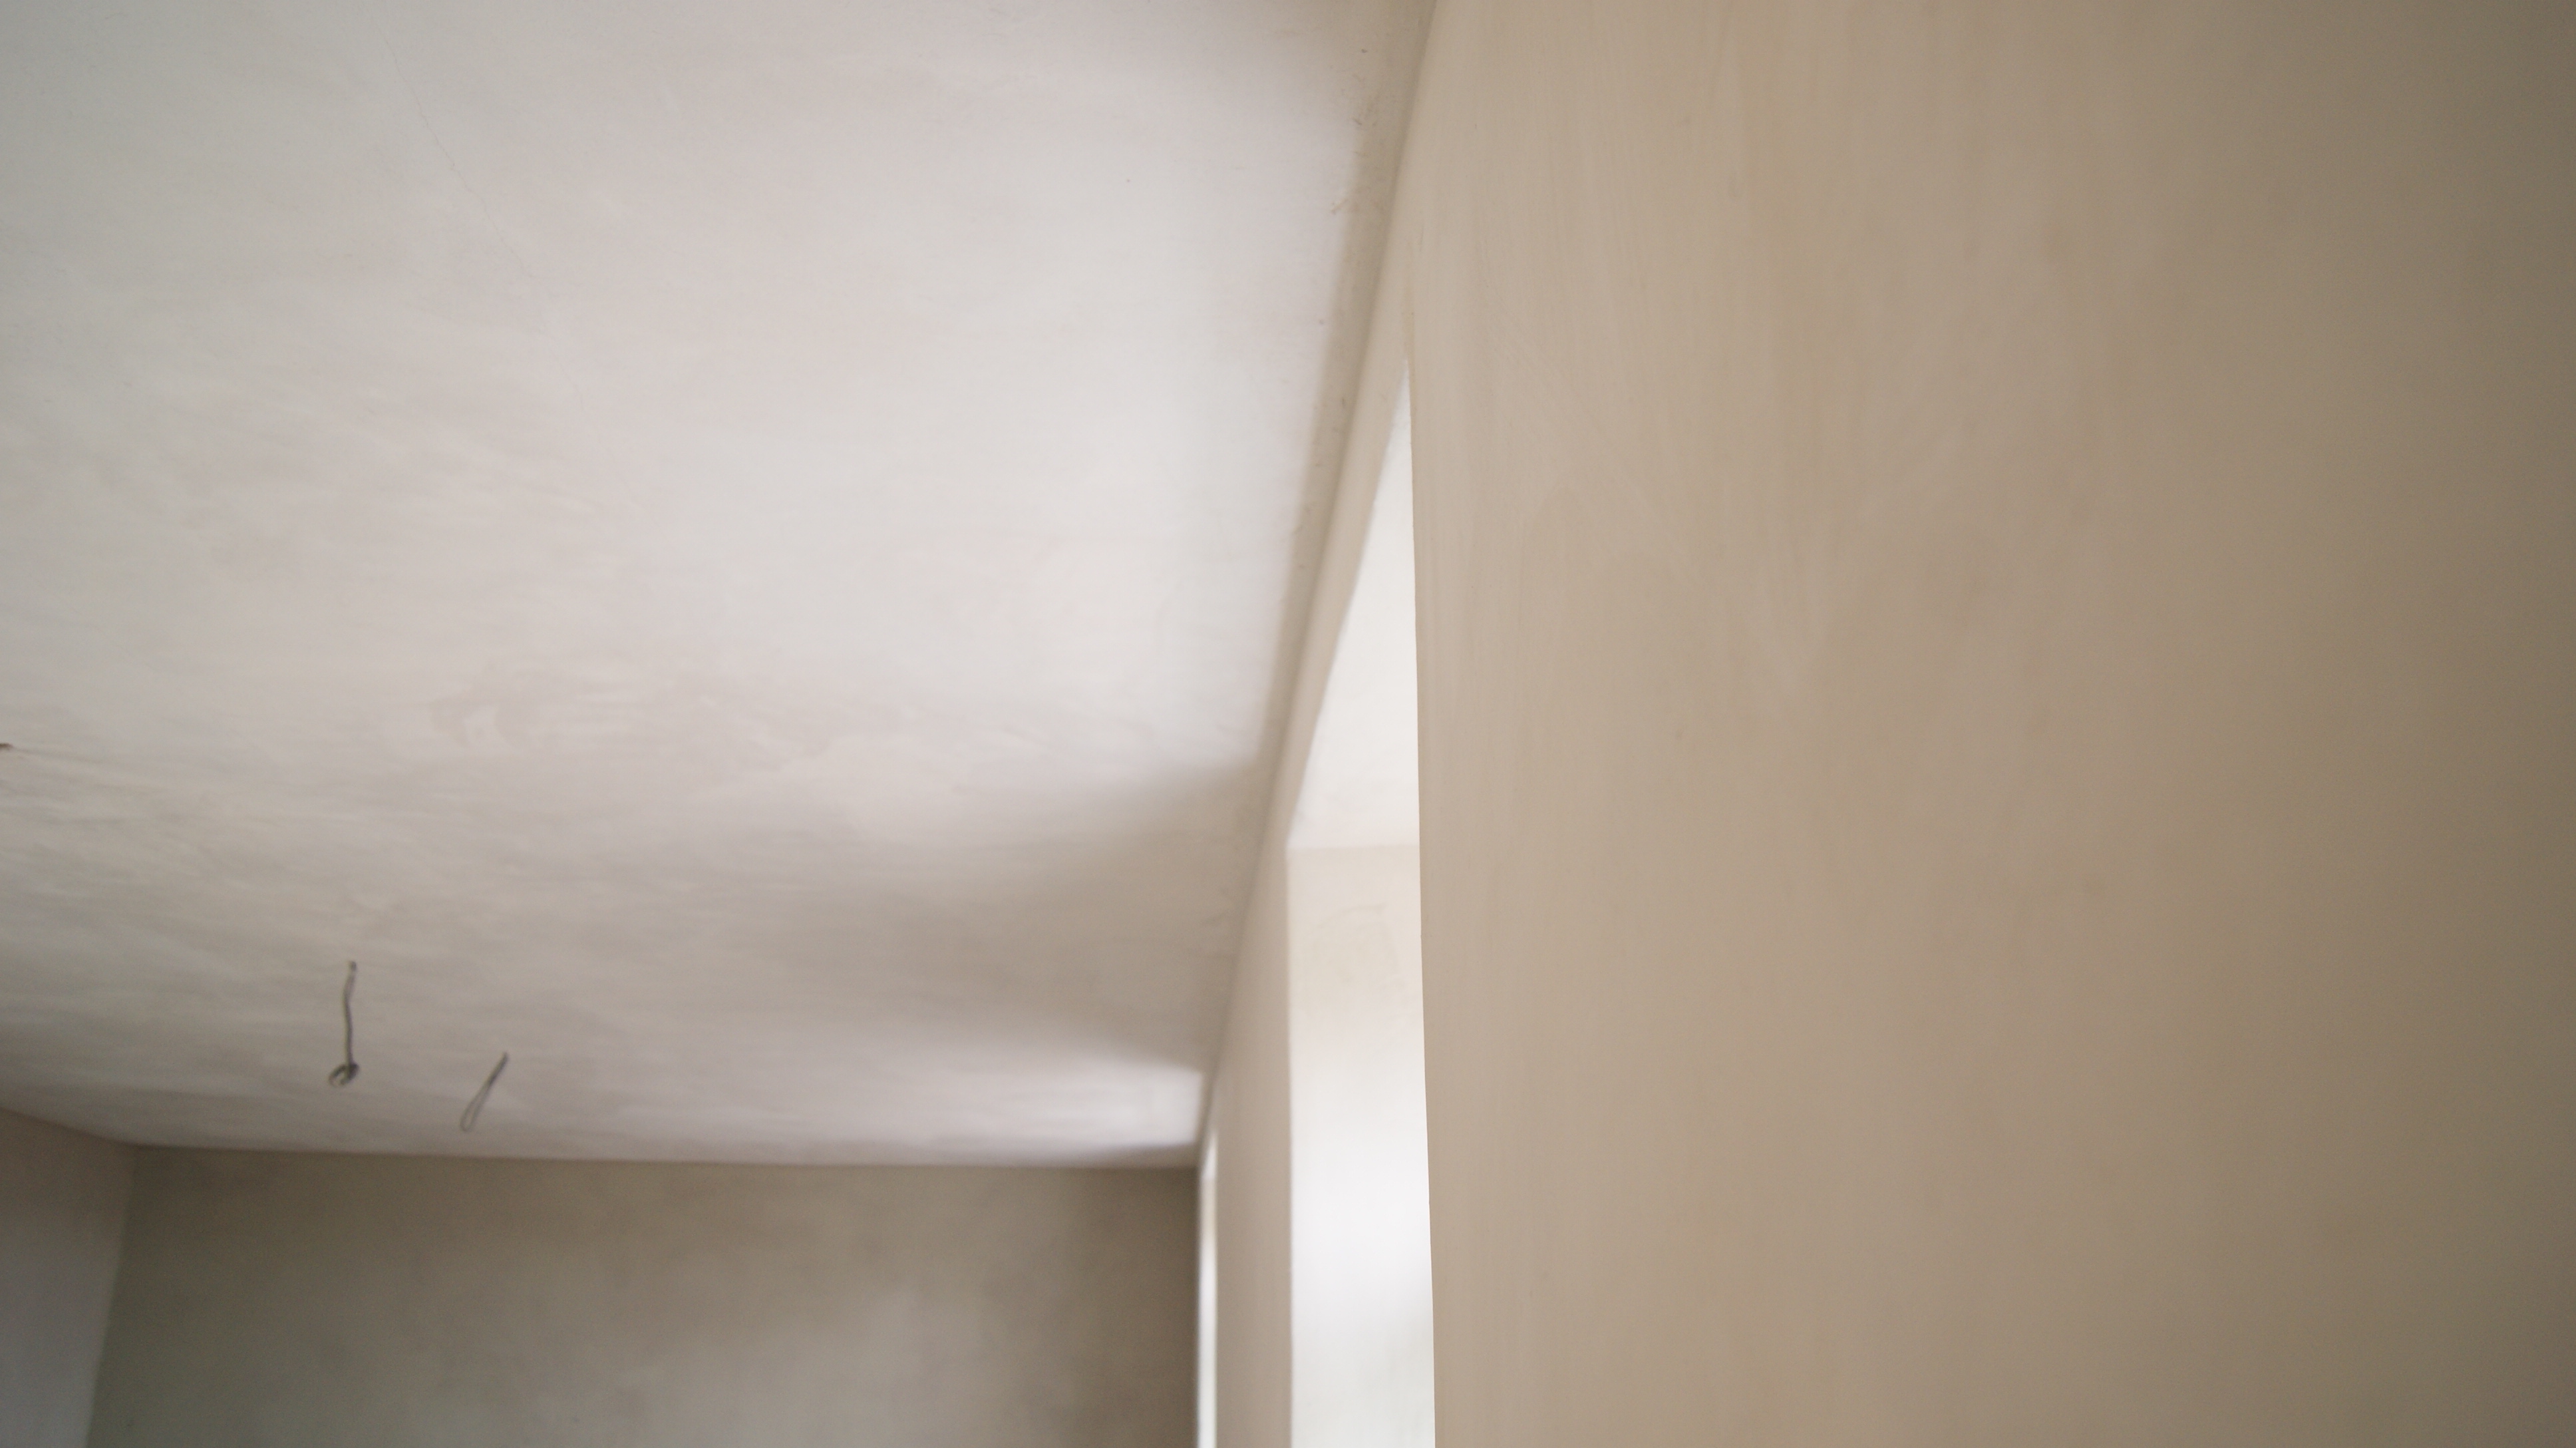
I am afraid that the DIY applied hemp was not very flat and so I used string lines and screws to get us some flat screeds to work from. The walls came up lovely and level with derby floats and feather edges in much use. We let it all dry and then returned for phase two – the finish.

I might already have mentioned this but for my taste there is not enough lime in the commercially available finishing plaster so I bought a ton of it and several tubs of sieved lime putty. To 45 litres of finestuff as supplied I added 15 litres of lime putty and for my needs and technique that was ideal. The plaster is nice and sticky, spreads well and the suction is much reduced – yes! to reduce suction and increase spreadability add more lime not more water.

This plaster was applied about 5mm thick as flat and even as possible onto an already flat surface, the plaster was then floated with felt floats this gave a realy good finish for the final skim. The recipe for this I will keep secret for now because it is still in development but I will tell you it gave us a finish very similar to the modern stuff with very limited cracking, smooth to the touch and close grained with an eggshell type sheen to it.

The same plasters were used on all the surfaces with the occasional modification: for instance on the woodwool board ceiling I added loads of short horse hair to the finestuff, an idea taken from the Chalklime I had been using elsewhere, loads of hair mixed with  fine lime rich plaster – a joy to use, spreads beautifully and cracks not a jot*, two coats on the boards, hair in both coats, trowelled smooth and flat.

*Oh yes there are! After the heating was turned on an the house began to warm up the timbers began to shrink a bit so not just the woodwool board ceiling but the cork boarded stud wall too began to develop hairline cracks. It is being monitored and it is expected that the cracks will be dealt with at the time of decorating.

SONY DSC SONY DSC SONY DSC SONY DSC SONY DSC SONY DSC

Posted in Lime Plaster, Uncategorized | Leave a comment

Chalk lime plaster from AngliaLime

It might seem a recipe for trouble if the aggregate in the plaster is not sand but crushed chalk, very sticky and smooth yes but tremendous shrinkage also. Yes that is true but Anglialime put so much hair or fibre in that there are no shrinkage cracks – it still shrinks but en masse about 10% of the thickness so beware – you might get it flat when you trowel it up, and you can’t float it either, in fact it is pretty difficult to get it flat but nonetheless, when you have and then walk away it starts to shrink and as it does the thicker areas shrink back more than the thin areas so I am afraid what might have been flat is that no longer.

When we first started using it we though what on earth is this rubbish, you can’t dig it out of the back unless you use a fork, you can hardly knock it up – in the end we used a hedge trimmer! We got funny looks from the builders. But to be fair to the suppliers when we started to use bags that hadn’t been sitting around a month it was different. And so we learned that it doesn’t keep well as the fluid drains away and it gets too stiff to work. When it first arrives from the supplier it’s good stuff.

We found that you could really lay it on, for common work you could get away with one coat about 15mm thick, for a better finish that could be skimmed over with some fine stuff.  We found that any coats less than 5mm thick were really not ideal and that the optimum thickness was probably 10mm and applied in two coats on laths or masonry and the results were very good.

One benefit we discovered was that you drop very little on the floor, what we did drop was often when we tried to take part of what was on the hawk instead of it all and the fibre being so great it all tended to come off the hawk at once.

It is not like regular lime plaster in many ways, it is claimed to be very similar to medieval plasters and I have seen very white, extremely hairy historic plasters so hairy indeed that it can be pealed off the wall in a sheet as we found, or to be exact, the electrician found for us.

I would say it was a plaster for cottages and other situations where regularity is not required because it is difficult to get it really flat with crisp corners but it has charm and it dries and sets extremely hard and tough, in many ways it is remarkable stuff however it is almost twice the price of my regular course stuff so cost is a bit of an issue but it has got me thinking.

for more info on the product:

Click to access FibreChalk%20Usage%20Guide.pdf

a nice cottage with chalk lime plaster

a nice cottage with chalk lime plaster

Posted in Lime Plaster | Leave a comment

lath problems

This is a quick aside. A customer had a ceiling he needed me to plaster, he had already fitted the laths, sawn oak, he had fitted them really well with very good spacing, the job was simple the ceiling only 15 square metres – easy.

I got the first coat on on a Friday and on the Monday got a call that quite a lot had fallen off.

As the picture shows it hadn’t all fallen off but even so there were a few patches and it wasn’t immediately clear why. What was plain to see was that some of the laths had bent forcing the plaster off.

In the end we settled upon the likely cause – the laths had been tightly screwed rather than nailed and they were too tightly fixed to allow any stretching as they absorbed moisture from the lime. and so they had to bend.

If they had been nailed they would have split and and although adequately fixed would have been able to move just that little bit and wouldn’t have needed to bend.

If you think about it, each individual lath needn’t be fixed very securely or need be very strong as one lath isn’t doing much work and neither is one nail or screw in this case.

the expanded bent laths that pushed off the plaster

the expanded bent laths that pushed off the plaster

Posted in ceilings, Lime Plaster, technical stuff | 4 Comments

A very sorrowful gable

A client had a very damp gable wall, water was running down and the damp patch was growing ever larger. Outside the gable was complicated by a chimney breast that was once inside, but since the house has been knocked down, the inside chimney breast was now an outside protuberance. The problem was, of course, that it was cement rendered and that the cement had cracked, there was a nice crop of ferns stating to get established.

When we removed the cement, starting at the top, we had a bit of a surprise: the building stones were rather small, the size of paperback books, and the mortar was mud, and still was mud, very wet and all the stones moved as you tried to get off the cement.

I decided to remove only half the render before roughly flush pointing the wall to protect the masonry joints – this work has been done through February, so it’s been a bit wet a times.

As we removed more cement we revealed more delights; voids filled with buckets of cement for instance. When we got to the bottom section and started to remove the cement on the left and right edges we found that the cement was covering about 100mm 0f dry earth and ash mortar sort of bulked out with roofing tiles face bedded. As we removed this useless stuff we soon came upon the inner brick skin of the house: the gable to the right of the chimney breast is 9 inch brick, to the left thick stone masonry. The brick seemed to have been butted up against the now gone front elevation of the house, we just couldn’t work out the sequence of building events, but it seemed that the elevation had been roughly removed and, like a rotten tooth, the root had been left embedded in the brickwork. The root, as i say consisted of rubbish on one side, whereas on the left side there was more definite masonry and even a trace of plaster or render. I cant understand why, for the sake of the day or so we took to remove the rubbish and to replace it with bricks, the original ‘builders’ had just smeared a load of cement over the top.

Anyway, with some care, some frustration at the weather, a good bit of worry, especially when our earlier higher up first coat of dubbing out/pointing/render, it was all those really, cracked along a definite line above our new work ( I eventually put it down to a bit of settlement and a bit of shrinkage as the edifice began to dry, goodness knows it must have expanded with all that water content!) we got it all secured and the first coat of render on.

Throughout the project I was considering sheeting it up at night because of the rain but reconsidering because of the wind, likewise I was sometimes wishing the scaffold had a roof and then, because of the gales, glad it hadn’t.

Lime is remarkable for its ability to withstand rainfall within just a couple of hours of being applied, it doesn’t withstand running water, but copes very well with rain, as there was no frost I had worries in that direction.  Because of time limits and slow drying we were forced to apply the second and third coats whilst the first was still soft but as each coat was applied as thin as possible I believe that the render will be alright especially as its finished with a roughcast surface which gives maximum chance for evaporation and drying.

painted cement render over rubble and mud

painted cement render over rubble and mud

left hand flank showing traces of old lime render trapped by the later masonry (on the left with some painted cement render still attached, the old masonry on the right, old render or plaster in the centre

left hand flank showing traces of old lime render trapped by the later masonry (on the left with some painted cement render still attached, the old masonry on the right, old render or plaster in the centre

view of the left hand flank showing the ragged quality of the masonry

view of the left hand flank showing the ragged quality of the masonry

right hand flank voids once filled with cement and rubble

right hand flank voids once filled with cement and rubble

this was virtually all filled with cement

this was virtually all filled with cement

the whole of the right hand flank had to be reconstructed to give something to render

the whole of the right hand flank had to be reconstructed to give something to render


Posted in Roughcast render | Leave a comment

A ceiling in need of a stitch in time

ceiling

The ceiling had a crack in it running down the centre, on inspection we found that 5 of the joists had come out of their slots allowing the ceiling to drop. So I drilled holes through each joist just above the laths, inserted a 10mm bolt to which I attached a garden wire tensioner, I attached the other end to a bracket bolted to the beam. Then I was very pleased to see that I could lift the ceiling the required amount just by turning the tensioners by hand a half turn each. This brought the ceiling up and secured it for the future. Now the decorator can fill the crack and repaint.  If this hadn’t been done gradually more strain and movement would have brought the ceiling down or at least damaged it beyond a simple two hour repair.

Posted in Lime Plaster, technical stuff | Leave a comment

roughcast revisited

In 2006 I rendered a house extension which had been built with artificial Cotswold stone, hard,slightly glazed, unattractive and unconvincing. So the owners thought it might be lime rendered.

I remember thinking that there could be a problem with adhesion given the hard nature of the structure, however, I devised a plan:

I brushed on a thick lime wash and whilst it was still wet I harled it with a lime course stuff, then I trowelled this coat flat, waited for it dry and then harled it again. After which I gave it 4 maybe 5 coats of limewash.

Today I went back.

The render is almost prestine although it has got a bit grimy where water has been running down the wall from gutter overspill, and some of the lime wash has washed off from the most exposed elevation, but overall its great.

Unfortunately, I cant remember weather it was hydraulic lime or simply lime putty.

But some observations:

The aggregate was Cotswold grit sand.

the render is tough, robust yet thin.

The render appears to be able to absorb some moisture and to let it go again even though it has no need to, because the walls certainly don’t.

so was it hydraulic lime ?

It has stuck well to the concrete substrate but in the wet you can just make out the cement joints beneath the render – It breaths, or appears to be able to.

was it lime putty?

Its hard. Its tough. It withstands the elements.

on the left you can just make out the mortar joints

just a little loss of limewash from the fake quoins.

I should have kept a record I suppose but whatever lime I used it worked very well and looks great after 7 years.

Posted in limewash, Roughcast render, technical stuff | Leave a comment

Nothing need be wasted when using lime

Having finished the harling there was a bit of course stuff left over and the tools needed washing. so both the remaining render and the tool washing water was put in a barrel and, with the addition of more lime, turned into limewash,  of course, the limewash was gritty but that is exactly as I wanted – I normally put stone dust into the first coat of limewash when doing roughcast to help fill out the texture, the bigger grit, I knew, would just sink to the bottom but the finer stuff would stay in suspension and be perfect for the first coat.

The only problem with gritty limewash is the clogging up of the brush but I have found that cheap 6 inch wall brushes don’t clog up and if you hold two in your hand you can make really good progress.

Posted in limewash, Roughcast render, technical stuff | Leave a comment

Short measures

I am fed up with opening tubs of lime putty and finding that there is not the 15 litres I was expecting, I assume I am being charged for 15 litres so why am I not getting them all?

its not just the annoyance of being cheated but that I risk not having enough to complete the project.

This phenomenon is not restricted to one supplier and I assume its not deliberate but simply failure to properly supervise who ever is filling the tubs, I expect they shovel in the lime putty till the tub looks full and then in transit the putty settles down properly and hey presto the tub is half full. Why not fill the tubs on some scales or tamp the lime down properly because you wouldn’t get away with this in a bar – a pint has to be a pint so why can’t 15 litres be 15 litres and not somewhere between 10 and 15. 

There is a real danger that we are in some kind of quality creep in which lime tubs are not full and ready mixed mortars contain less lime – almost all ready made finishing plasters I have purchased have nowhere near enough lime putty in them – Fine sands need more lime – its all down to surface area: the finer the sand the greater the surface area hence silver sand requires to be mixed with at least as much lime putty – i.e 1:1 not 1:2.5 as with course stuff.  Come on, we need good quality materials and that means the correct amount of lime – adding stone dust instead to maintain workability is not good enough

The materials are expensive enough for goodness sake so lets have some good stuff.

This isn’t a case of workman blames tools – I know the materials are sometimes not good enough and so I have to adjust them to suite the project, I know I have to do that, many others don’t.

and now that’s off my chest I’ll pour myself my own short measure – a small dram of Laphroig quarter cask.

Posted in Lime Plaster, technical stuff | Leave a comment

Hydraulic lime variability

Whats going on? I had two bags of Breckweg NHL2 and one bag was distinctly whiter than the other – and I thought they where all the same – well actually I didn’t! – they vary a lot.

In fact they’re all over the place and the NHL number is pretty vague. Actually the Breckweg technical sheet claims the pressure strength to be ≥ 2,5 N/mm squared, which is close, but so what? the tables for St Astier limes show a whole range of strengths associated with different mixes and they don’t look too hard – they even mention flexural strength and this is interesting because as a plasterer I am not really interested in compressive strengths, I’m interested in how it breaths, how flexes etc etc.

My advice with hydraulic lime is find a brand you like, stick with that one and see how it goes, I use two brands but never mix them together on the same project – and if your about to tut tut because I’m using the dreaded Hydraulic lime – I’m rendering onto a  cement rendered surface on a concrete block and metal lath background. Why? I’ll write about it later.

http://www.stastier.co.uk/nhl/testres/physmech.htm

http://www.heritage-lime.com/uploads/3/2/5/0/3250115/data_sheet_natural_hydraulic_lime-_nhl_2.pdf

Posted in technical stuff | Leave a comment

Keying Plaster

The keying of lime plasters and renders is I suppose, best done in a criss cross diamond pattern, you see it everywhere on old buildings, and this can be done with a scratcher made from sharpened laths or maybe a flat piece of wood with 4 or five triangular teeth cut into it. Or you could buy a metal wire scratcher as used by modern plasterers.

However, a lot of modern plasterers scratch their plasters and renders in a series of (often) wavy horizontal lines. Of course, there’s always the edge of the trowel brigade who, as if prompted by a latent instinct somewhere deep in their brains, make a few narrow criss cross token incisions.

On a visit to Dougga in northern Tunisia I found what I think is Roman keying, admittedly, it could be a decorative pattern but as the picture highlights it has been rendered over and so could be an example of local practice but as the city had at least an 800 year history refurbishments and alterations must have been widespread. And yet…

A scratcher made from stiff twigs a bit like a besom is extremely effective at both keying lime plasters and compacting. If the sticks are dragged horizontally across the render it both keys and compacts, used in a sweeping action it can be used to remove rogue high spots too. The keying pattern is very similar to the Dougga example, another method of compaction is to beat the render and I have read of this practice in connection with earth mortars and pargetting.

However, a bunch of twigs is surprisingly difficult too acquire, especially a bunch that doesn’t break up over the period of a day so I have started using a wire scratcher, and yes I often scratch in horizontal lines, and it too compacts the render.

I have even found a secondary use for it – it is good at teasing out the tangled horse hair I get from the stables.

As for Roman keying – I saw not one trace in either Pompeii or Herculaneum or even Chedworth Roman Villa. Has anyone seen any?

Theres a picture of whats claimed to be keyed daub from around AD63 but it looks more like a decoration to me as its a very regular decorative pattern. check it out:   http://xcavate.blogspot.co.uk/2012_05_01_archive.html

is this keying and is it done with twigs?

or is it a decorative pattern later rendered over?

Posted in Lime Plaster, technical stuff | Leave a comment