A master of plastering – I aspire to this level of dexterity and cleanliness!

A master of plastering – I aspire to this level of dexterity and cleanliness!

SONY DSC
I have been lime plastering for a number of years and over those years I have usually bought in ready mixed course stuff and fine stuff, however I have recently developed my own finishing plaster as mentioned already and I think it is the best finishing plaster I have ever used and it should be as I developed it for that purpose.
Recently I began to think about the course stuff, that too could be better and I have just done a job where I made my own.
I have been thinking for some time that there is never enough lime in the mix. Most mixes nowadays are in the region of 1 part lime putty to 2 1/2 parts aggregate and in the Cotswolds that is usually a mixture of sharp sand and Cotswold stone dust. For me that is not enough lime.
The recipe I am using at the moment is 1 part lime putty to 2 parts sharp sand, this gives a really sticky mix to which can be added a lot of hair. It is a happy fact that when you add a lot of lime, the plaster will tend to crack as it dries out, but being so sticky it will hold more hair and that hair stops the cracking. This is a rule worth remembering, the stickier the mix the more hair it will take, of course the best way to get a sticky mix is to add more lime putty – not more stone dust.
Lime putty has never been easier to produce so why skimp on it?
Once you have a really sticky plaster the technique of plastering changes – you don’t really spread it on directly off the hawk but apply it to the wall in dollops and then spread it flat, it’s amazing how easy the process of plastering becomes when the mix is right (and how difficult the job is when the mix is wrong).
Another penny dropped the other week when I saw a scratch coat of render that hadn’t rendered the wall flat, it was almost as bumpy as before. there is no point in this, if you are after a flat wall the scratch coat is the time to get it flat – dub it out to even out the surface, apply the first coat, get that as flat as possible and any undue thickness, due to the undulating surface might well crack a little, even with plenty hair, but this cracking is in the first coat and as long as the plaster hasn’t become detached from the wall (which can happen) it is of little consequence. Once you get it flat, and you can use a straight edge such as a rule, or derby float for this, then you scratch it ready for the next coat.
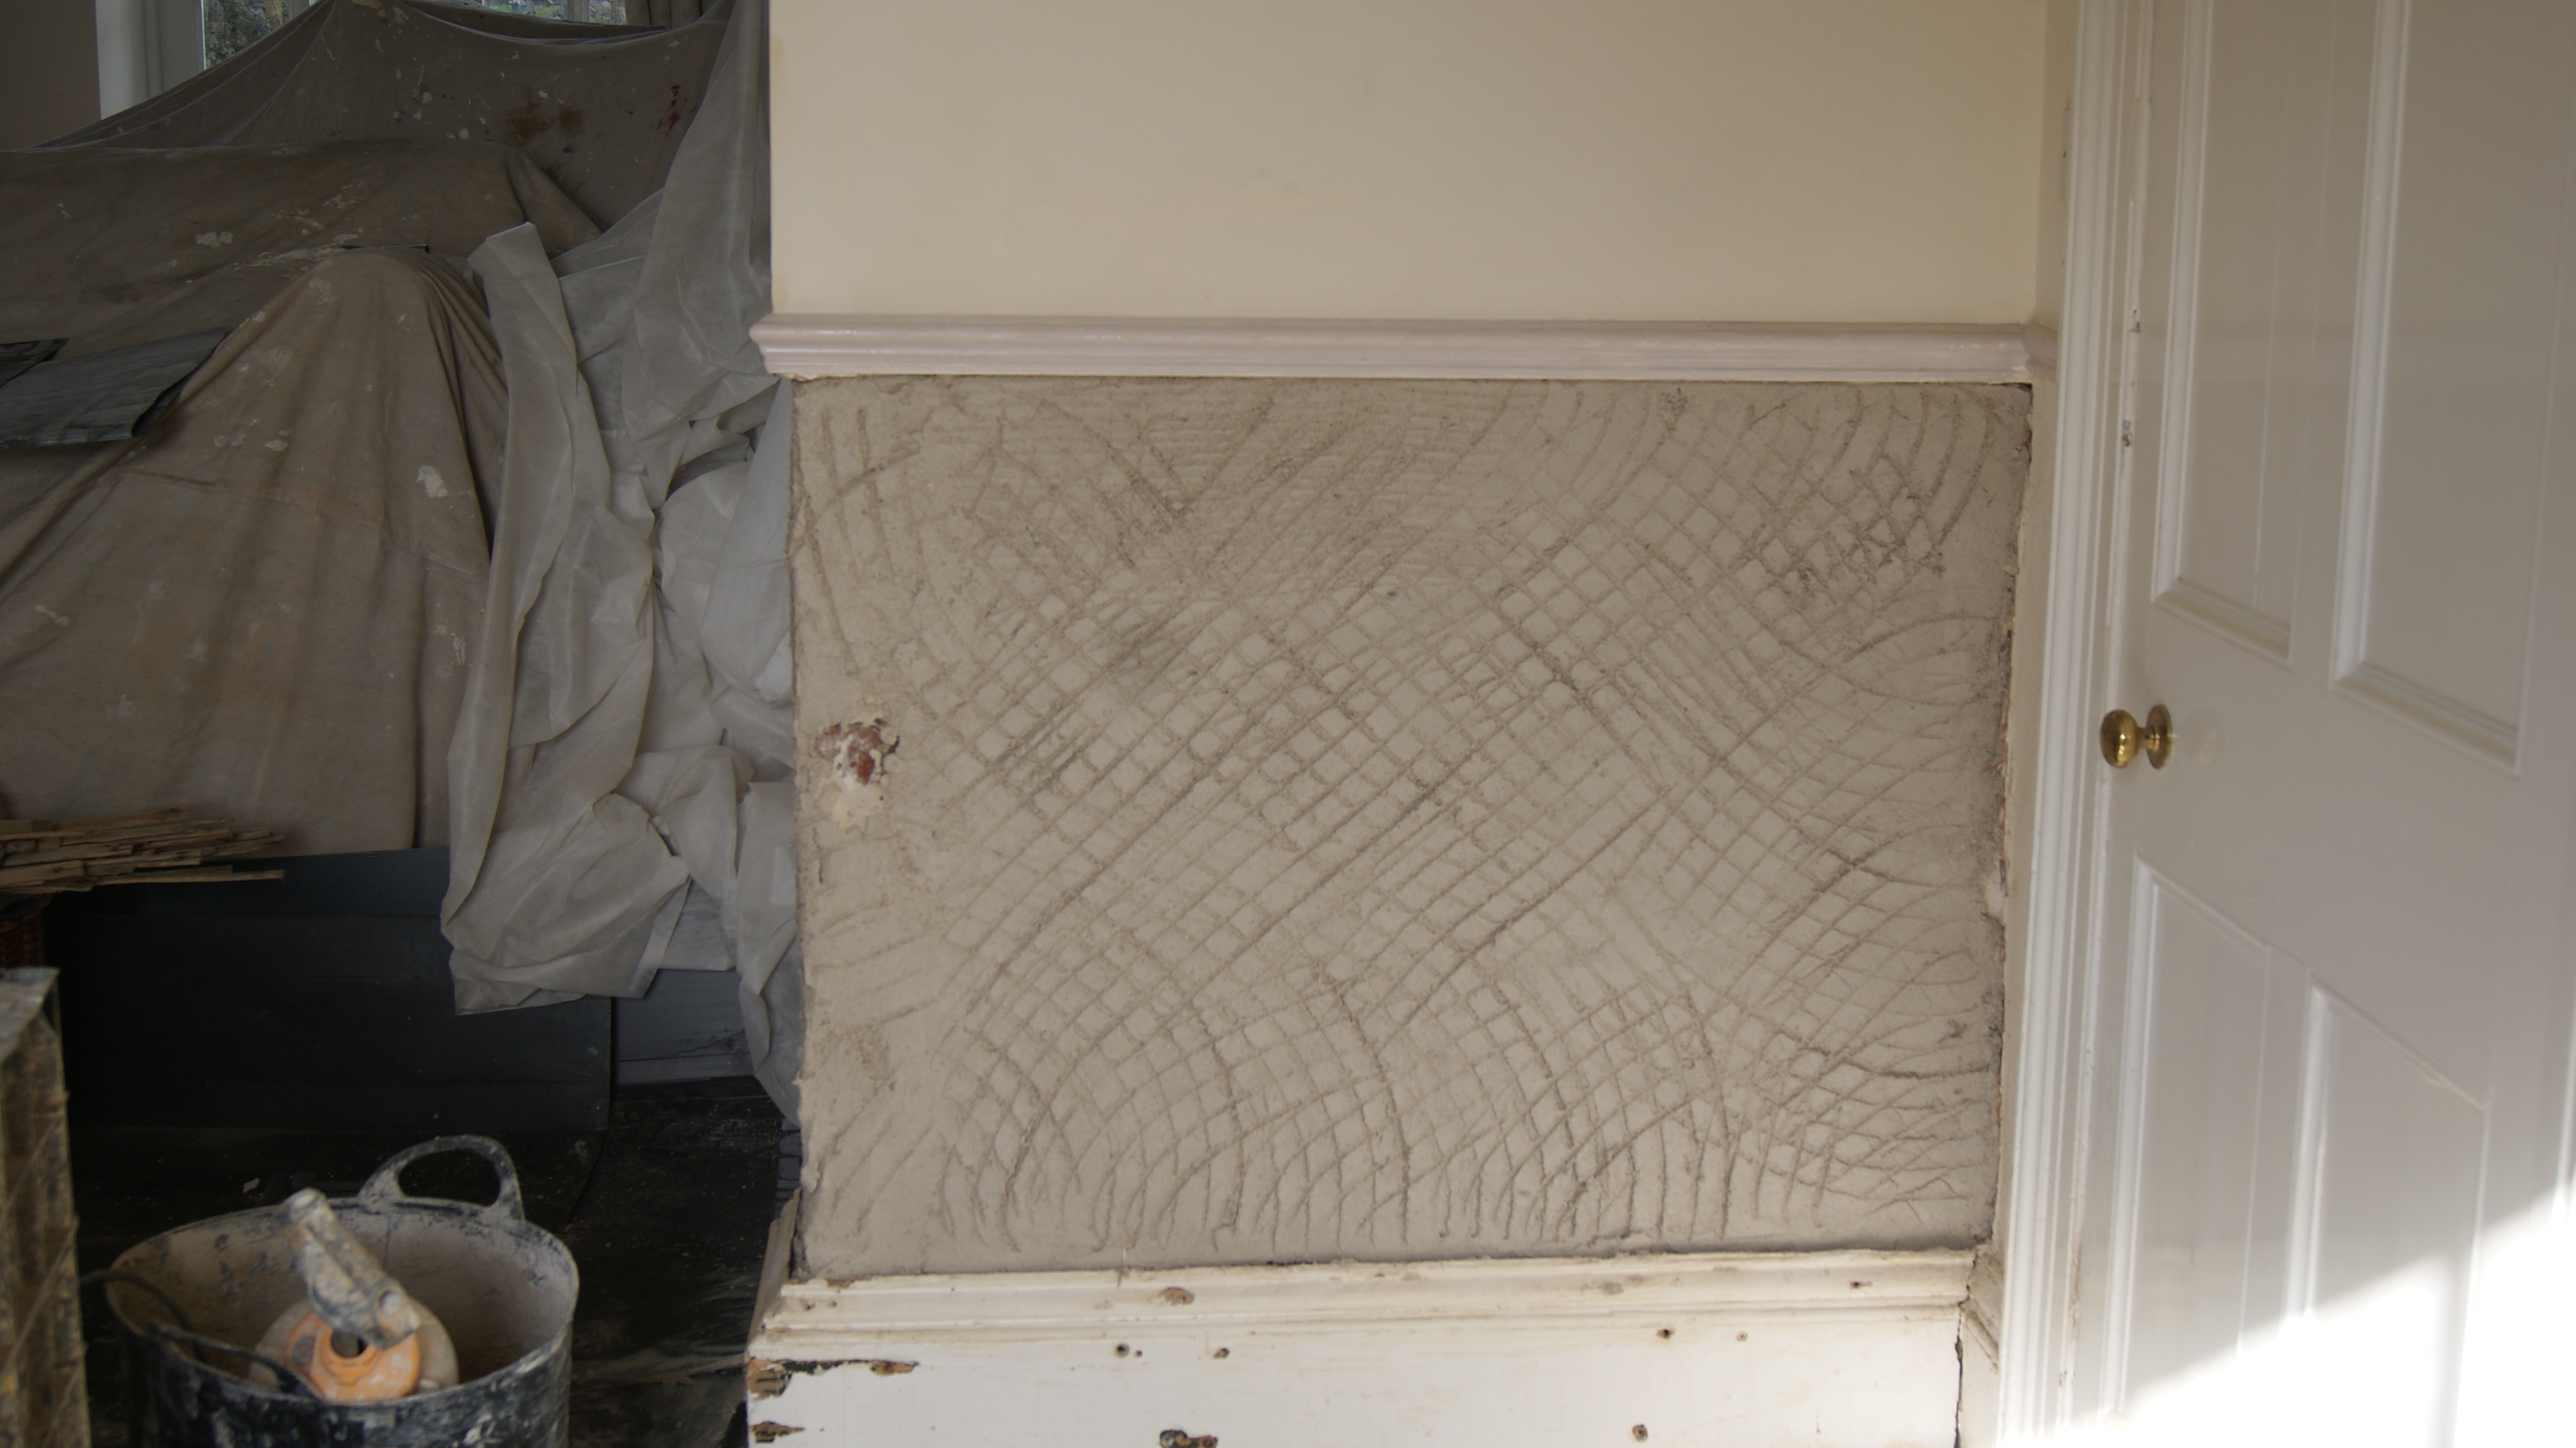
Scratch coat applied
The next coat is now easy to apply, it is of even thickness, dries even and is easy to get flat. This second coat is brought up to within 4 mm of the final level and trowelled or floated flat, corners crisp or nicely rounded.
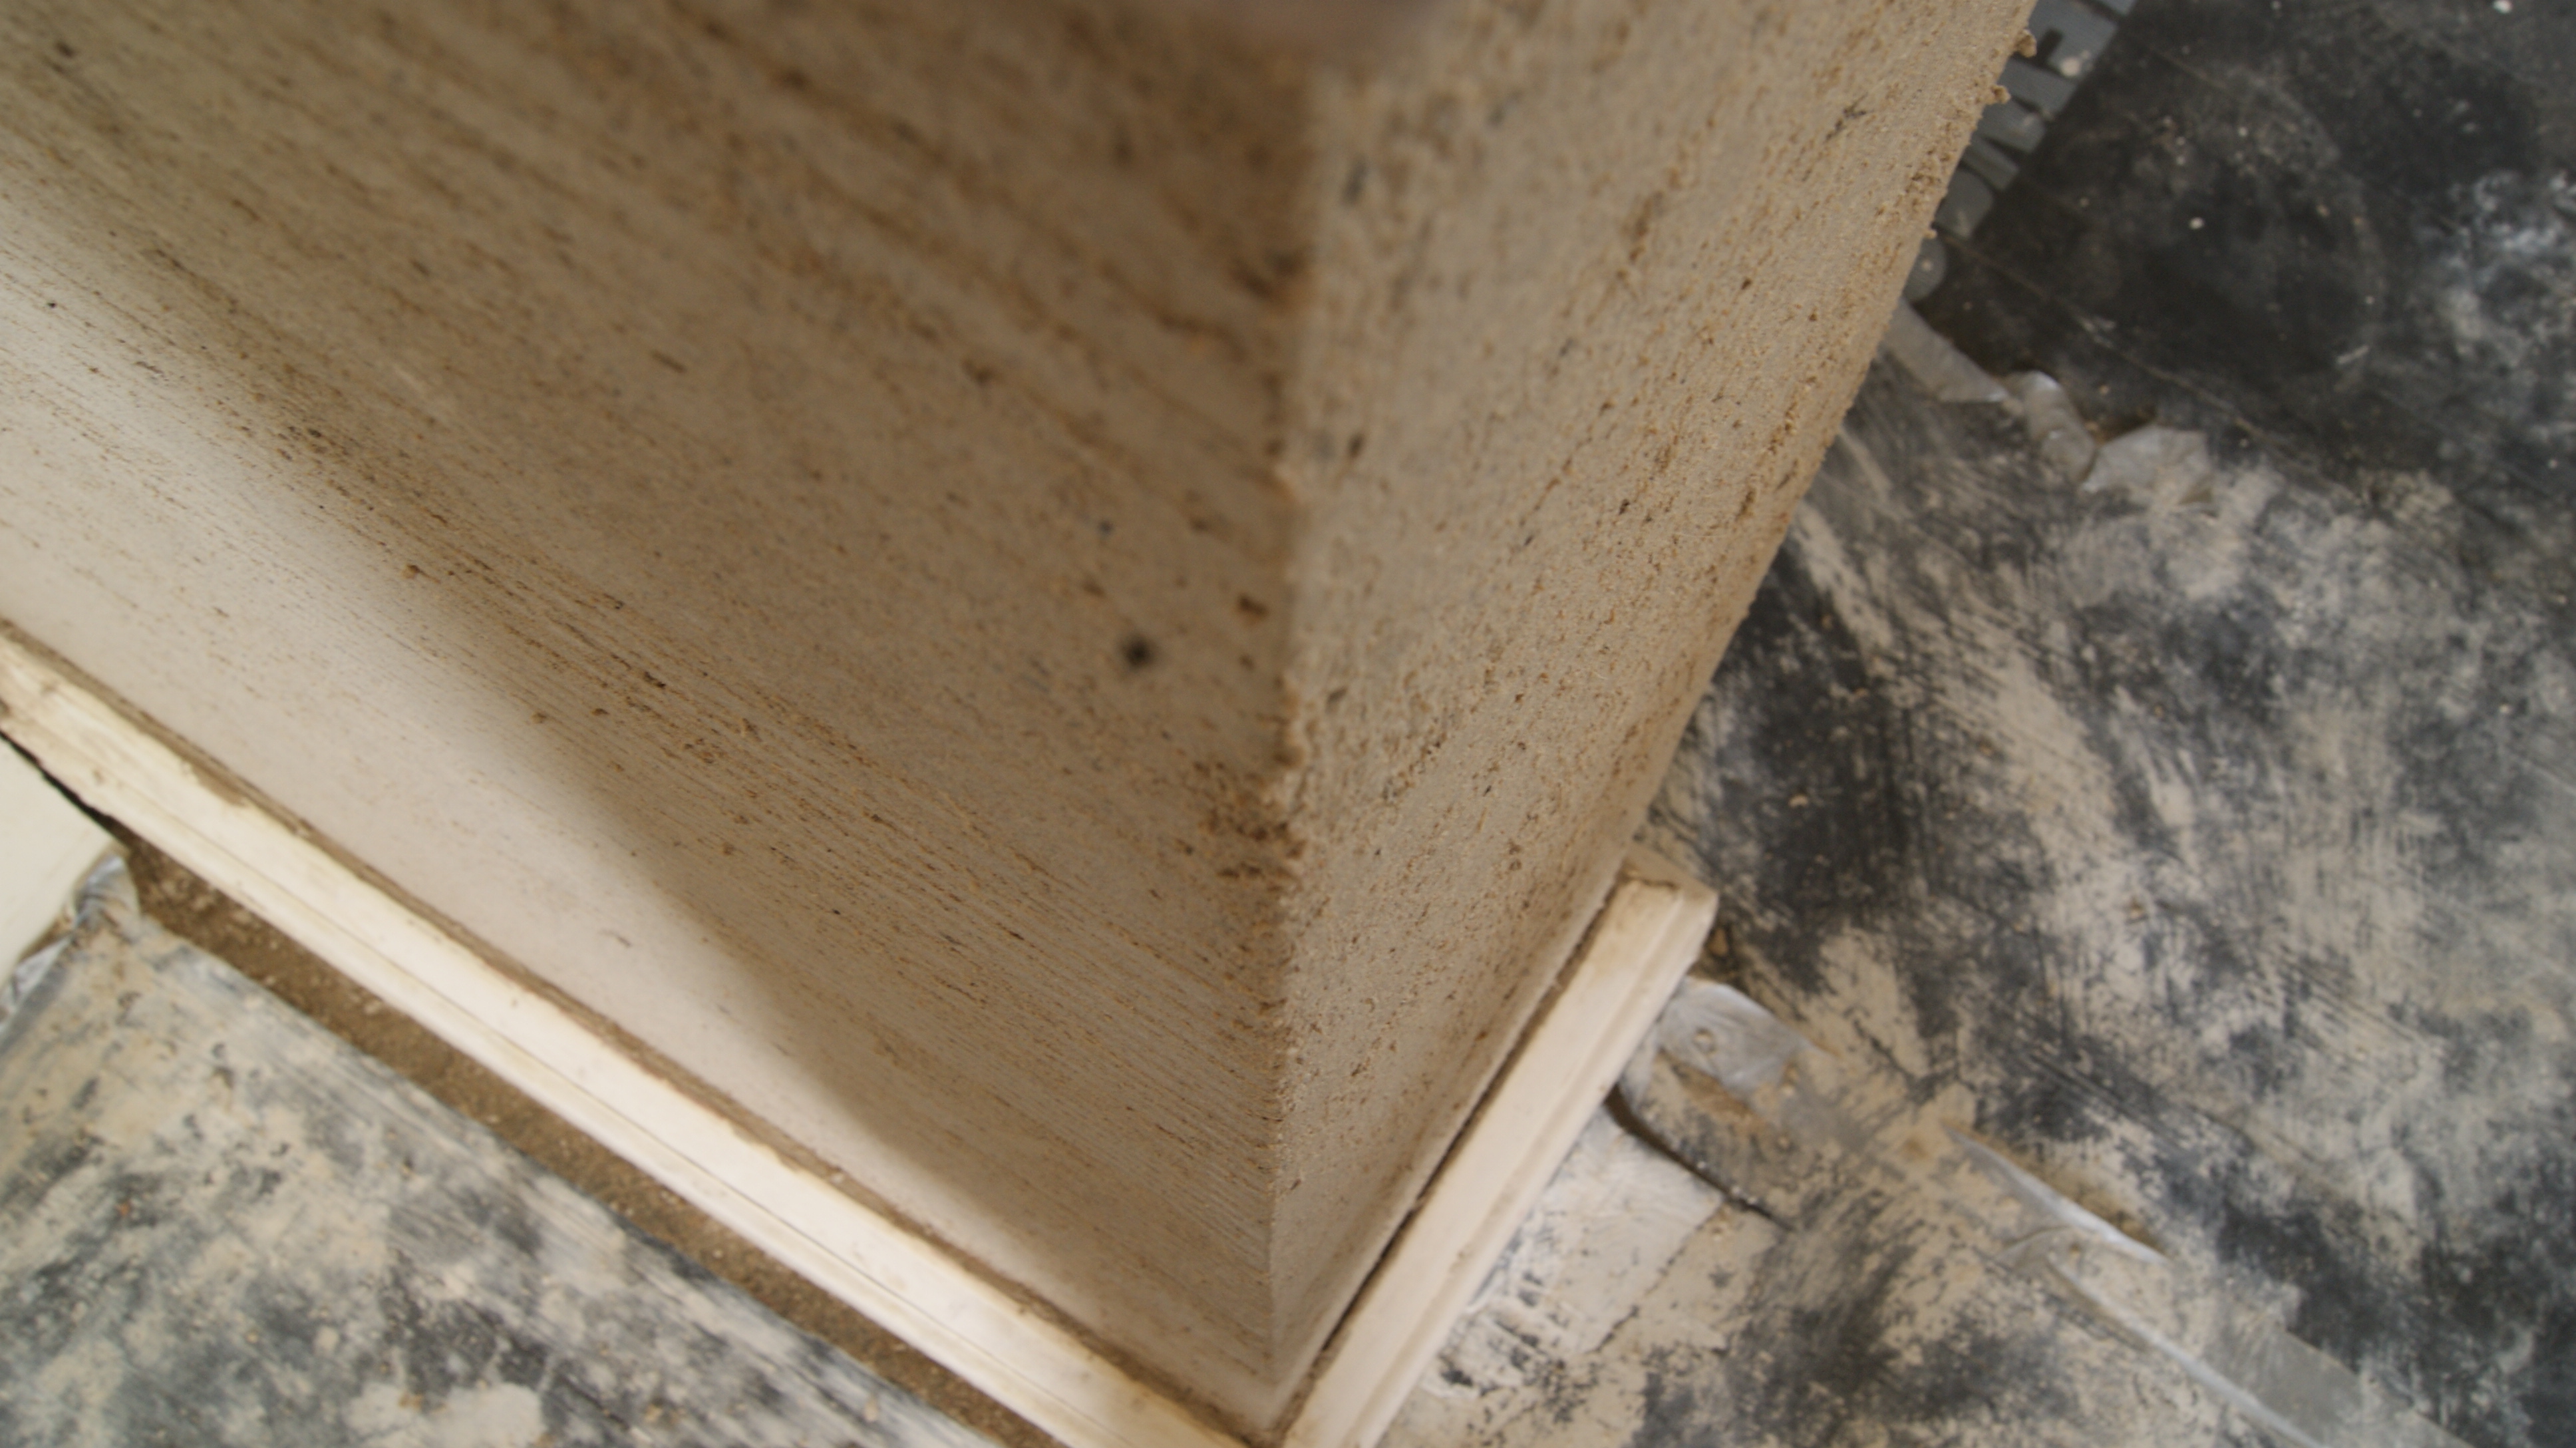
second coat ready for the finishing coat
The finishing coats can then be applied in a couple of passes and trowelled flat and smooth. By getting the wall flat as soon as possible makes every other stage really easy and efficient.
All of this is so much easier with a mix with 33% lime putty by volume and loads of hair – you really do need to be able to see the hair in the mix – they need to be really obvious – horse hair is best, don’t bother buying the nicely wrapped in string stuff, find yourself a friendly horse owner or two and ask them for the hair off their horses. It’s cheap and it works great.
so there you have it my own recipe from now on is a minimum of 33% lpbv (lime putty by volume) for backing coats and a minimum of 60% for the top coat.
Lime rich, fibre rich mortars for excellent results
(The blue colour is caused by the slate granules used in recipe for the top coat – 66% lime putty : 33% slate granules – it will dry white of course)
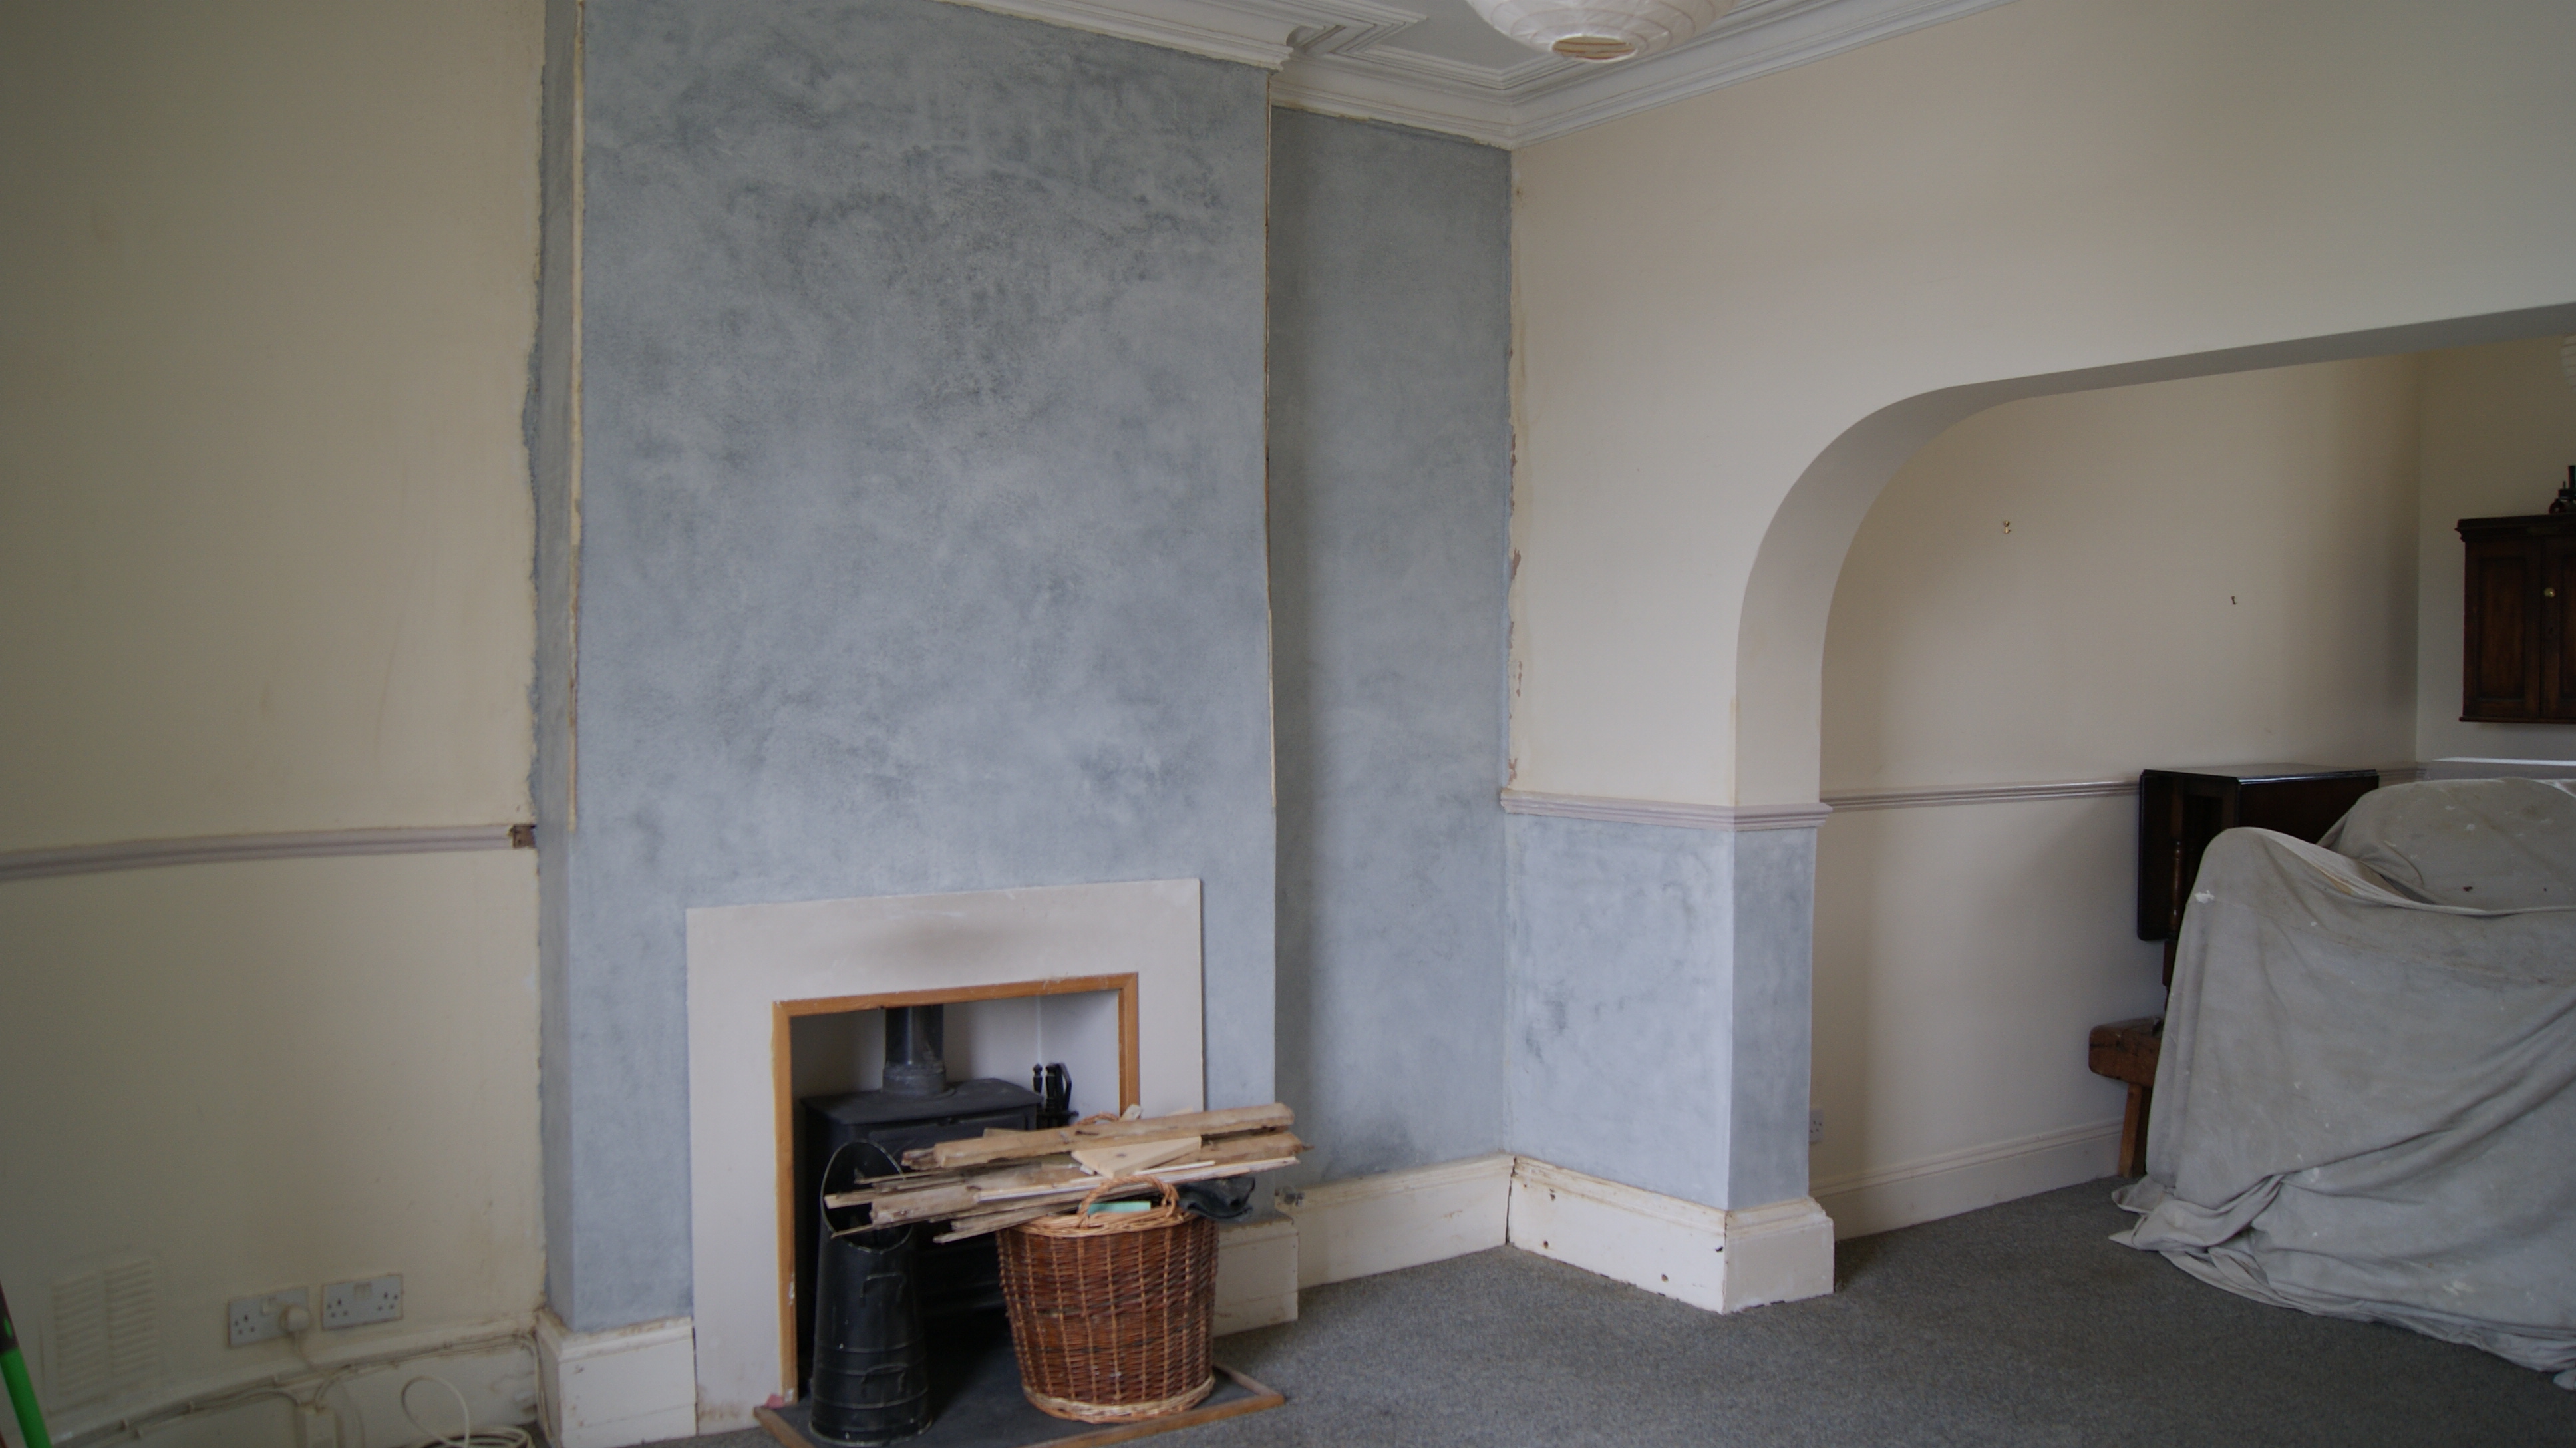
finished!

just needs the dado rail and fire surround fitting… and the skirting painting.
by John Byrne ~ Artisan Lime Plasterer
John Byrne – director of JBLimeplastering has moved to Appledore, North Devon. Although JBLimeplastering is still operating in Gloucestershire it is branching into the SW peninsula creating and repairing lath and plaster walls and ceilings and other lime plastering projects – Training and Advice, Limewash colour matching and consultation.
One of the privileges I enjoy is the opportunity to make my mark on the landscape, and when a client has the boldness to choose a rich colour for their house it is a chance to make a statement.
The project involved the removal of a white painted cement roughcast render on the gable and replacing it with a low profile lime roughcast render. Following on from a previous project of lime washing the panels in the timber framed elevation and removal of masonry paint from the rubble masonry and it’s replacement with lime wash, this second stage project continued the colour scheme and will be added to with the removal of further swathes of white masonry paint on two more elevations sometime in 2016

Choosing a limewash colour can take some time as there is such a variety of shades and tones that can be achieved even with the basic pigments of yellow ochre, raw and burnt umbers, red oxide and black. The first thing is to establish the colour will dominate: red or yellow, then how the colour is to be influenced; will it be green yellow or a brown yellow, a purple red or an orange red. then we have to decide on the depth of colour. I am not a musician but it reminds me a bit of how a tune might be constructed, the dominant colour leading the melody, other colours coming in to add complexity with the umbers acting as the bass to bring richness to the tune.
All this colour design is done with the landscape and location in mind, in this case the soil and stone colour is in the red category so that gave us our starting point for or theme, but we wanted something more refined than a simple red oxide and we certainly didn’t want pink or peach.
I think we got it right what say you?

We entertained ourselves on this project by a little experiment: nothing too outlandish or risky it was just that I had a few feather pillows to get rid of so I added the feathers to the render. So this render is reinforced with feathers as well as hair. which I think is fitting as the house is called Swan House.

swan house in its habitat
It is so pleasing when a customer is bold enough to go with a colour this rich rather than the more conservative ice cream colours of the houses in the foreground. the trick is for it not to be too loud and garish. It must look like it belongs there not like it’s on a day trip.
Apparently the top search on this site is for “correct mix ratio silver sand nhl2 lime” .
I can answer that, There is no correct ratio but a good one would be between one and one and half portions of sand to one portion of NHL2.
did you know that there is no really discernible difference between Playpit sand, Silver sand and Kiln dried sand.

According to one of our guides in Naples red was the predominant colour used in the City as it was the colour of Pompeii. But this plaster shows the yellow gradually turning red. knowing that yellow ochre when heated sufficiently turns red and considering the heat that the plasters of Pompeii were subjected to, and with the evidence of this picture, I might suggest that Pompeii was Yellow rather than red.
There is this house and the owners had done a considerable amount of the work themselves, and very good it is too. However they did need some help with the plastering.
They had already got a first coat of hemplime on the walls and there was a host of other surfaces for us to plaster as well : woodwool board, Cork, Calsitherm sheets, bricks, stone ain addition to their first coat of hand applied hemplime.
Half the house is newly built so we wanted the limeplastering to be as regular as the multi finished walls.
I am afraid that the DIY applied hemp was not very flat and so I used string lines and screws to get us some flat screeds to work from. The walls came up lovely and level with derby floats and feather edges in much use. We let it all dry and then returned for phase two – the finish.
I might already have mentioned this but for my taste there is not enough lime in the commercially available finishing plaster so I bought a ton of it and several tubs of sieved lime putty. To 45 litres of finestuff as supplied I added 15 litres of lime putty and for my needs and technique that was ideal. The plaster is nice and sticky, spreads well and the suction is much reduced – yes! to reduce suction and increase spreadability add more lime not more water.
This plaster was applied about 5mm thick as flat and even as possible onto an already flat surface, the plaster was then floated with felt floats this gave a realy good finish for the final skim. The recipe for this I will keep secret for now because it is still in development but I will tell you it gave us a finish very similar to the modern stuff with very limited cracking, smooth to the touch and close grained with an eggshell type sheen to it.
The same plasters were used on all the surfaces with the occasional modification: for instance on the woodwool board ceiling I added loads of short horse hair to the finestuff, an idea taken from the Chalklime I had been using elsewhere, loads of hair mixed with fine lime rich plaster – a joy to use, spreads beautifully and cracks not a jot*, two coats on the boards, hair in both coats, trowelled smooth and flat.
*Oh yes there are! After the heating was turned on an the house began to warm up the timbers began to shrink a bit so not just the woodwool board ceiling but the cork boarded stud wall too began to develop hairline cracks. It is being monitored and it is expected that the cracks will be dealt with at the time of decorating.

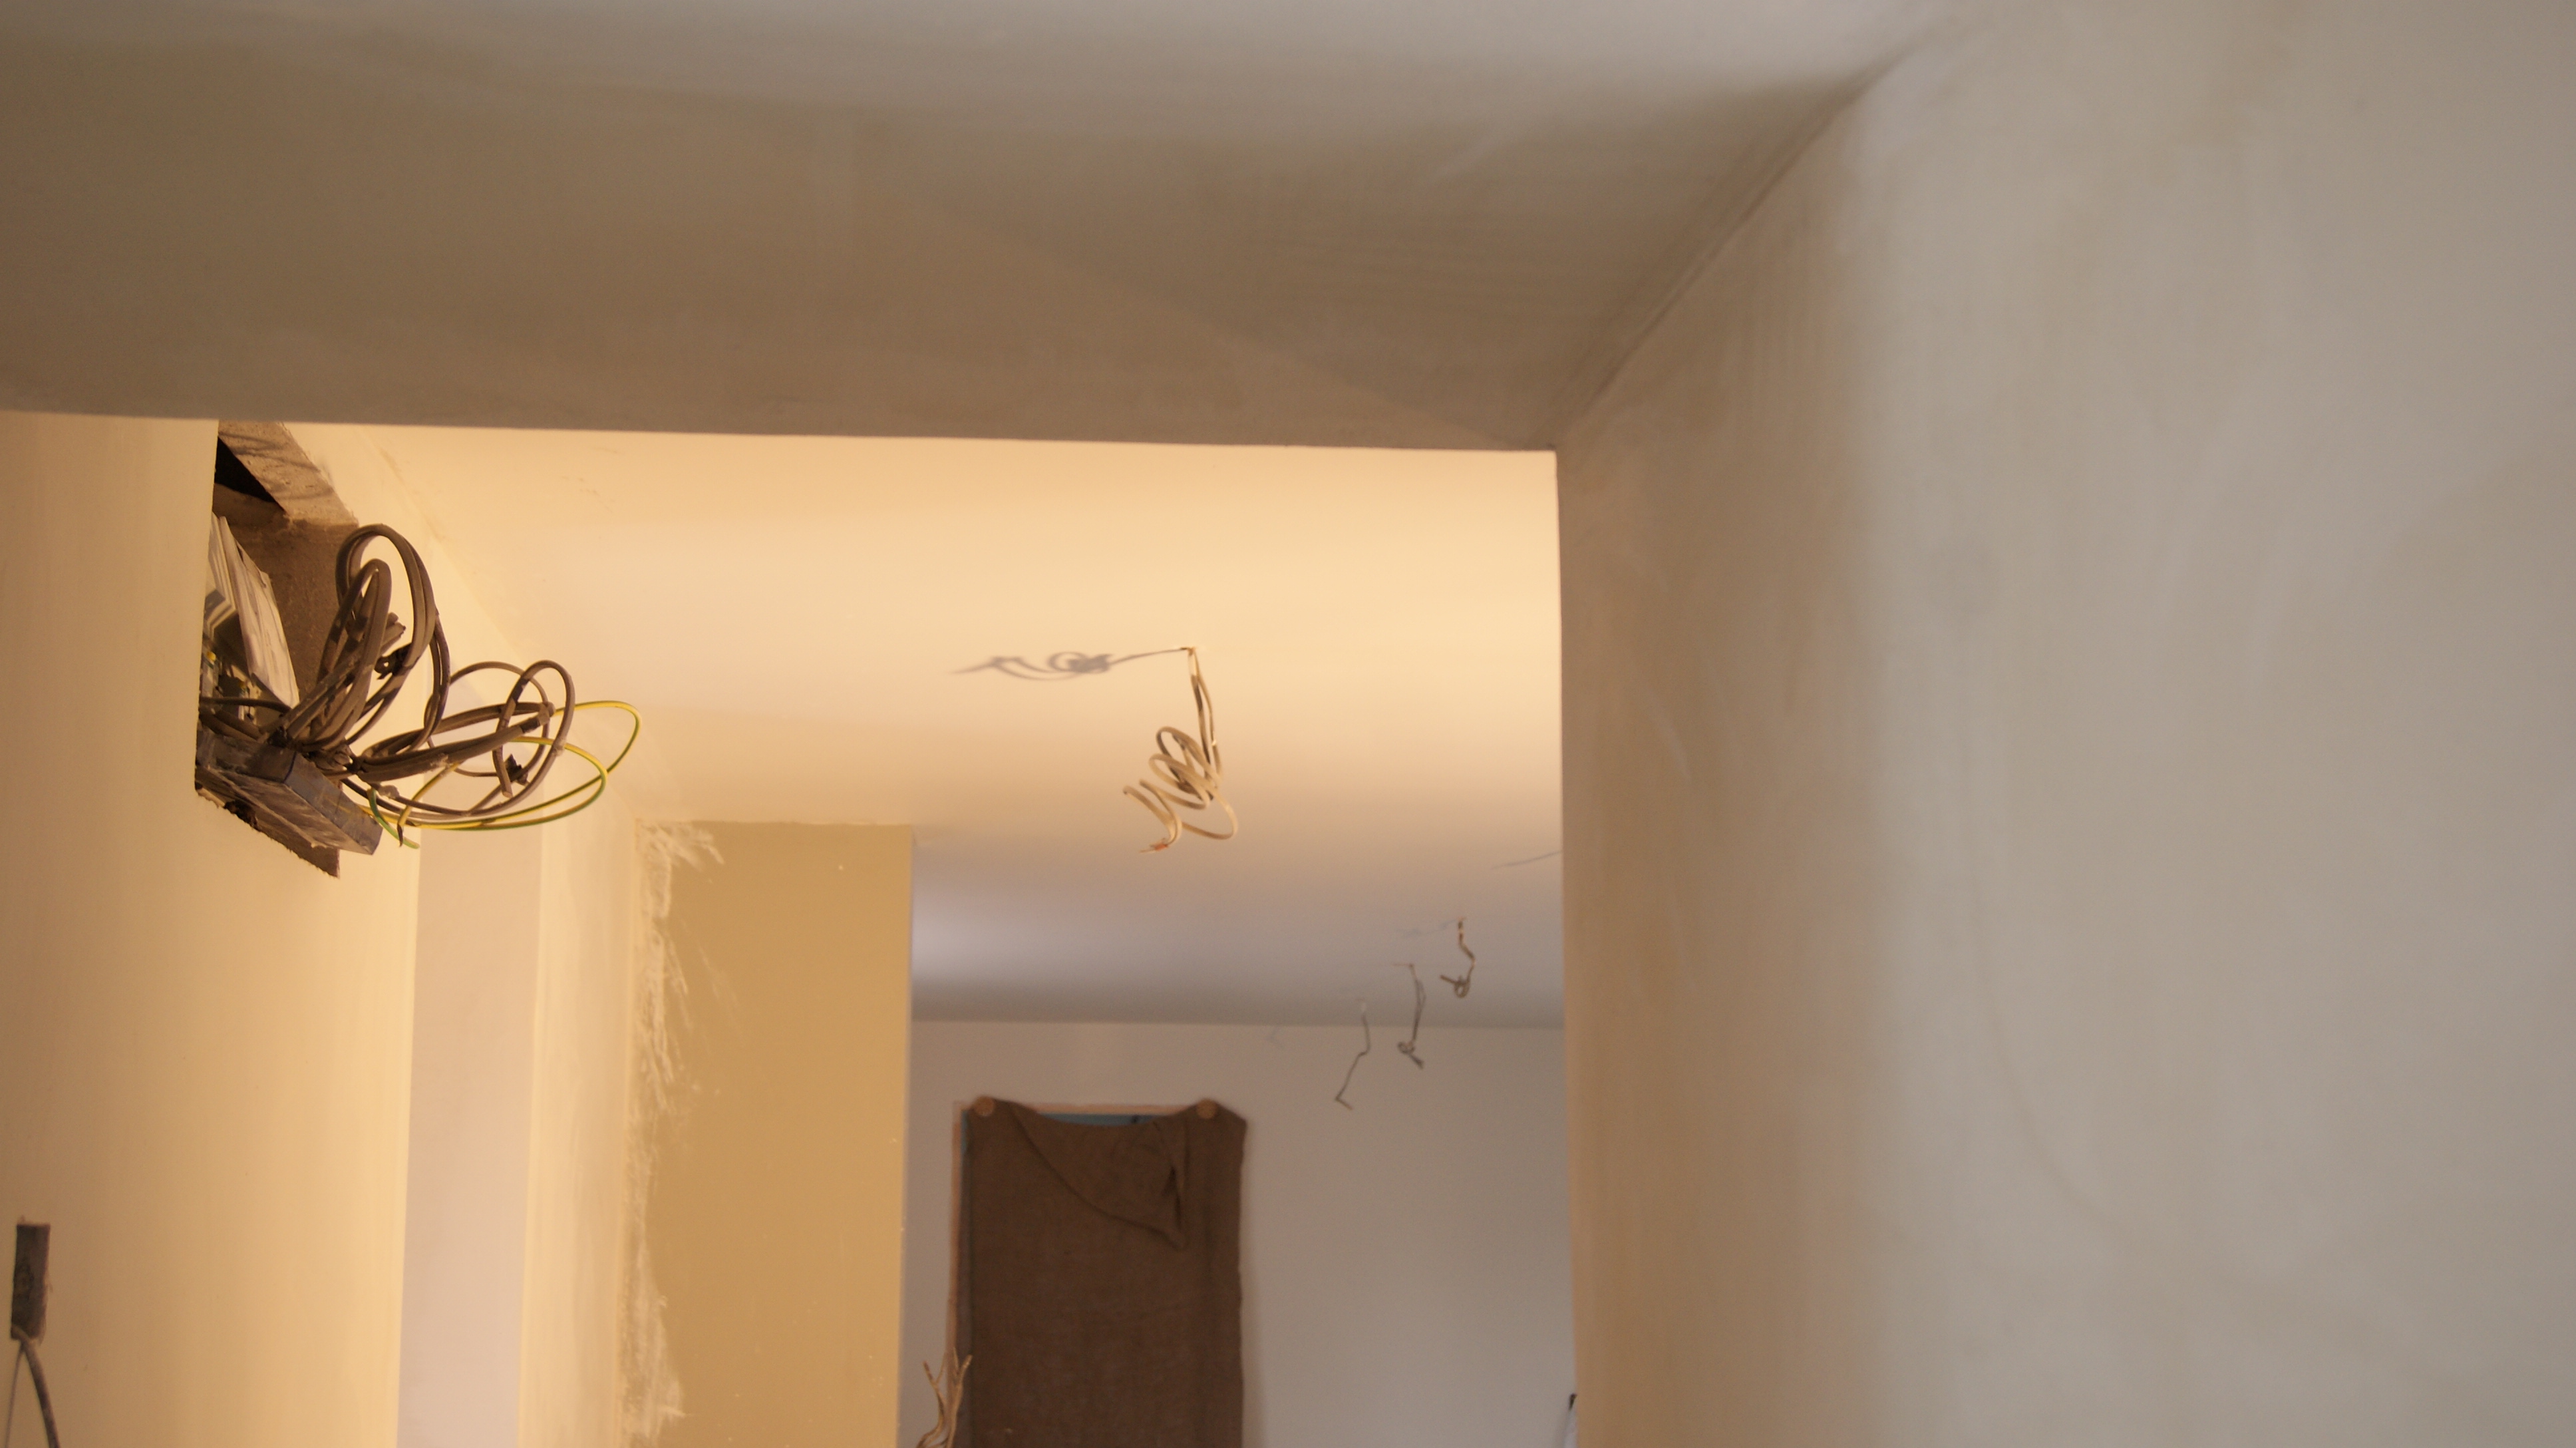
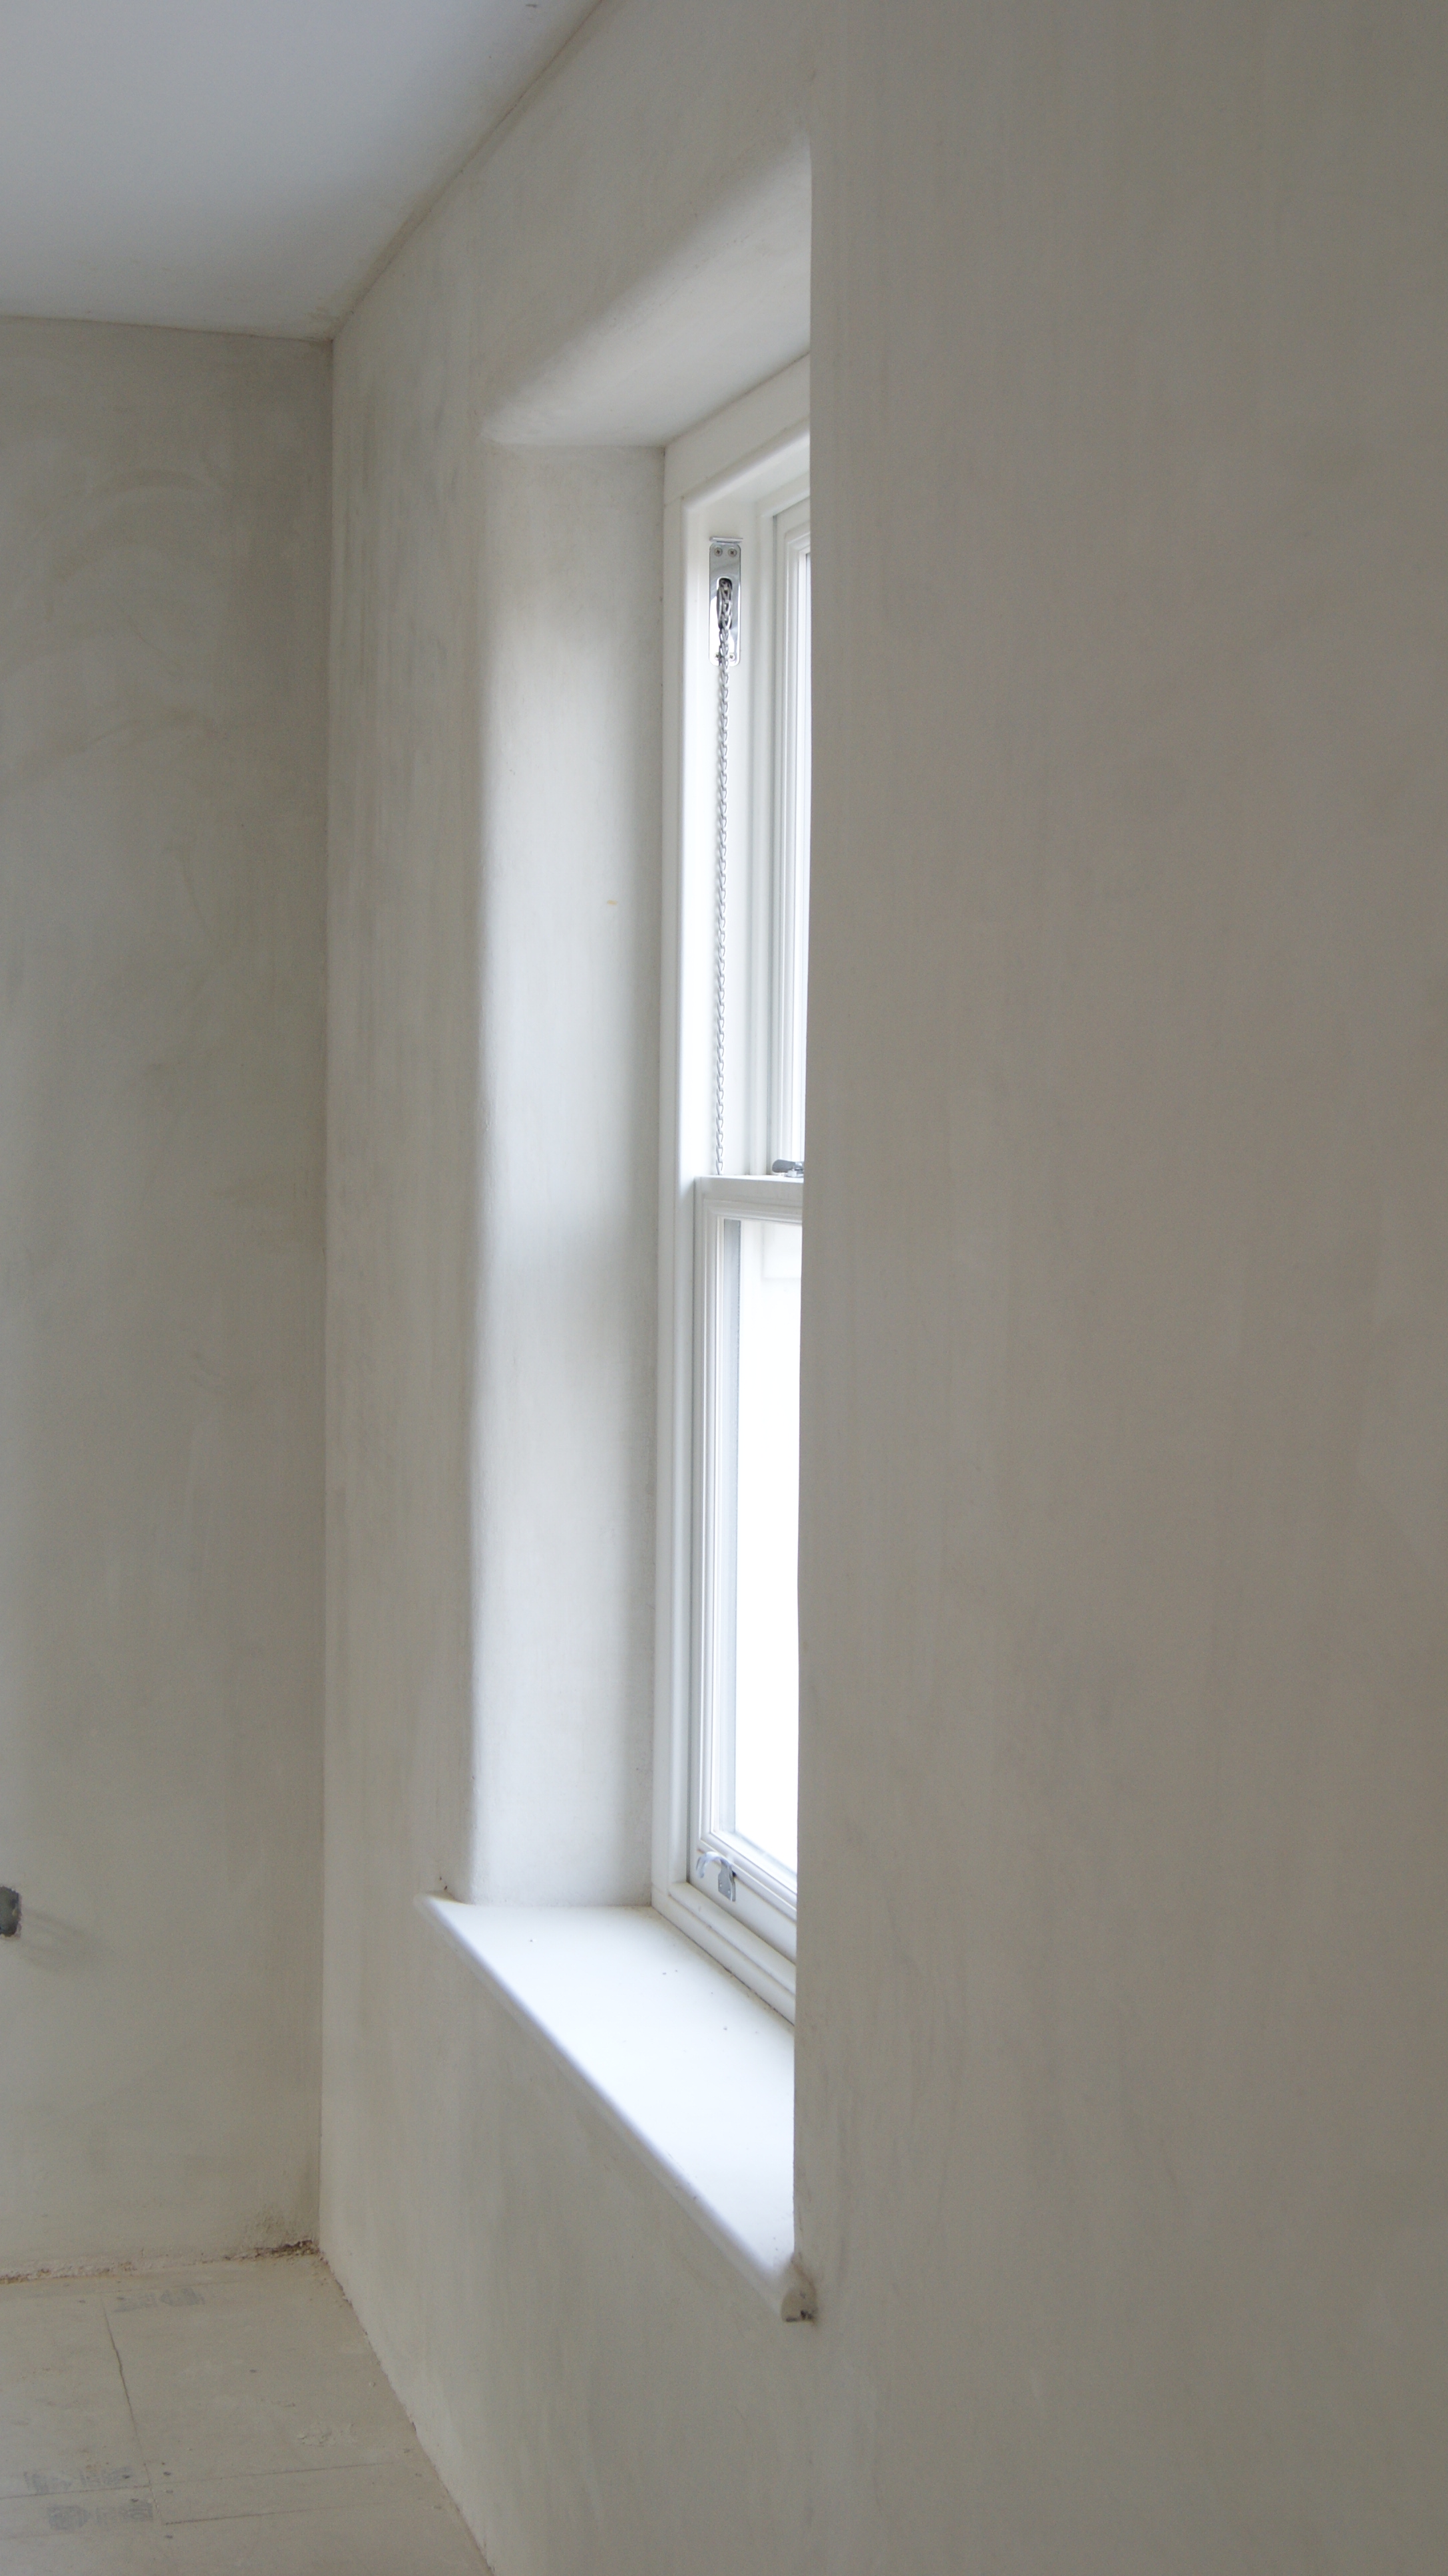
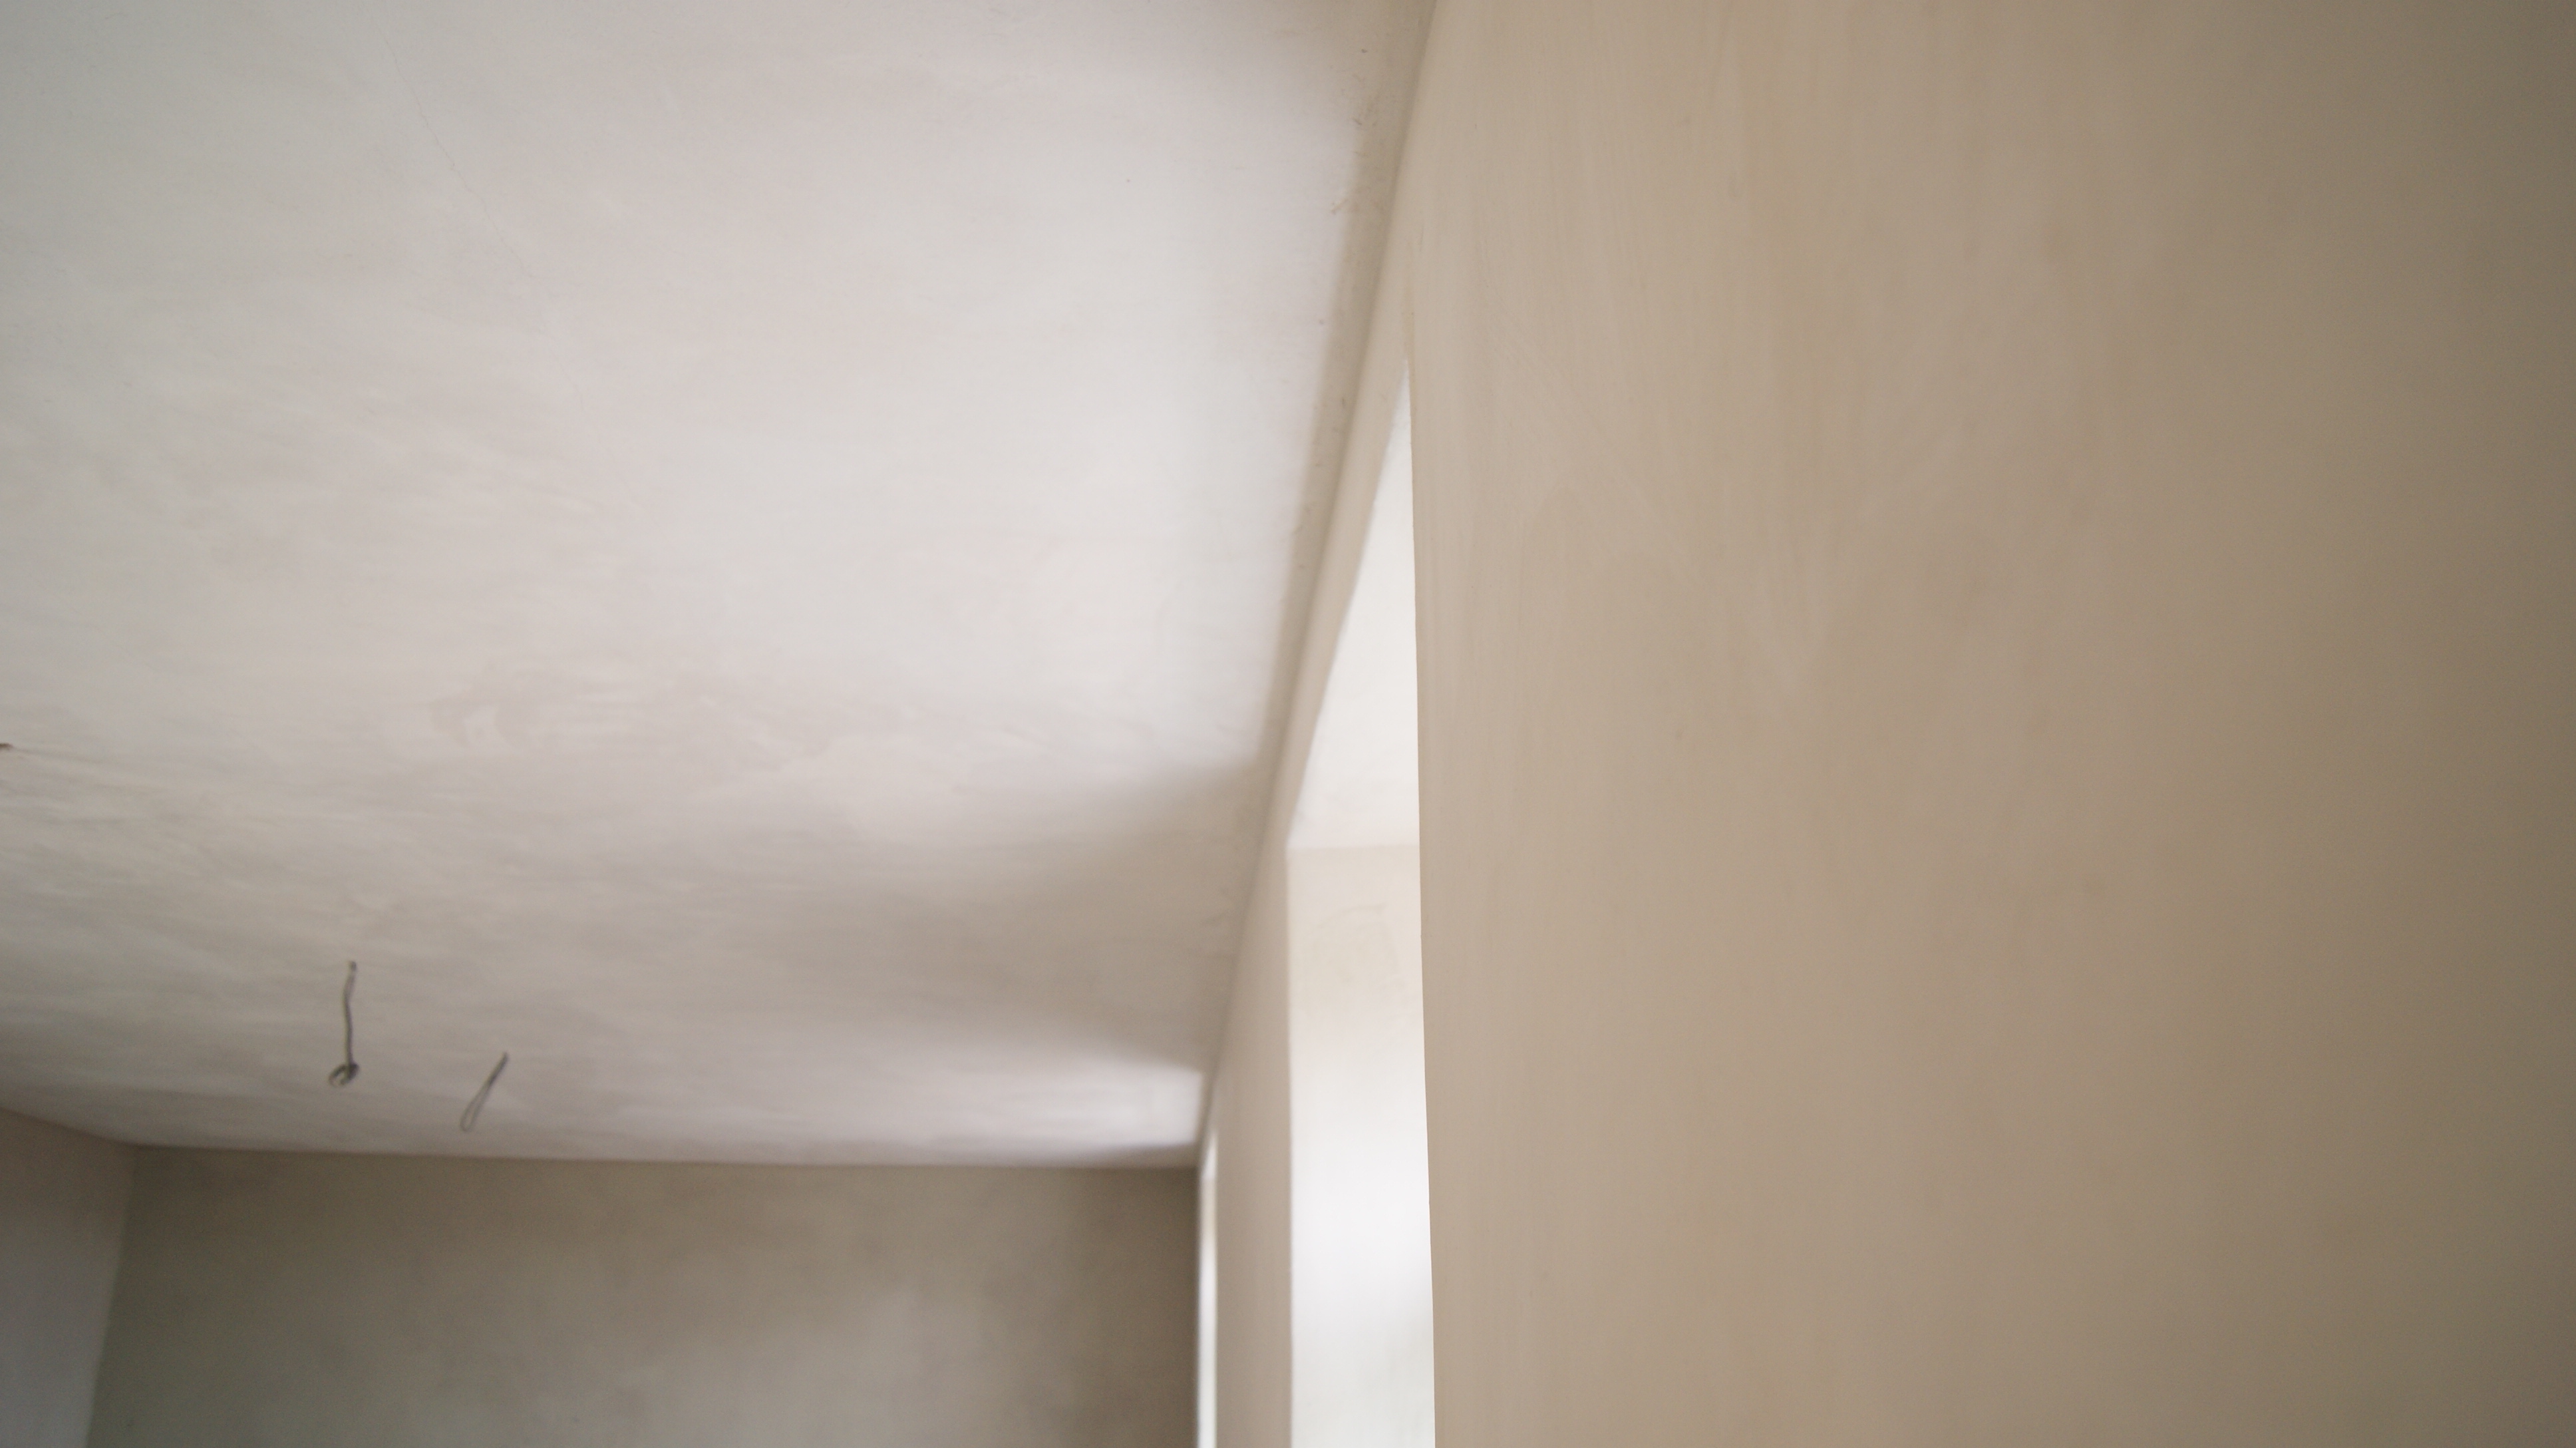
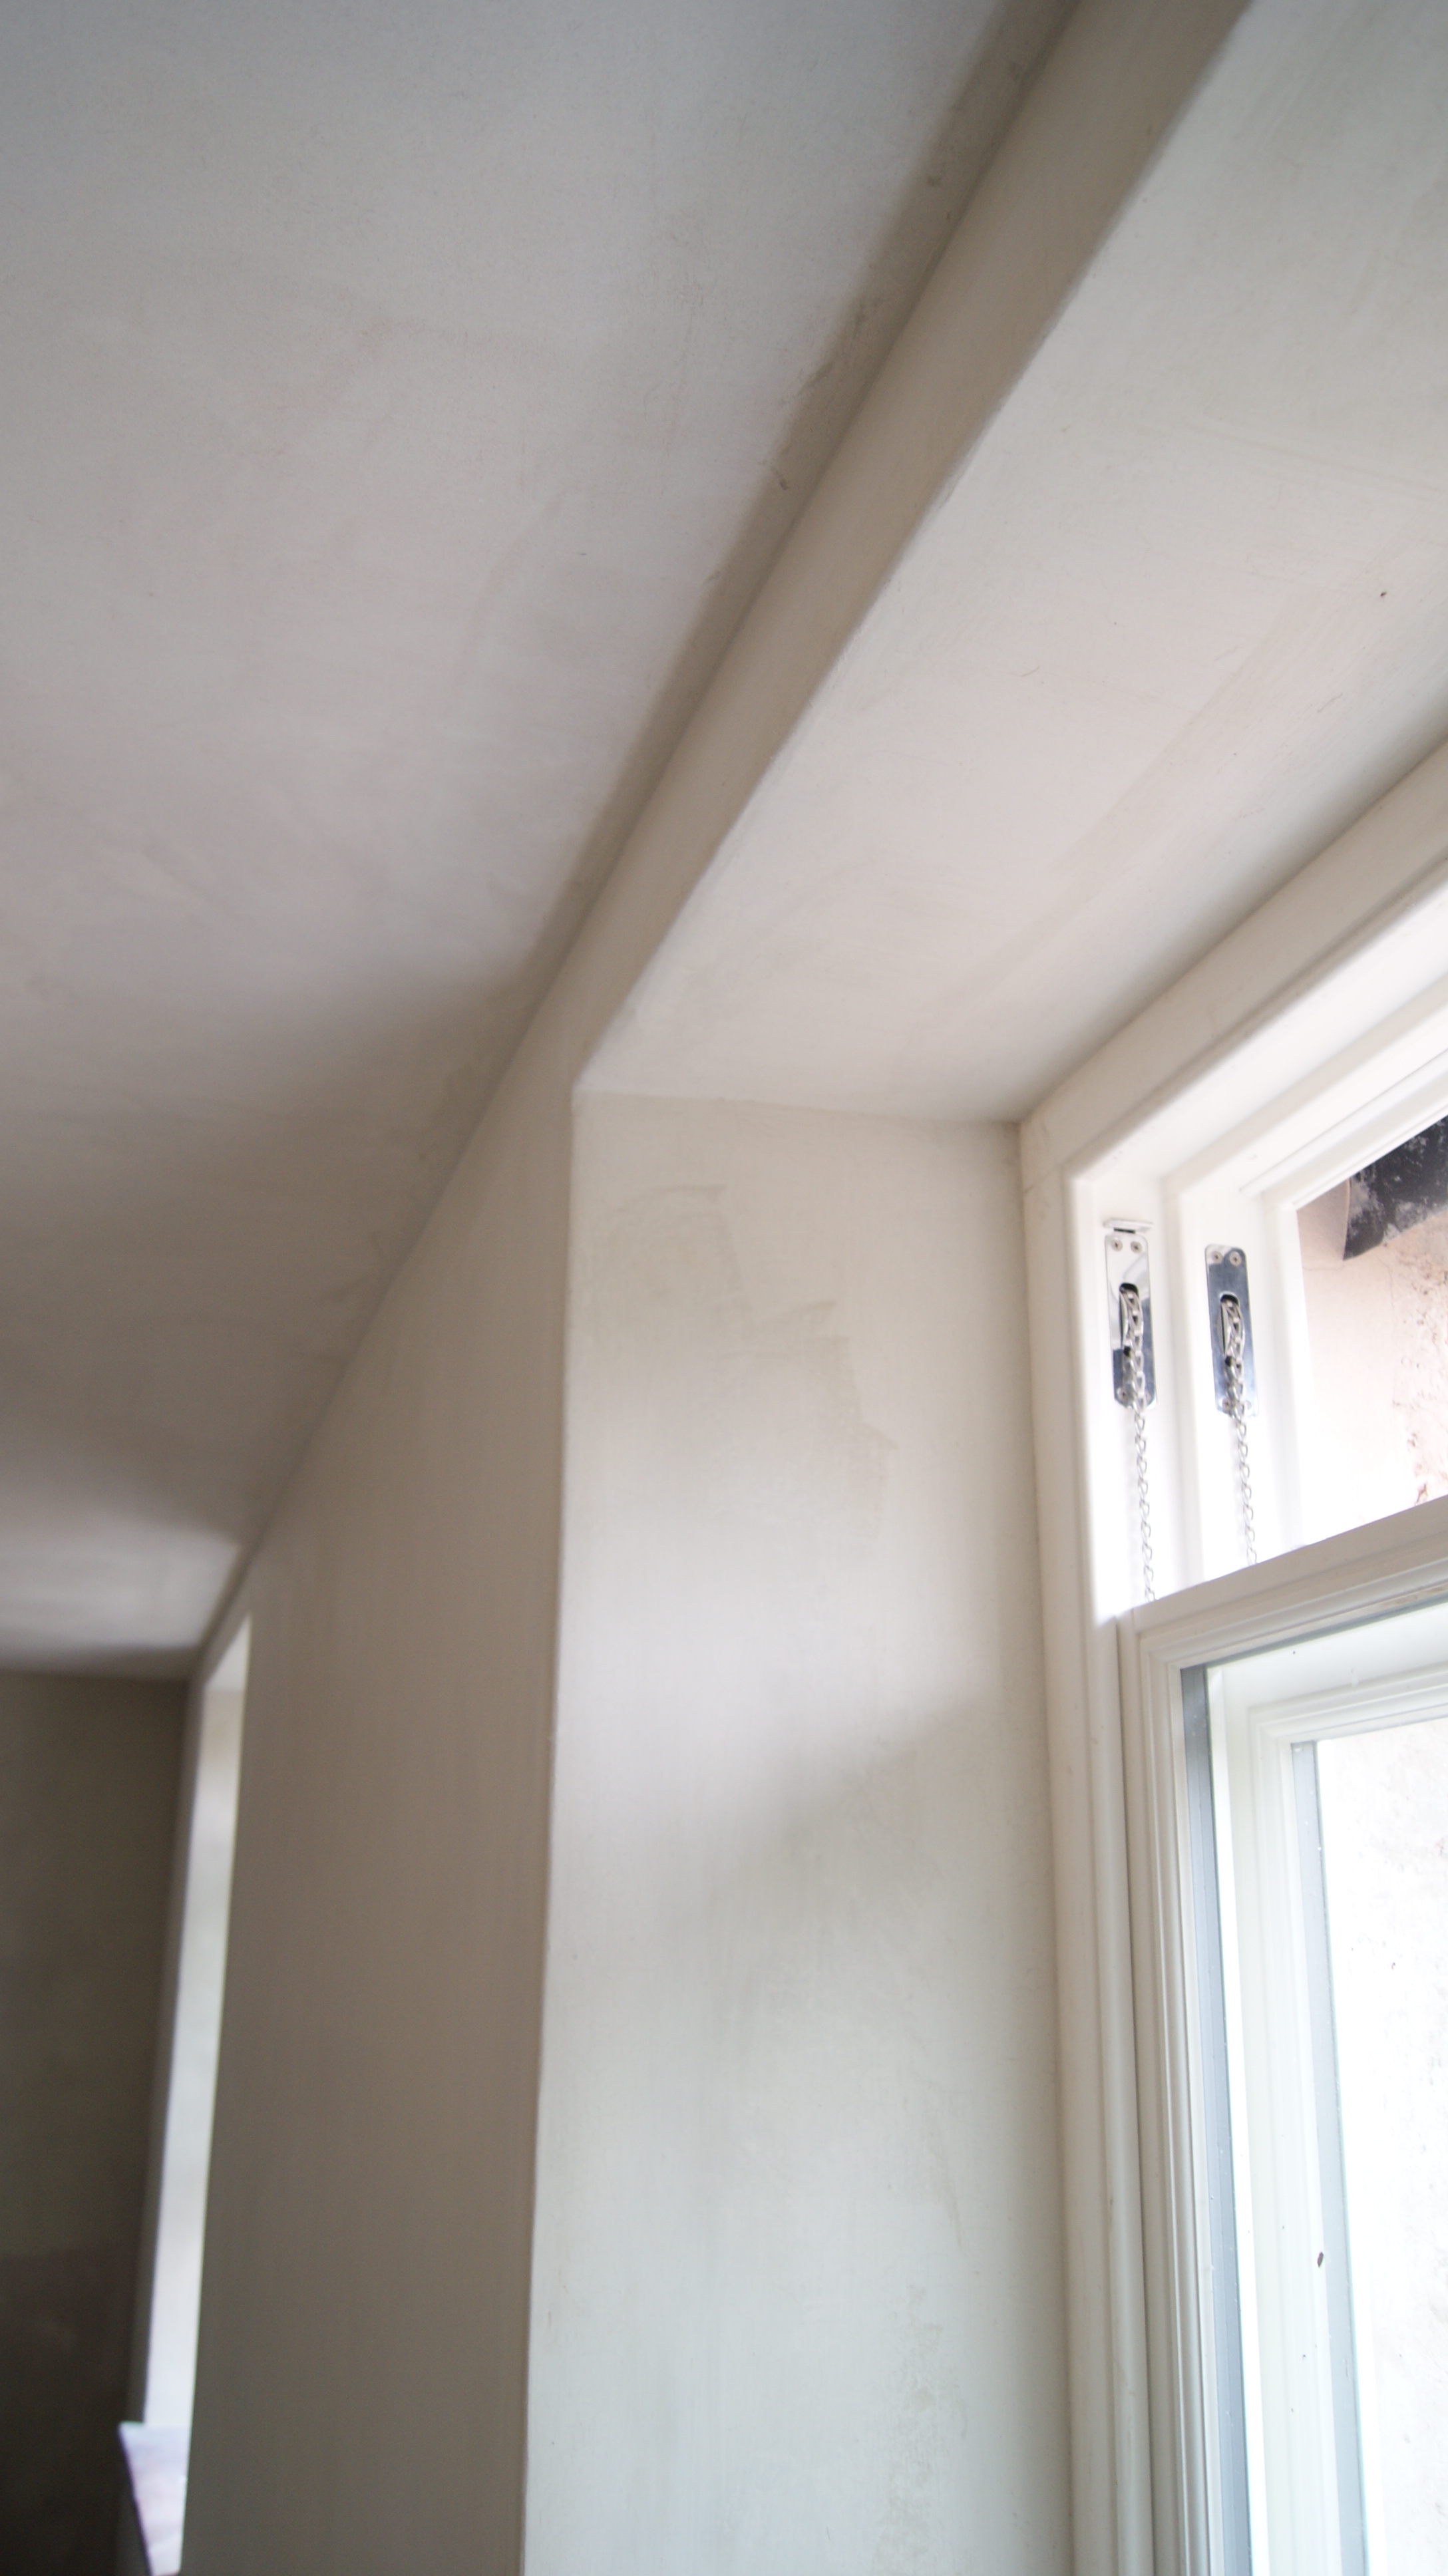

It might seem a recipe for trouble if the aggregate in the plaster is not sand but crushed chalk, very sticky and smooth yes but tremendous shrinkage also. Yes that is true but Anglialime put so much hair or fibre in that there are no shrinkage cracks – it still shrinks but en masse about 10% of the thickness so beware – you might get it flat when you trowel it up, and you can’t float it either, in fact it is pretty difficult to get it flat but nonetheless, when you have and then walk away it starts to shrink and as it does the thicker areas shrink back more than the thin areas so I am afraid what might have been flat is that no longer.
When we first started using it we though what on earth is this rubbish, you can’t dig it out of the back unless you use a fork, you can hardly knock it up – in the end we used a hedge trimmer! We got funny looks from the builders. But to be fair to the suppliers when we started to use bags that hadn’t been sitting around a month it was different. And so we learned that it doesn’t keep well as the fluid drains away and it gets too stiff to work. When it first arrives from the supplier it’s good stuff.
We found that you could really lay it on, for common work you could get away with one coat about 15mm thick, for a better finish that could be skimmed over with some fine stuff. We found that any coats less than 5mm thick were really not ideal and that the optimum thickness was probably 10mm and applied in two coats on laths or masonry and the results were very good.
One benefit we discovered was that you drop very little on the floor, what we did drop was often when we tried to take part of what was on the hawk instead of it all and the fibre being so great it all tended to come off the hawk at once.
It is not like regular lime plaster in many ways, it is claimed to be very similar to medieval plasters and I have seen very white, extremely hairy historic plasters so hairy indeed that it can be pealed off the wall in a sheet as we found, or to be exact, the electrician found for us.
I would say it was a plaster for cottages and other situations where regularity is not required because it is difficult to get it really flat with crisp corners but it has charm and it dries and sets extremely hard and tough, in many ways it is remarkable stuff however it is almost twice the price of my regular course stuff so cost is a bit of an issue but it has got me thinking.
for more info on the product:
Click to access FibreChalk%20Usage%20Guide.pdf
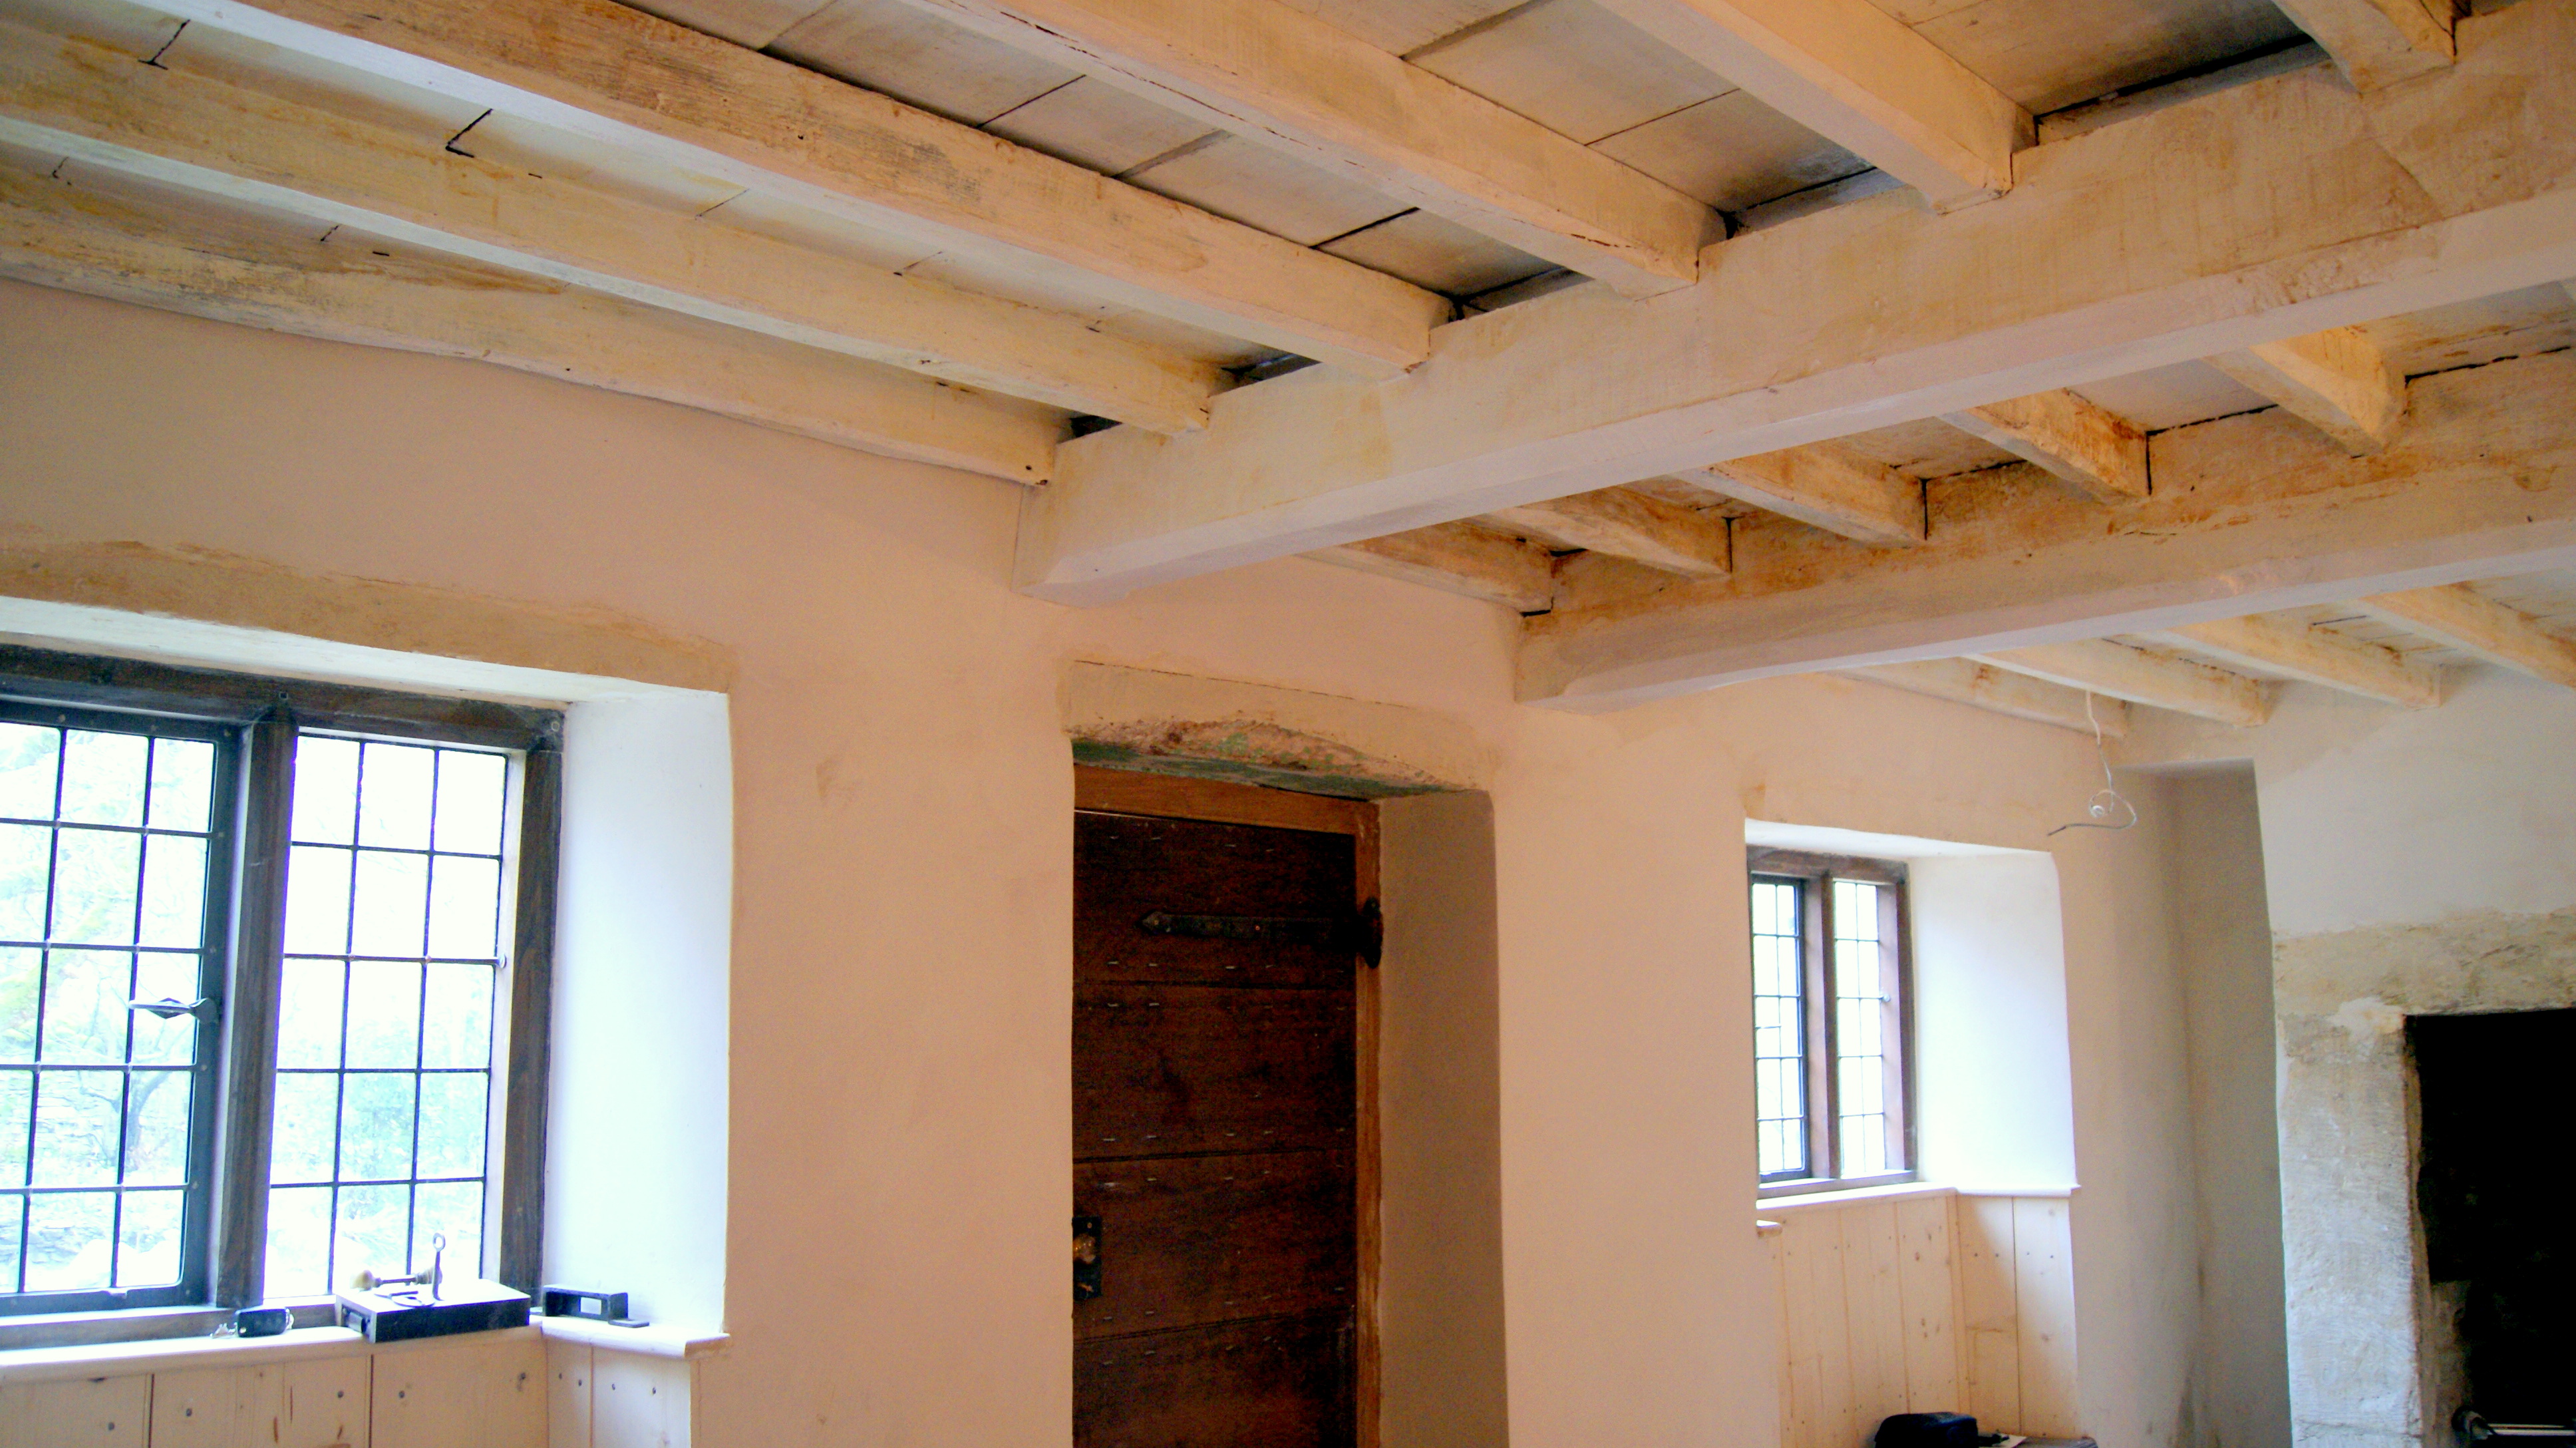
a nice cottage with chalk lime plaster
This is a quick aside. A customer had a ceiling he needed me to plaster, he had already fitted the laths, sawn oak, he had fitted them really well with very good spacing, the job was simple the ceiling only 15 square metres – easy.
I got the first coat on on a Friday and on the Monday got a call that quite a lot had fallen off.
As the picture shows it hadn’t all fallen off but even so there were a few patches and it wasn’t immediately clear why. What was plain to see was that some of the laths had bent forcing the plaster off.
In the end we settled upon the likely cause – the laths had been tightly screwed rather than nailed and they were too tightly fixed to allow any stretching as they absorbed moisture from the lime. and so they had to bend.
If they had been nailed they would have split and and although adequately fixed would have been able to move just that little bit and wouldn’t have needed to bend.
If you think about it, each individual lath needn’t be fixed very securely or need be very strong as one lath isn’t doing much work and neither is one nail or screw in this case.

the expanded bent laths that pushed off the plaster
A client had a very damp gable wall, water was running down and the damp patch was growing ever larger. Outside the gable was complicated by a chimney breast that was once inside, but since the house has been knocked down, the inside chimney breast was now an outside protuberance. The problem was, of course, that it was cement rendered and that the cement had cracked, there was a nice crop of ferns stating to get established.
When we removed the cement, starting at the top, we had a bit of a surprise: the building stones were rather small, the size of paperback books, and the mortar was mud, and still was mud, very wet and all the stones moved as you tried to get off the cement.
I decided to remove only half the render before roughly flush pointing the wall to protect the masonry joints – this work has been done through February, so it’s been a bit wet a times.
As we removed more cement we revealed more delights; voids filled with buckets of cement for instance. When we got to the bottom section and started to remove the cement on the left and right edges we found that the cement was covering about 100mm 0f dry earth and ash mortar sort of bulked out with roofing tiles face bedded. As we removed this useless stuff we soon came upon the inner brick skin of the house: the gable to the right of the chimney breast is 9 inch brick, to the left thick stone masonry. The brick seemed to have been butted up against the now gone front elevation of the house, we just couldn’t work out the sequence of building events, but it seemed that the elevation had been roughly removed and, like a rotten tooth, the root had been left embedded in the brickwork. The root, as i say consisted of rubbish on one side, whereas on the left side there was more definite masonry and even a trace of plaster or render. I cant understand why, for the sake of the day or so we took to remove the rubbish and to replace it with bricks, the original ‘builders’ had just smeared a load of cement over the top.
Anyway, with some care, some frustration at the weather, a good bit of worry, especially when our earlier higher up first coat of dubbing out/pointing/render, it was all those really, cracked along a definite line above our new work ( I eventually put it down to a bit of settlement and a bit of shrinkage as the edifice began to dry, goodness knows it must have expanded with all that water content!) we got it all secured and the first coat of render on.
Throughout the project I was considering sheeting it up at night because of the rain but reconsidering because of the wind, likewise I was sometimes wishing the scaffold had a roof and then, because of the gales, glad it hadn’t.
Lime is remarkable for its ability to withstand rainfall within just a couple of hours of being applied, it doesn’t withstand running water, but copes very well with rain, as there was no frost I had worries in that direction. Because of time limits and slow drying we were forced to apply the second and third coats whilst the first was still soft but as each coat was applied as thin as possible I believe that the render will be alright especially as its finished with a roughcast surface which gives maximum chance for evaporation and drying.

painted cement render over rubble and mud

left hand flank showing traces of old lime render trapped by the later masonry (on the left with some painted cement render still attached, the old masonry on the right, old render or plaster in the centre

view of the left hand flank showing the ragged quality of the masonry

right hand flank voids once filled with cement and rubble
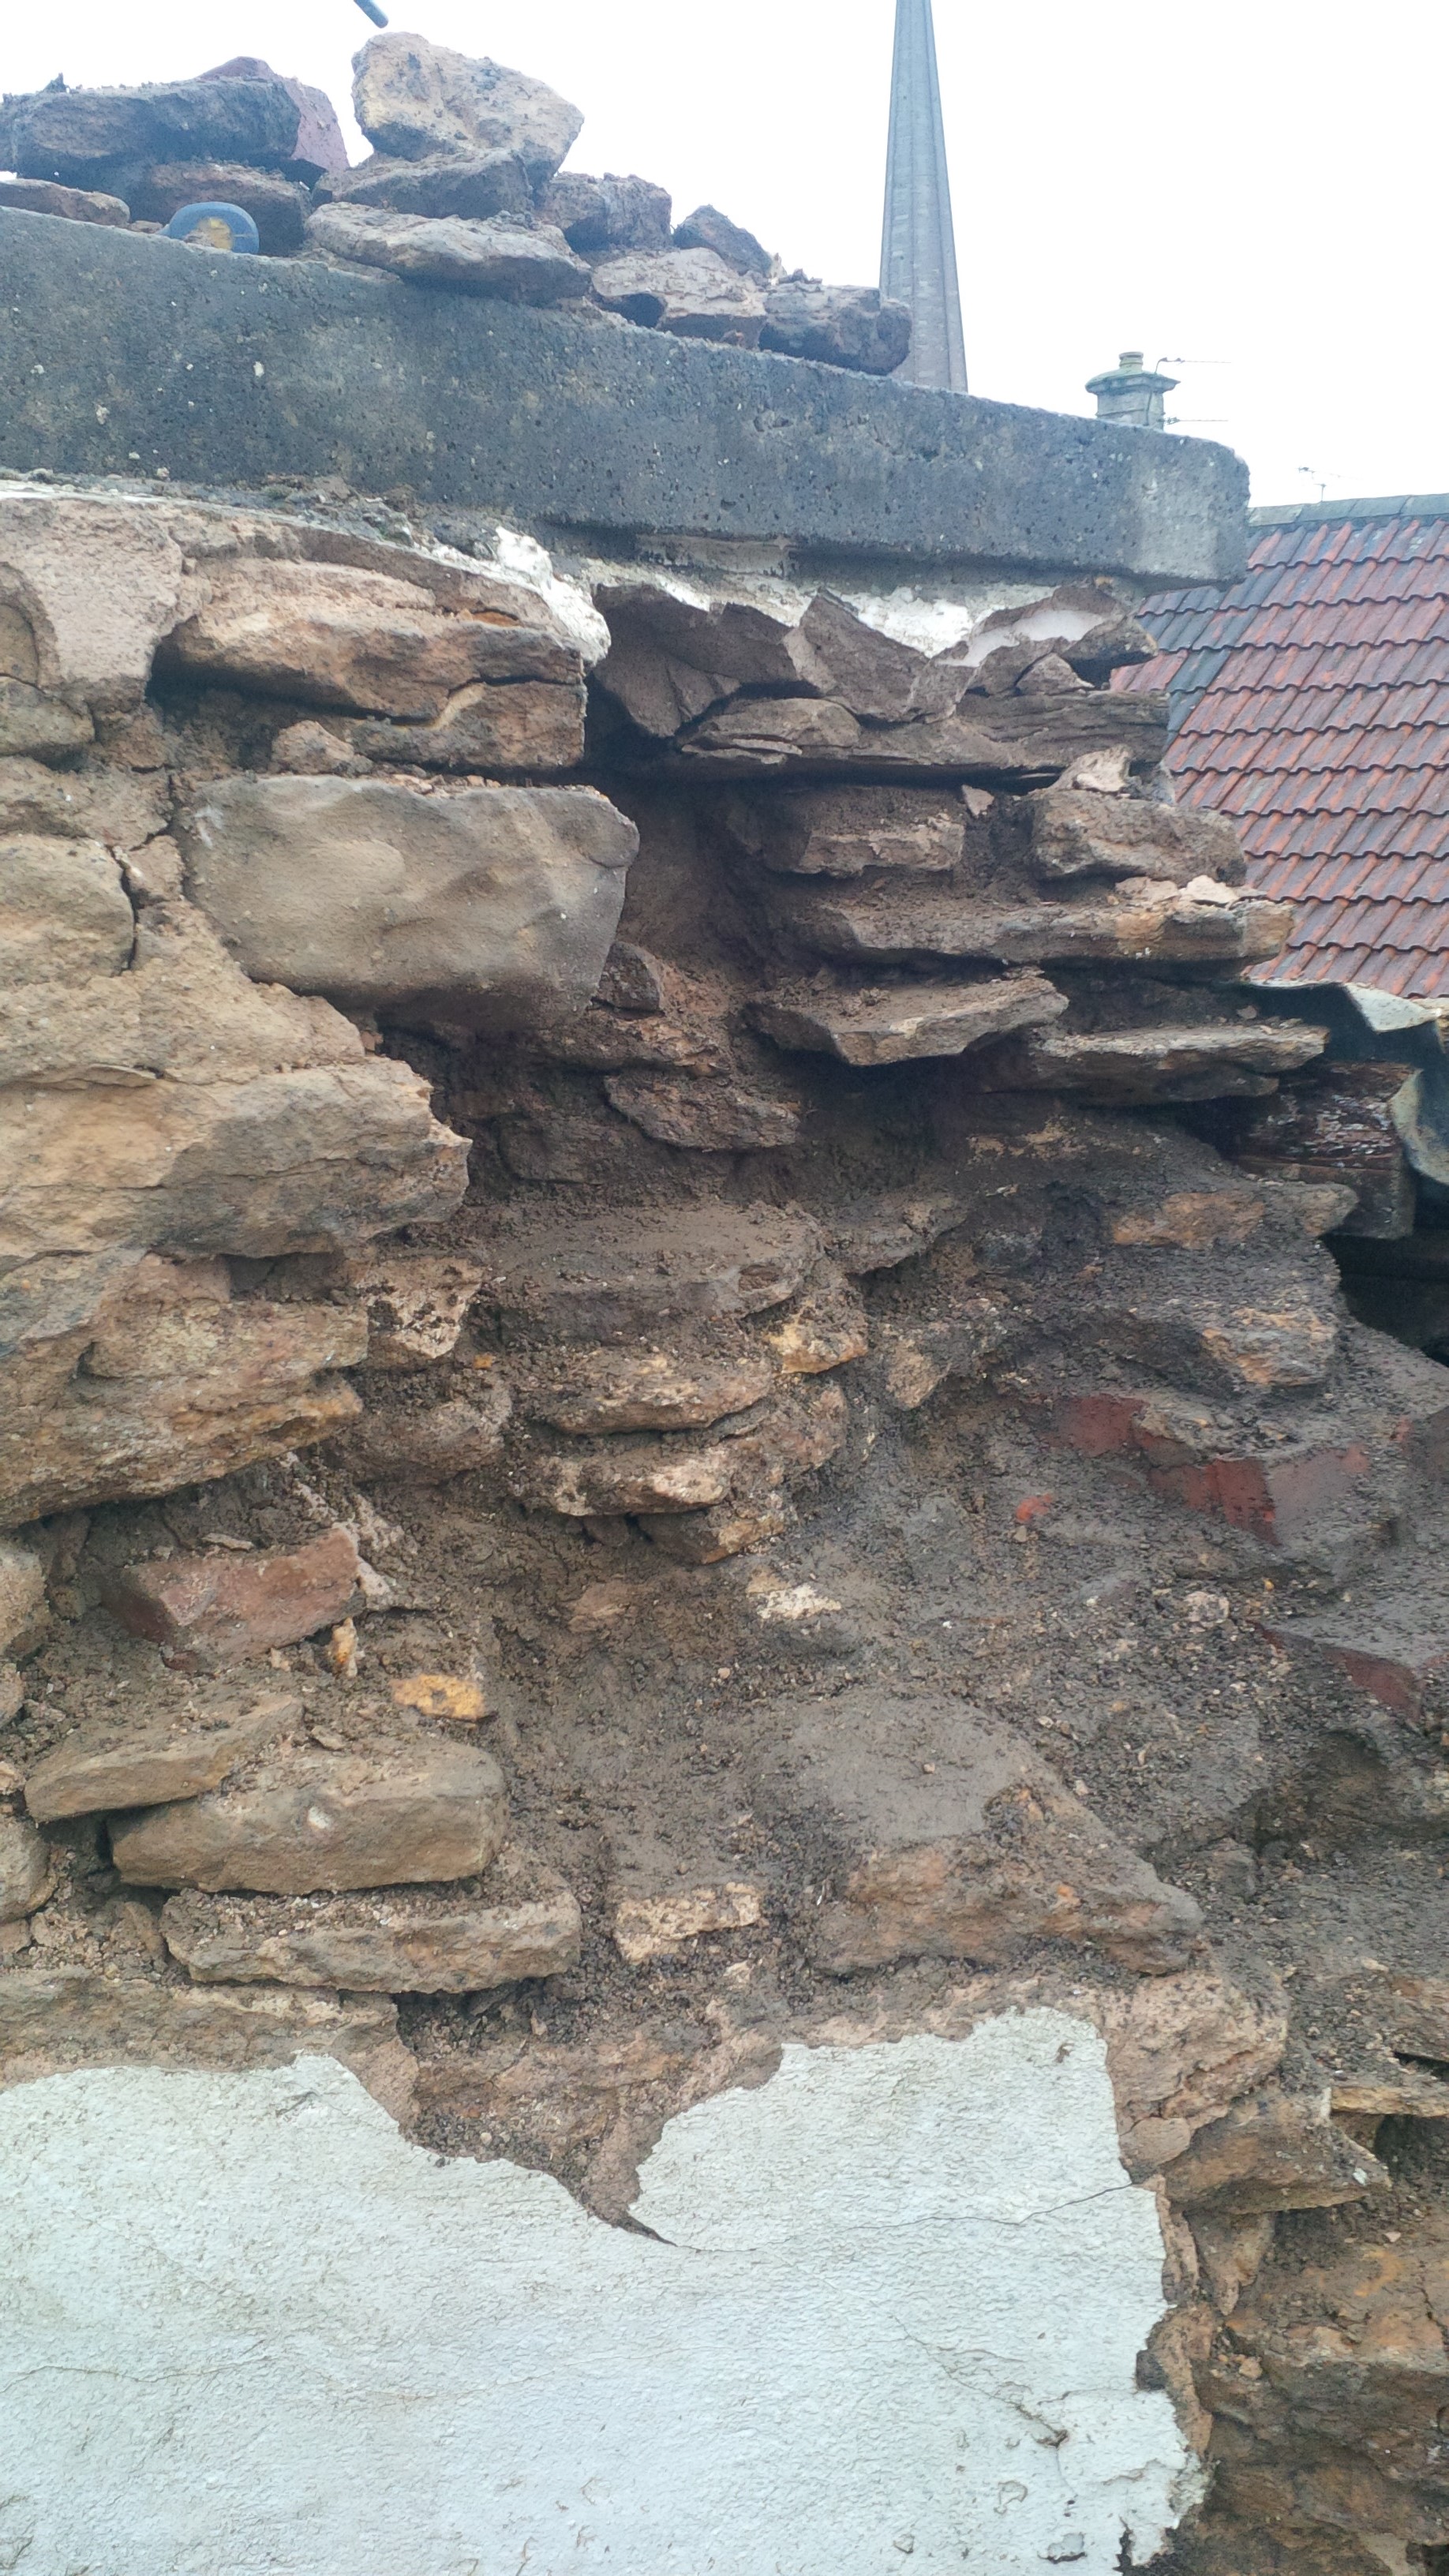
this was virtually all filled with cement

the whole of the right hand flank had to be reconstructed to give something to render
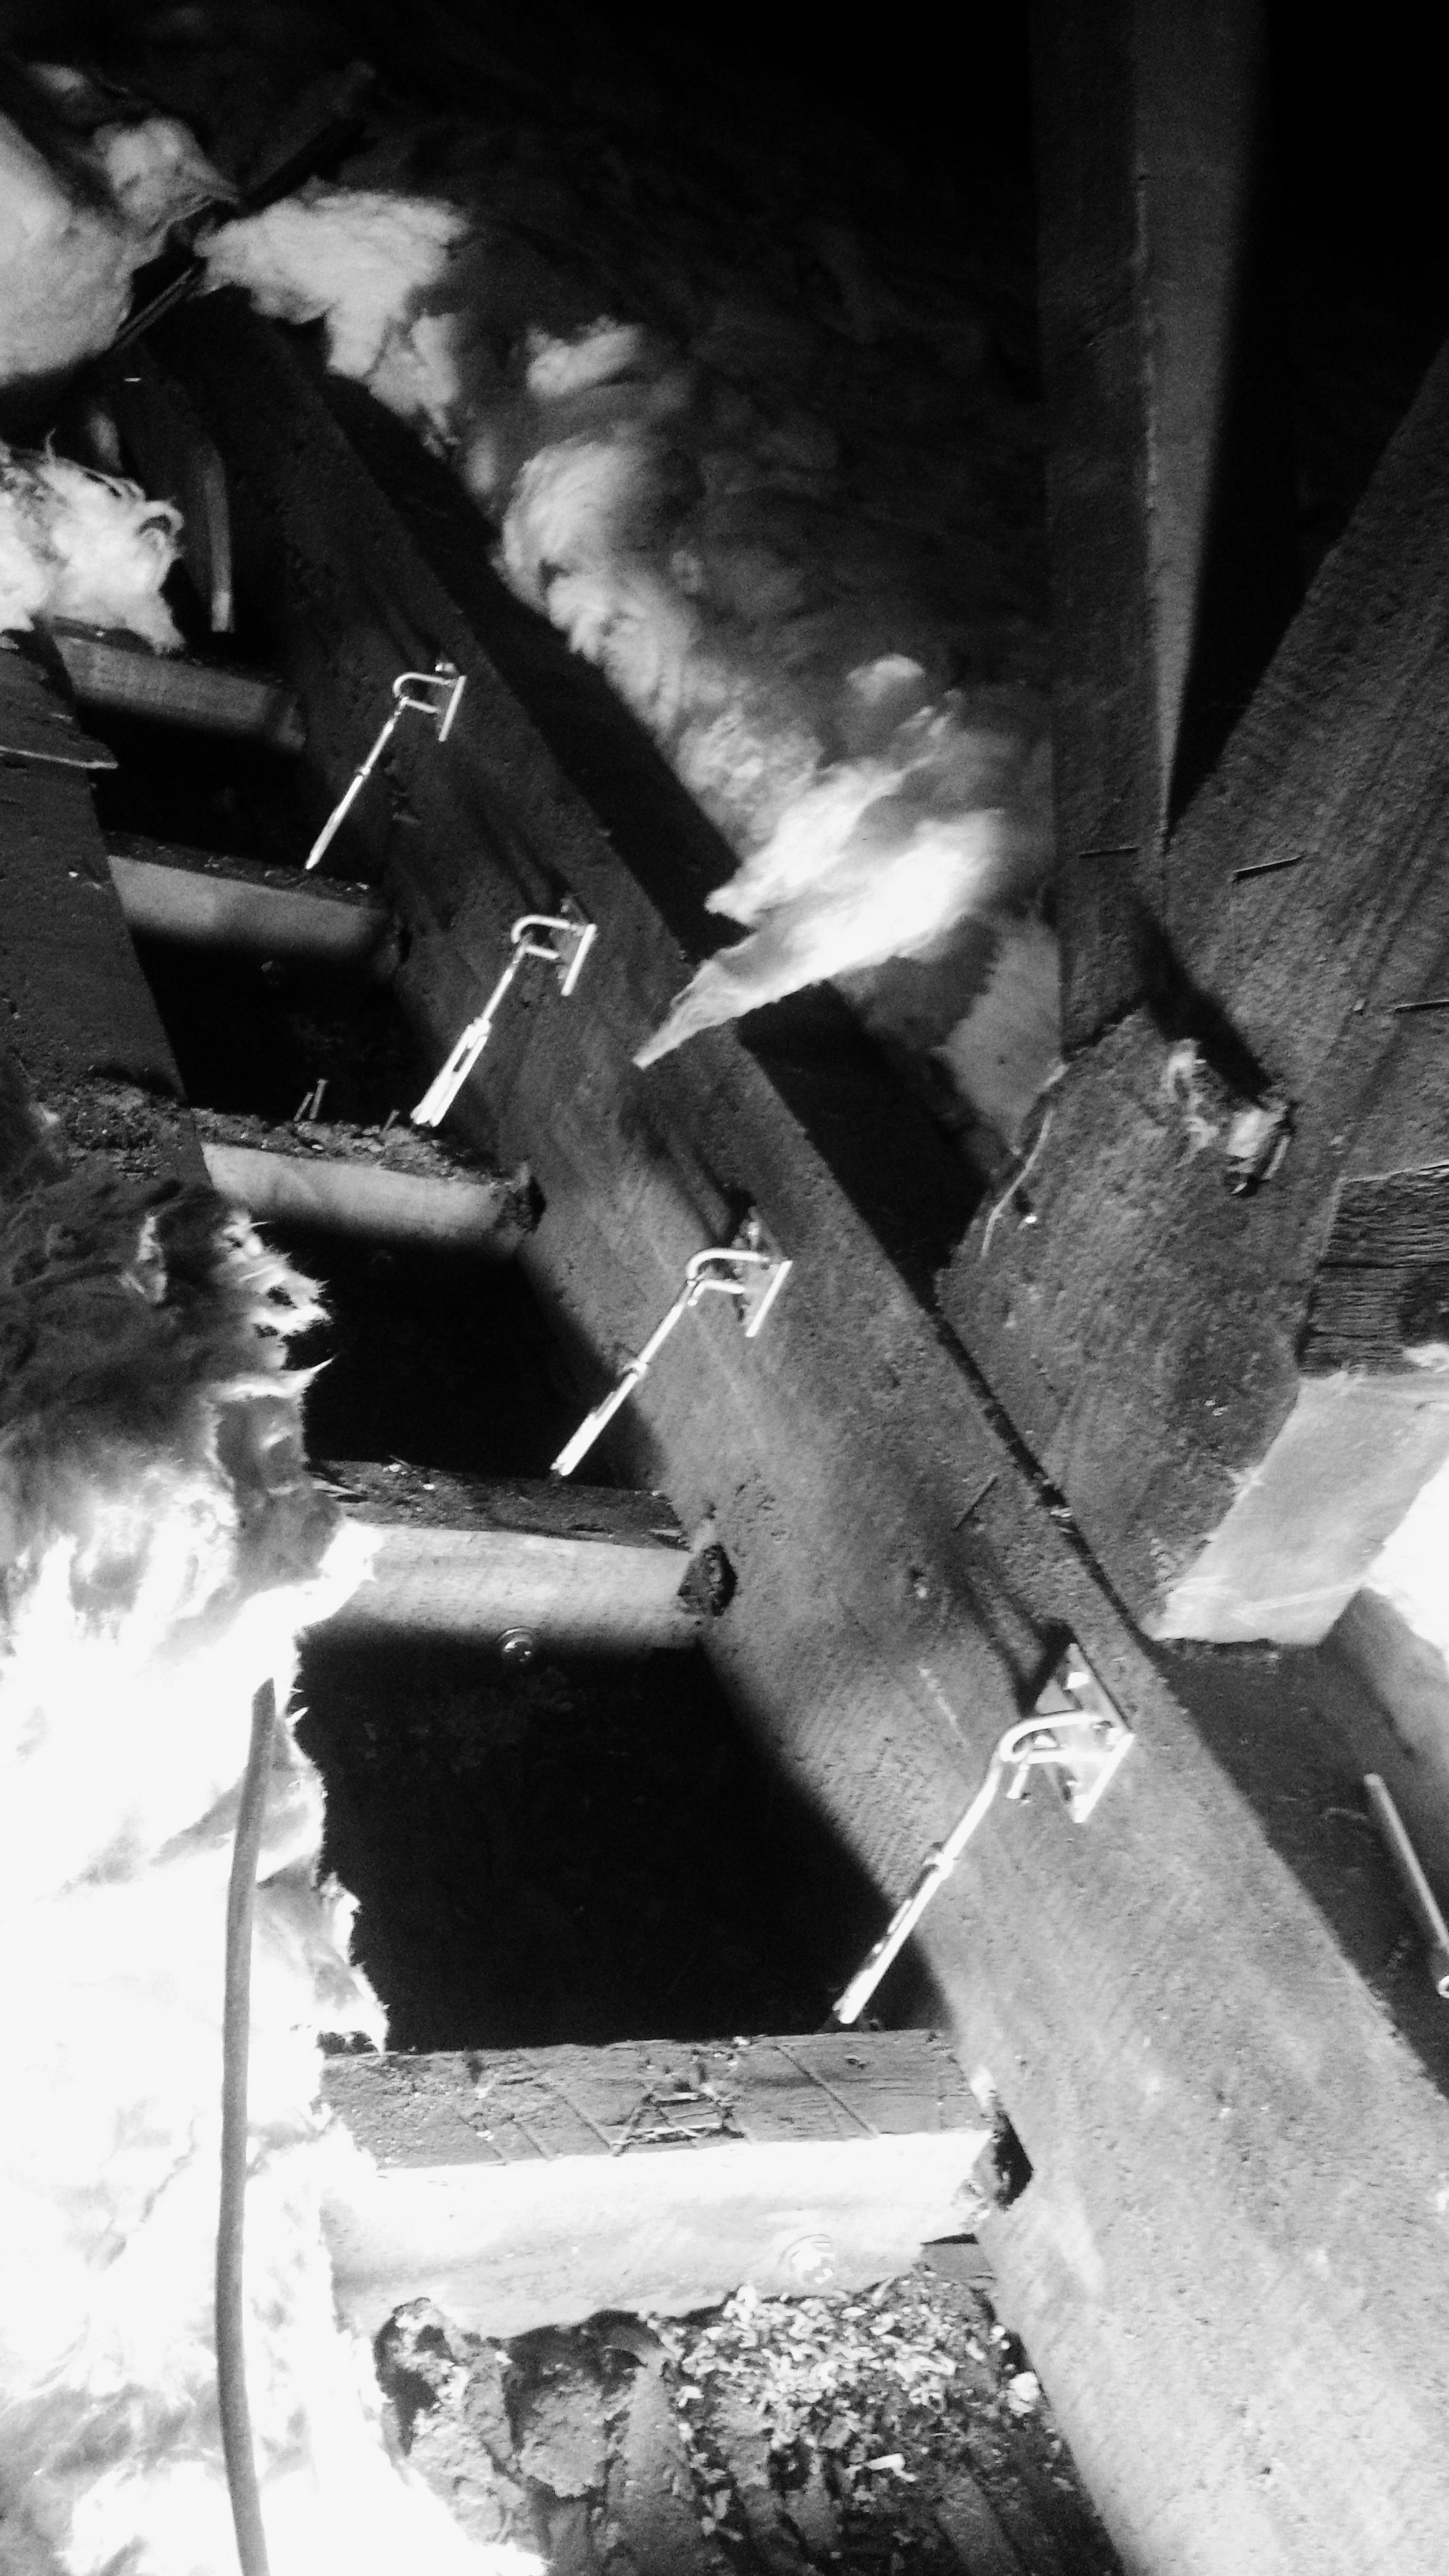
The ceiling had a crack in it running down the centre, on inspection we found that 5 of the joists had come out of their slots allowing the ceiling to drop. So I drilled holes through each joist just above the laths, inserted a 10mm bolt to which I attached a garden wire tensioner, I attached the other end to a bracket bolted to the beam. Then I was very pleased to see that I could lift the ceiling the required amount just by turning the tensioners by hand a half turn each. This brought the ceiling up and secured it for the future. Now the decorator can fill the crack and repaint. If this hadn’t been done gradually more strain and movement would have brought the ceiling down or at least damaged it beyond a simple two hour repair.


