

SONY DSC
I have been lime plastering for a number of years and over those years I have usually bought in ready mixed course stuff and fine stuff, however I have recently developed my own finishing plaster as mentioned already and I think it is the best finishing plaster I have ever used and it should be as I developed it for that purpose.
Recently I began to think about the course stuff, that too could be better and I have just done a job where I made my own.
I have been thinking for some time that there is never enough lime in the mix. Most mixes nowadays are in the region of 1 part lime putty to 2 1/2 parts aggregate and in the Cotswolds that is usually a mixture of sharp sand and Cotswold stone dust. For me that is not enough lime.
The recipe I am using at the moment is 1 part lime putty to 2 parts sharp sand, this gives a really sticky mix to which can be added a lot of hair. It is a happy fact that when you add a lot of lime, the plaster will tend to crack as it dries out, but being so sticky it will hold more hair and that hair stops the cracking. This is a rule worth remembering, the stickier the mix the more hair it will take, of course the best way to get a sticky mix is to add more lime putty – not more stone dust.
Lime putty has never been easier to produce so why skimp on it?
Once you have a really sticky plaster the technique of plastering changes – you don’t really spread it on directly off the hawk but apply it to the wall in dollops and then spread it flat, it’s amazing how easy the process of plastering becomes when the mix is right (and how difficult the job is when the mix is wrong).
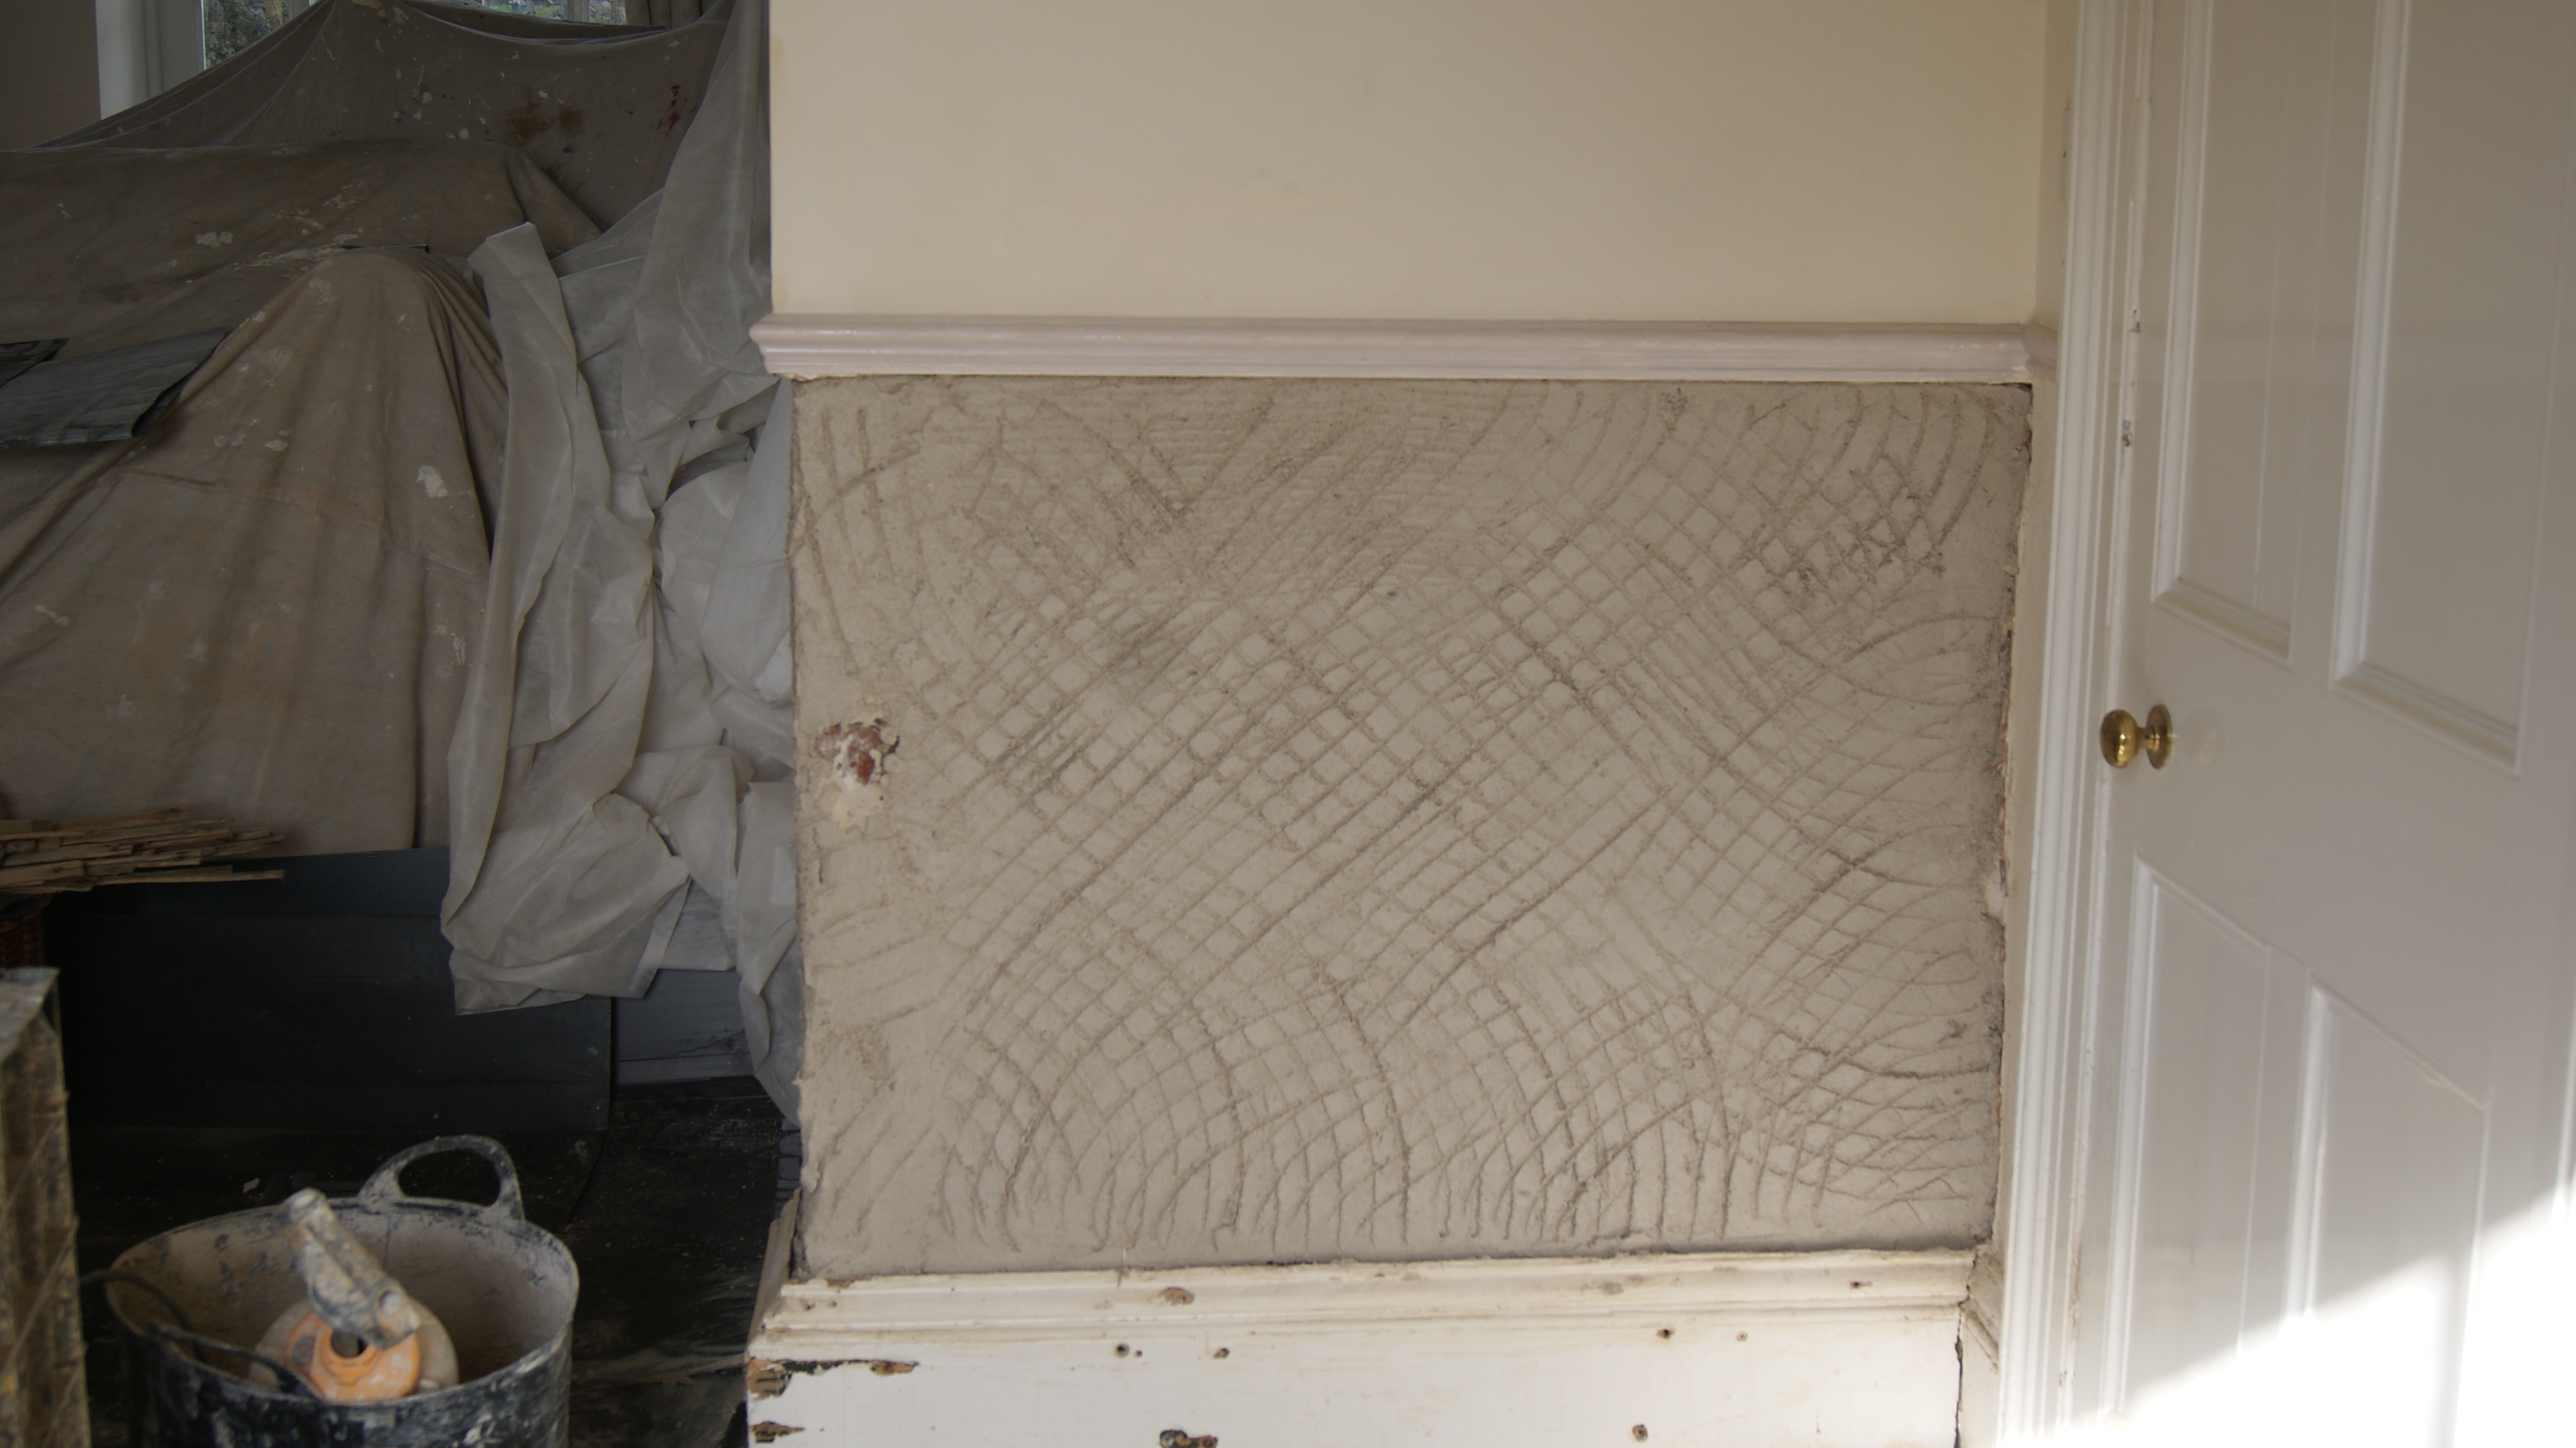
Another penny dropped the other week when I saw a scratch coat of render that hadn’t rendered the wall flat, it was almost as bumpy as before. there is no point in this, if you are after a flat wall the scratch coat is the time to get it flat – dub it out to even out the surface, apply the first coat, get that as flat as possible and any undue thickness, due to the undulating surface might well crack a little, even with plenty hair, but this cracking is in the first coat and as long as the plaster hasn’t become detached from the wall (which can happen) it is of little consequence. Once you get it flat, and you can use a straight edge such as a rule, or derby float for this, then you scratch it ready for the next coat.
Scratch coat applied
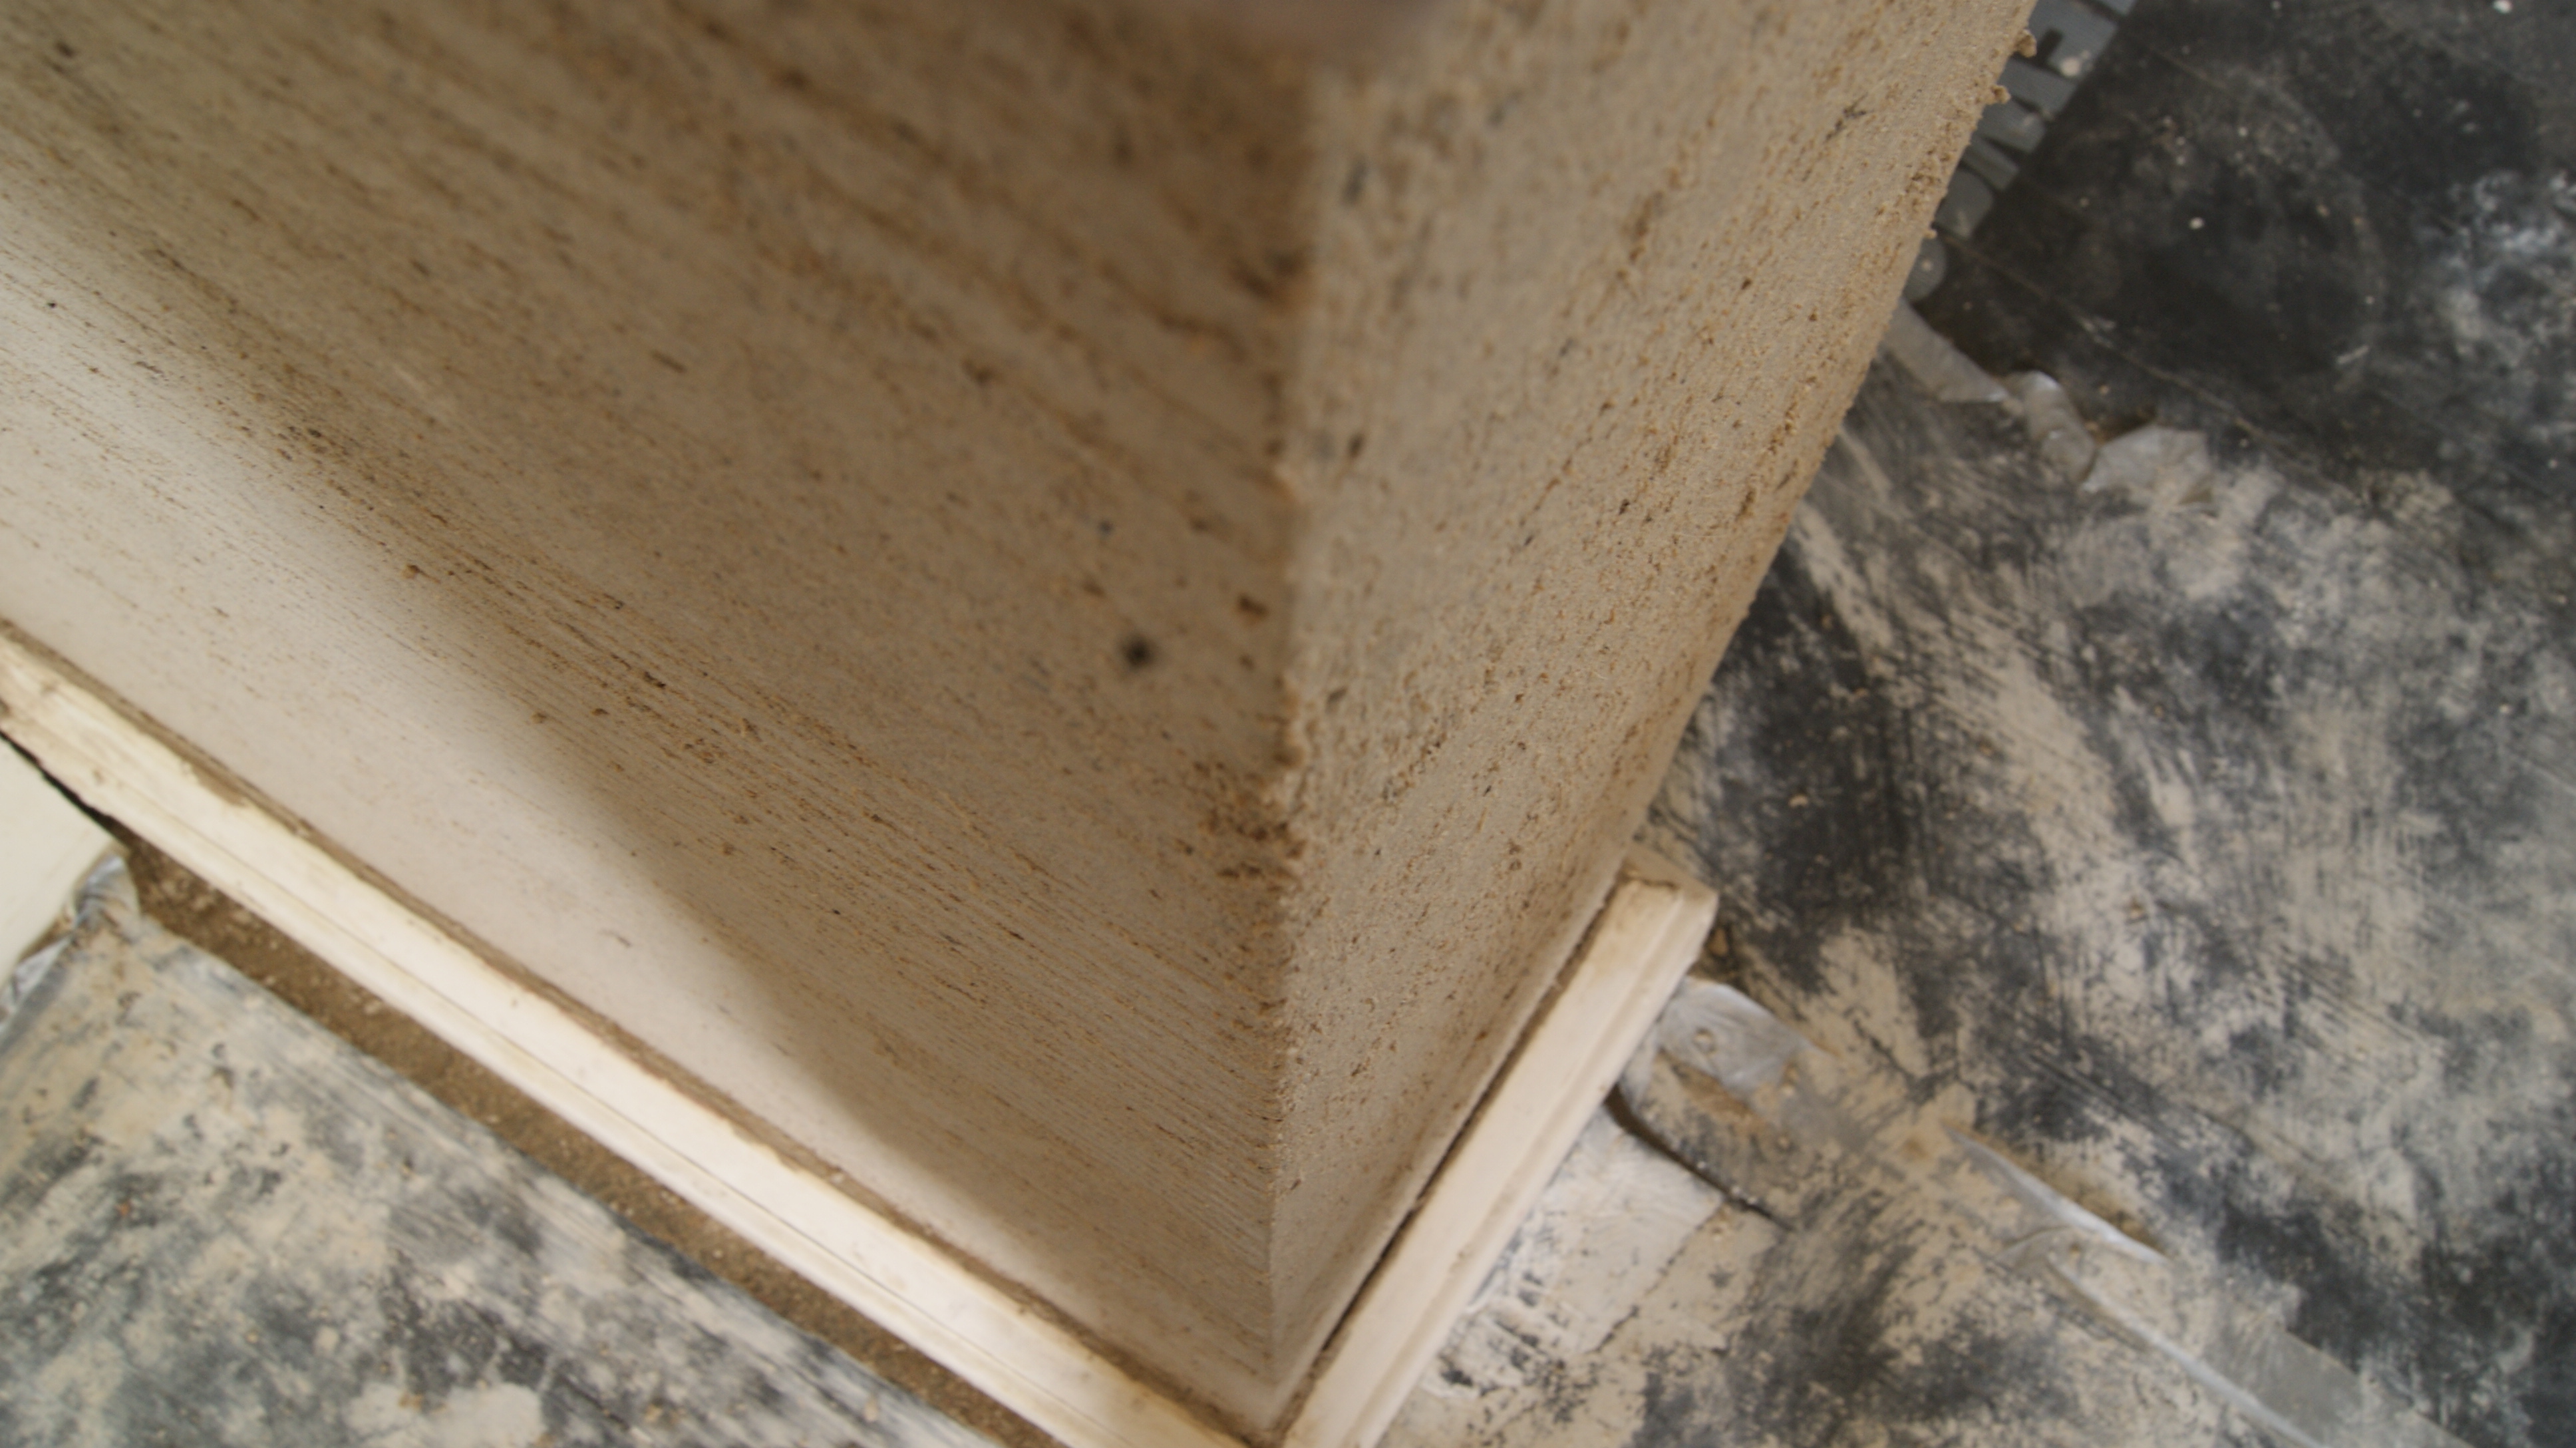
The next coat is now easy to apply, it is of even thickness, dries even and is easy to get flat. This second coat is brought up to within 4 mm of the final level and trowelled or floated flat, corners crisp or nicely rounded.
second coat ready for the finishing coat
The finishing coats can then be applied in a couple of passes and trowelled flat and smooth. By getting the wall flat as soon as possible makes every other stage really easy and efficient.
All of this is so much easier with a mix with 33% lime putty by volume and loads of hair – you really do need to be able to see the hair in the mix – they need to be really obvious – horse hair is best, don’t bother buying the nicely wrapped in string stuff, find yourself a friendly horse owner or two and ask them for the hair off their horses. It’s cheap and it works great.
so there you have it my own recipe from now on is a minimum of 33% lpbv (lime putty by volume) for backing coats and a minimum of 60% for the top coat.
Lime rich, fibre rich mortars for excellent results
(The blue colour is caused by the slate granules used in recipe for the top coat – 66% lime putty : 33% slate granules – it will dry white of course)

finished!

just needs the dado rail and fire surround fitting… and the skirting painting.
by John Byrne ~ Artisan Lime Plasterer
