
The walls were still lime plaster, some on masonry and some on lath but all were painted with purple emulsion. They were pitted, some of the top coat of plaster was peeling off and the walls had been chased for re-wiring so it obviously needed attention.
When we bought this house I realised I needed a pretty good plaster recipe, I was not going to be re-plastering everywhere because we are living in the house and removing old lime plaster is a dusty job. I also wanted to avoid the time and cost of complete re-plastering.
My plan was to skim over the walls with a thin coat of lime and then paint with clay paint, repairing what needed to be repaired, patching what needed patching but keeping as much as possible.
The breathing issue is not so relevant with lath and plaster stud walls but is relevant with masonry walls. But what is important is a good key so I pecked all the walls or scratched them were pecking was a bit too disruptive for the lathing. Pecking or otherwise breaking through the emulsion coating to some degree allows the plaster to breath and with a good coat of lime over the top this is helped further. To aid further adhesion I gave the walls a coat of grip primer.
Once the walls had been prepared I needed a high performance plaster to work with. I devised my own recipe jblime finishingplaster

the walls pecked and primed ready to skim
The first coat of plaster was 3 parts lime putty, one part sharp fine sand and lots of short horse hair applied about 2mm thick.
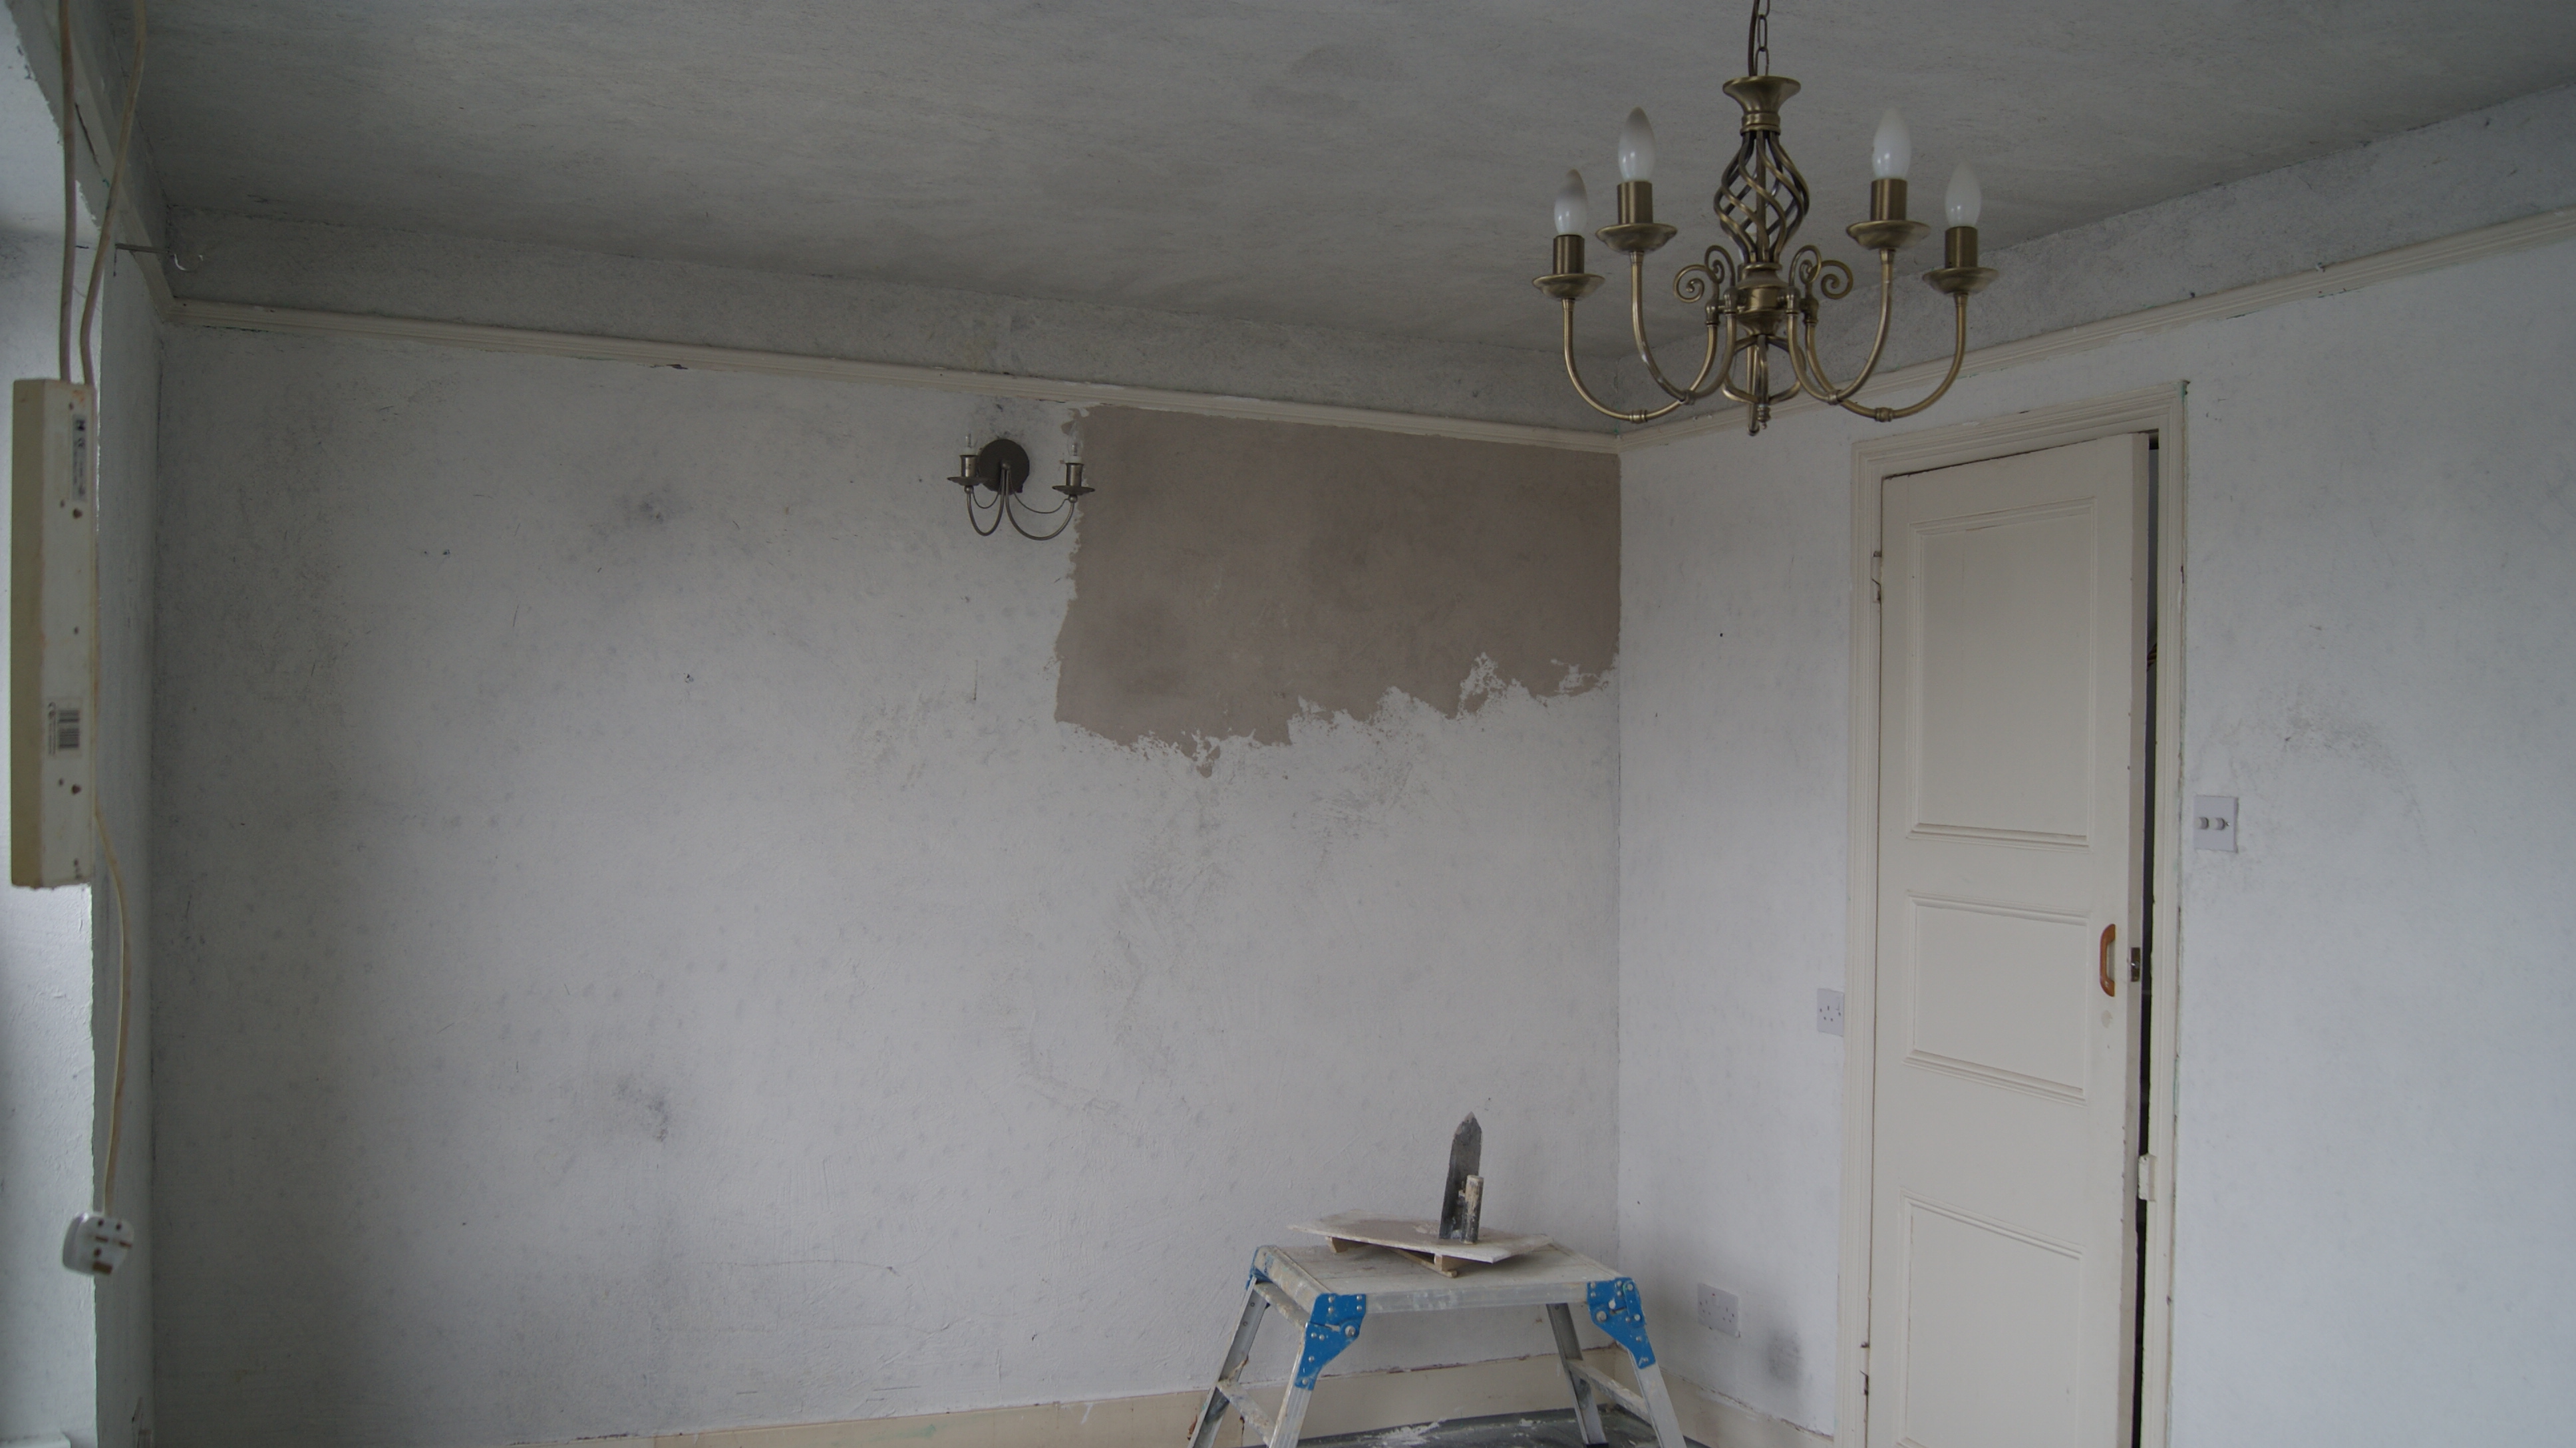
the beginnings of the final coat of plaster – tinted brown
When the first coat had dried off a bit it was time for the second, 3 parts lime putty to one part sharp fine sand and plenty fine manufactured fibres. I added some brown pigment to create a contrast between this coat and the first so that it was easy on the eyes seeing if I had missed any bits.
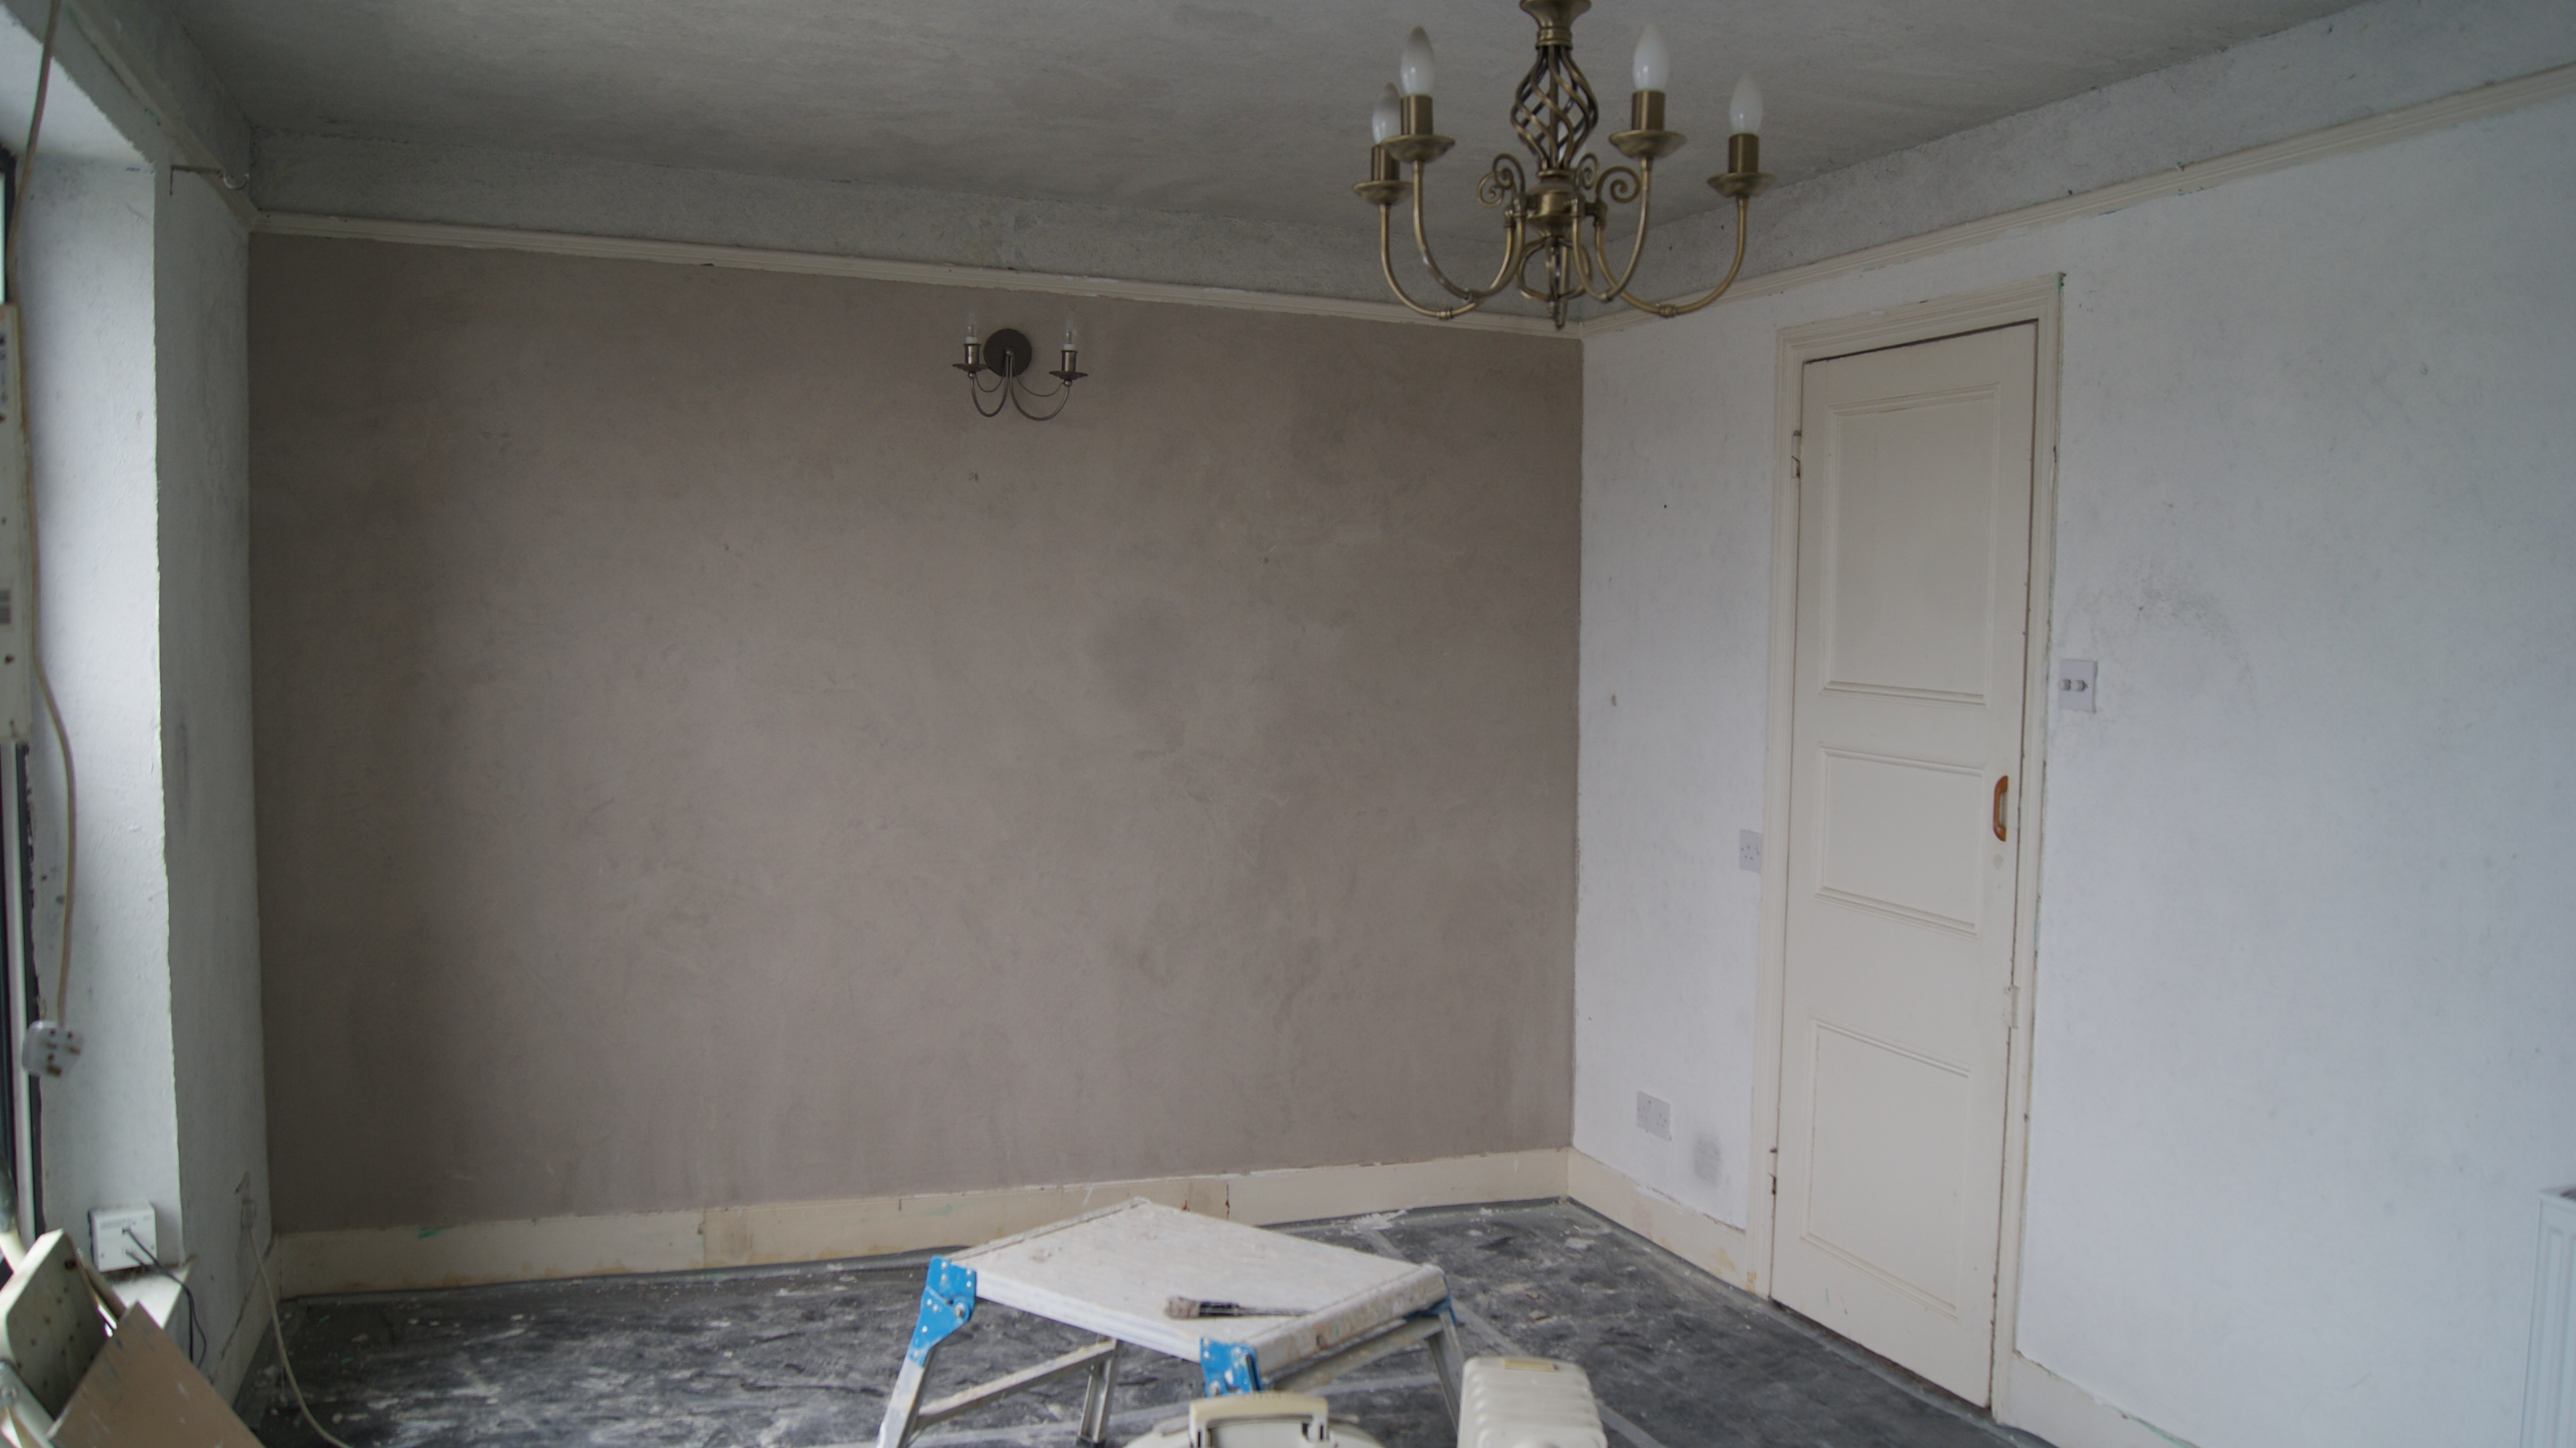
The first wall done
The next day I was able trowel the plaster flat and smooth, compressing it and tidying up the edges, it is time consuming but very important.
When it had dried, and being no more than 4mm thick, it didn’t take long the new plaster was painted with Earthborn clay paint. I bought white and tinted it with black pigment to get a light grey, I tend to tint all our paints in the house, one room was tinted with iron oxide I found oozing out of the sea cliffs west of Westward Ho! another room uses paint tinted with Bideford Black also got from the sea cliffs. This time I bought my pigment from heritage cob and lime who supply my excellent lime putty and sand.
with the furniture in and ready for me to lounge in.Once it was painted and began to dry it was obvious were the damp was as those places were drying much more slowly, I knew they were damp anyway but it is always nice seeing the new plaster dry out after years of not being able to.
Any way thats another room done and now I only have the ground floor to tackle but that wont be until late spring 2018 so we will be living with crumbling plaster and wire chases for a while yet but at least we can watch telly in relative comfort and style.

Looks very grand Mr B
Pingback: renovation of our lounge — byrnesurfaces – Sporting Jazz Music
Excellent plastering, lovely sharp lines 🙂